

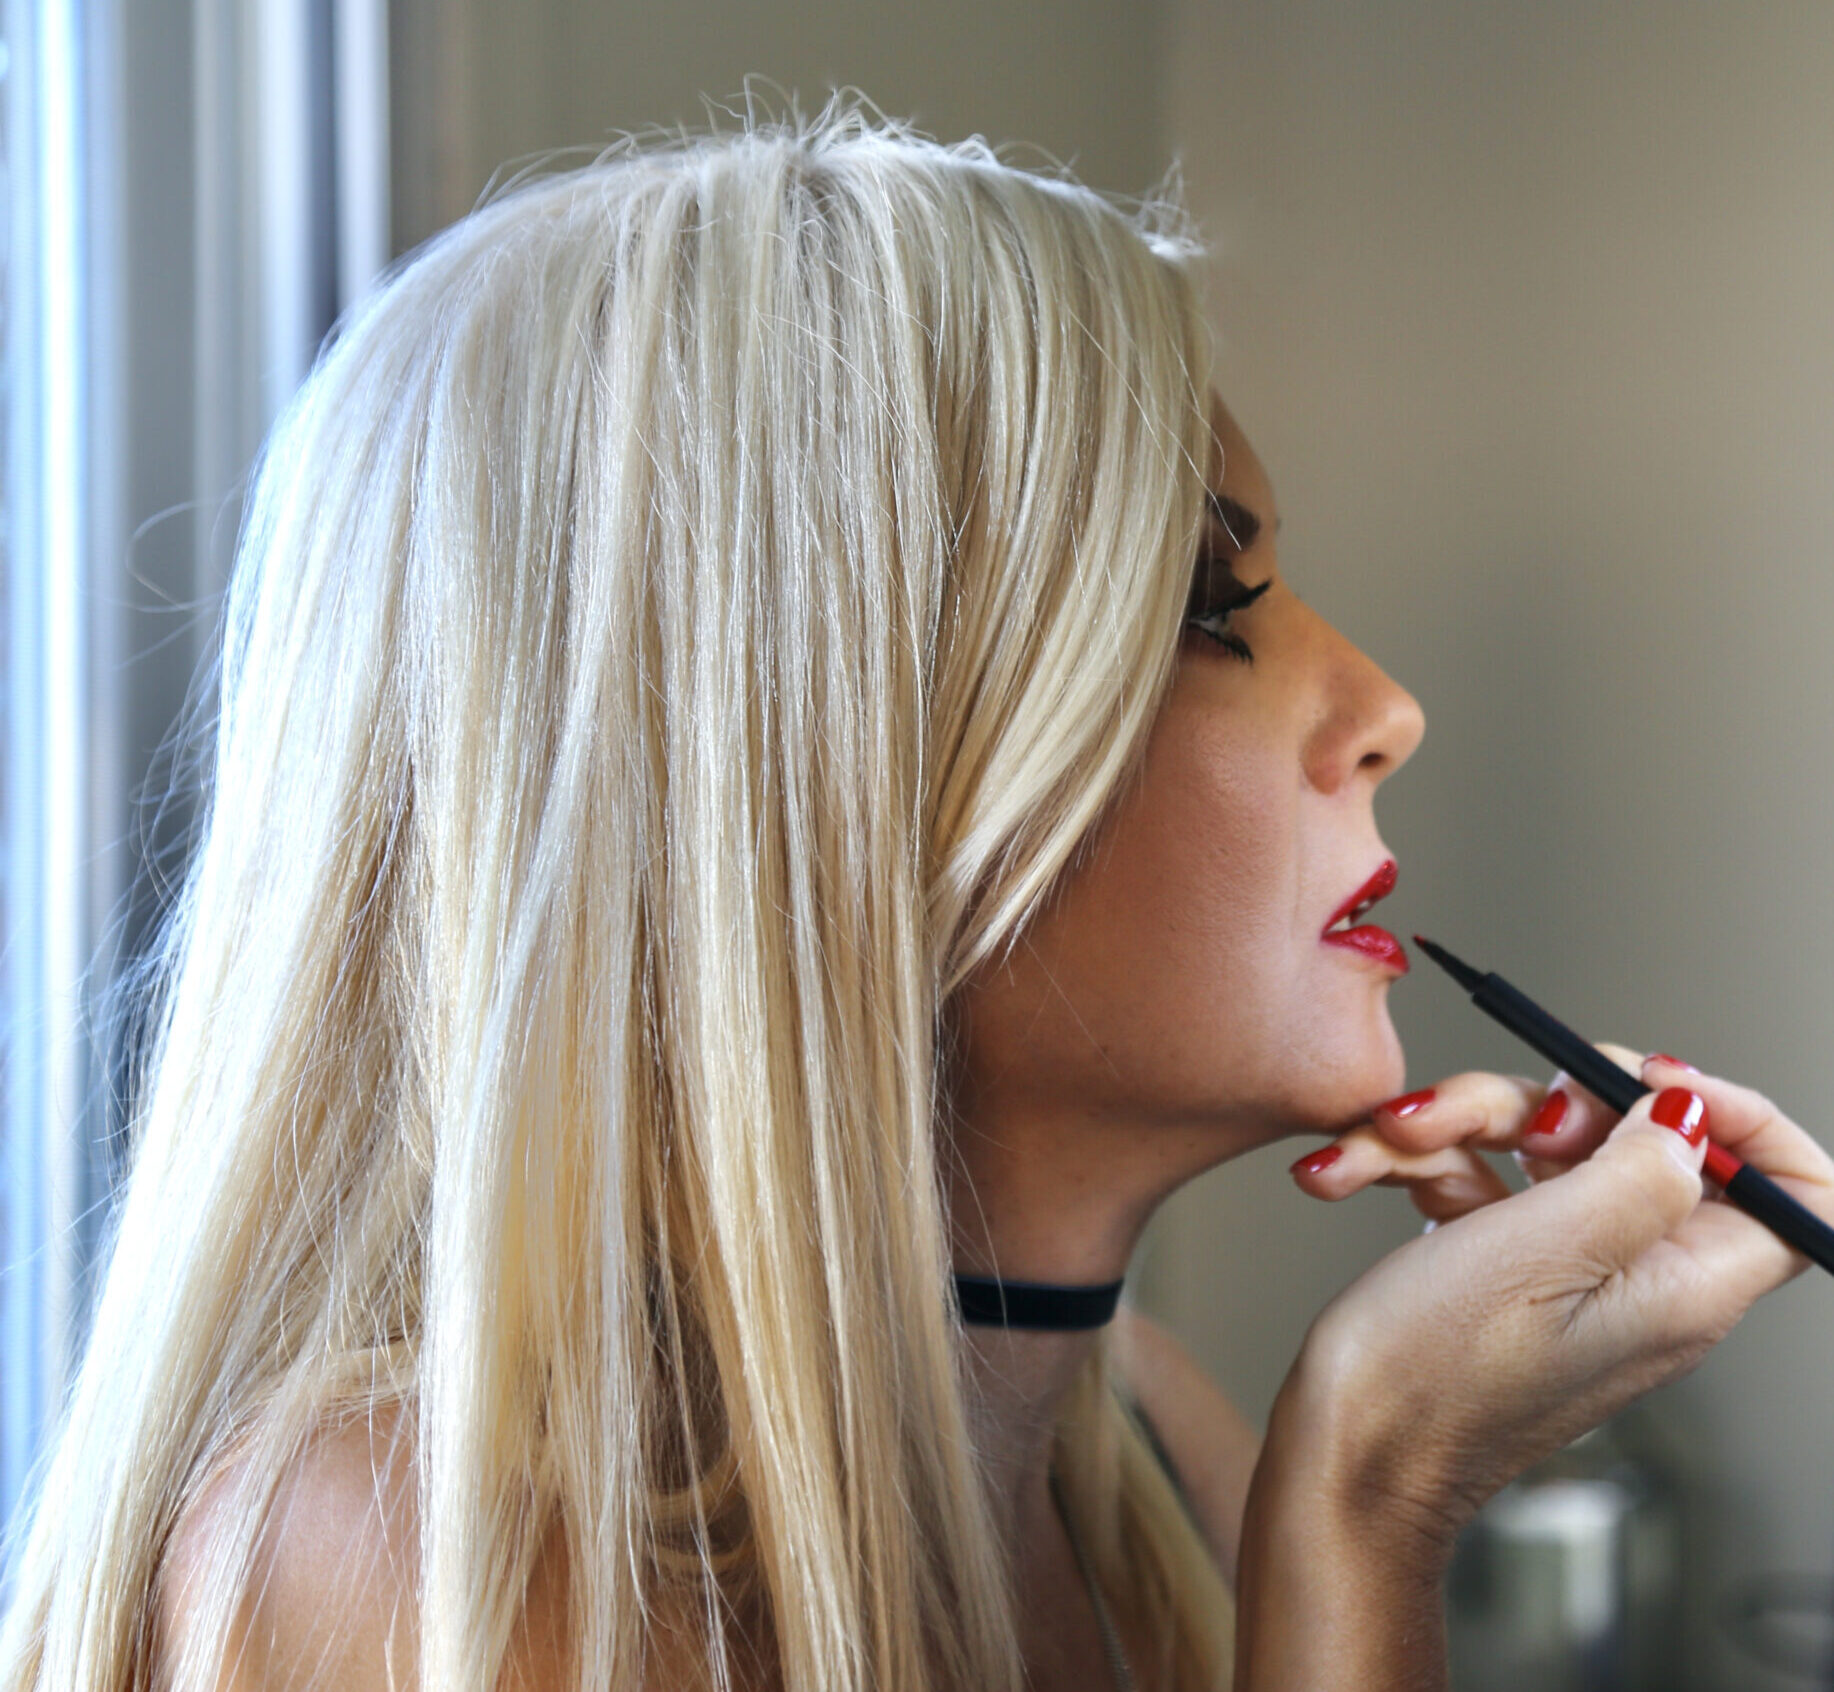
It began innocently enough; for some bizarre reason, on the day we decided to put up our Christmas tree, I had this sudden & inexplicable urge to create a “holiday” mani., but first I needed to come up with an idea – preferably something that did not require traditional shades or tons of glitter. I wanted a look that would be at once understated and subtle, yet sophisticated and glamourous – and simple to execute.
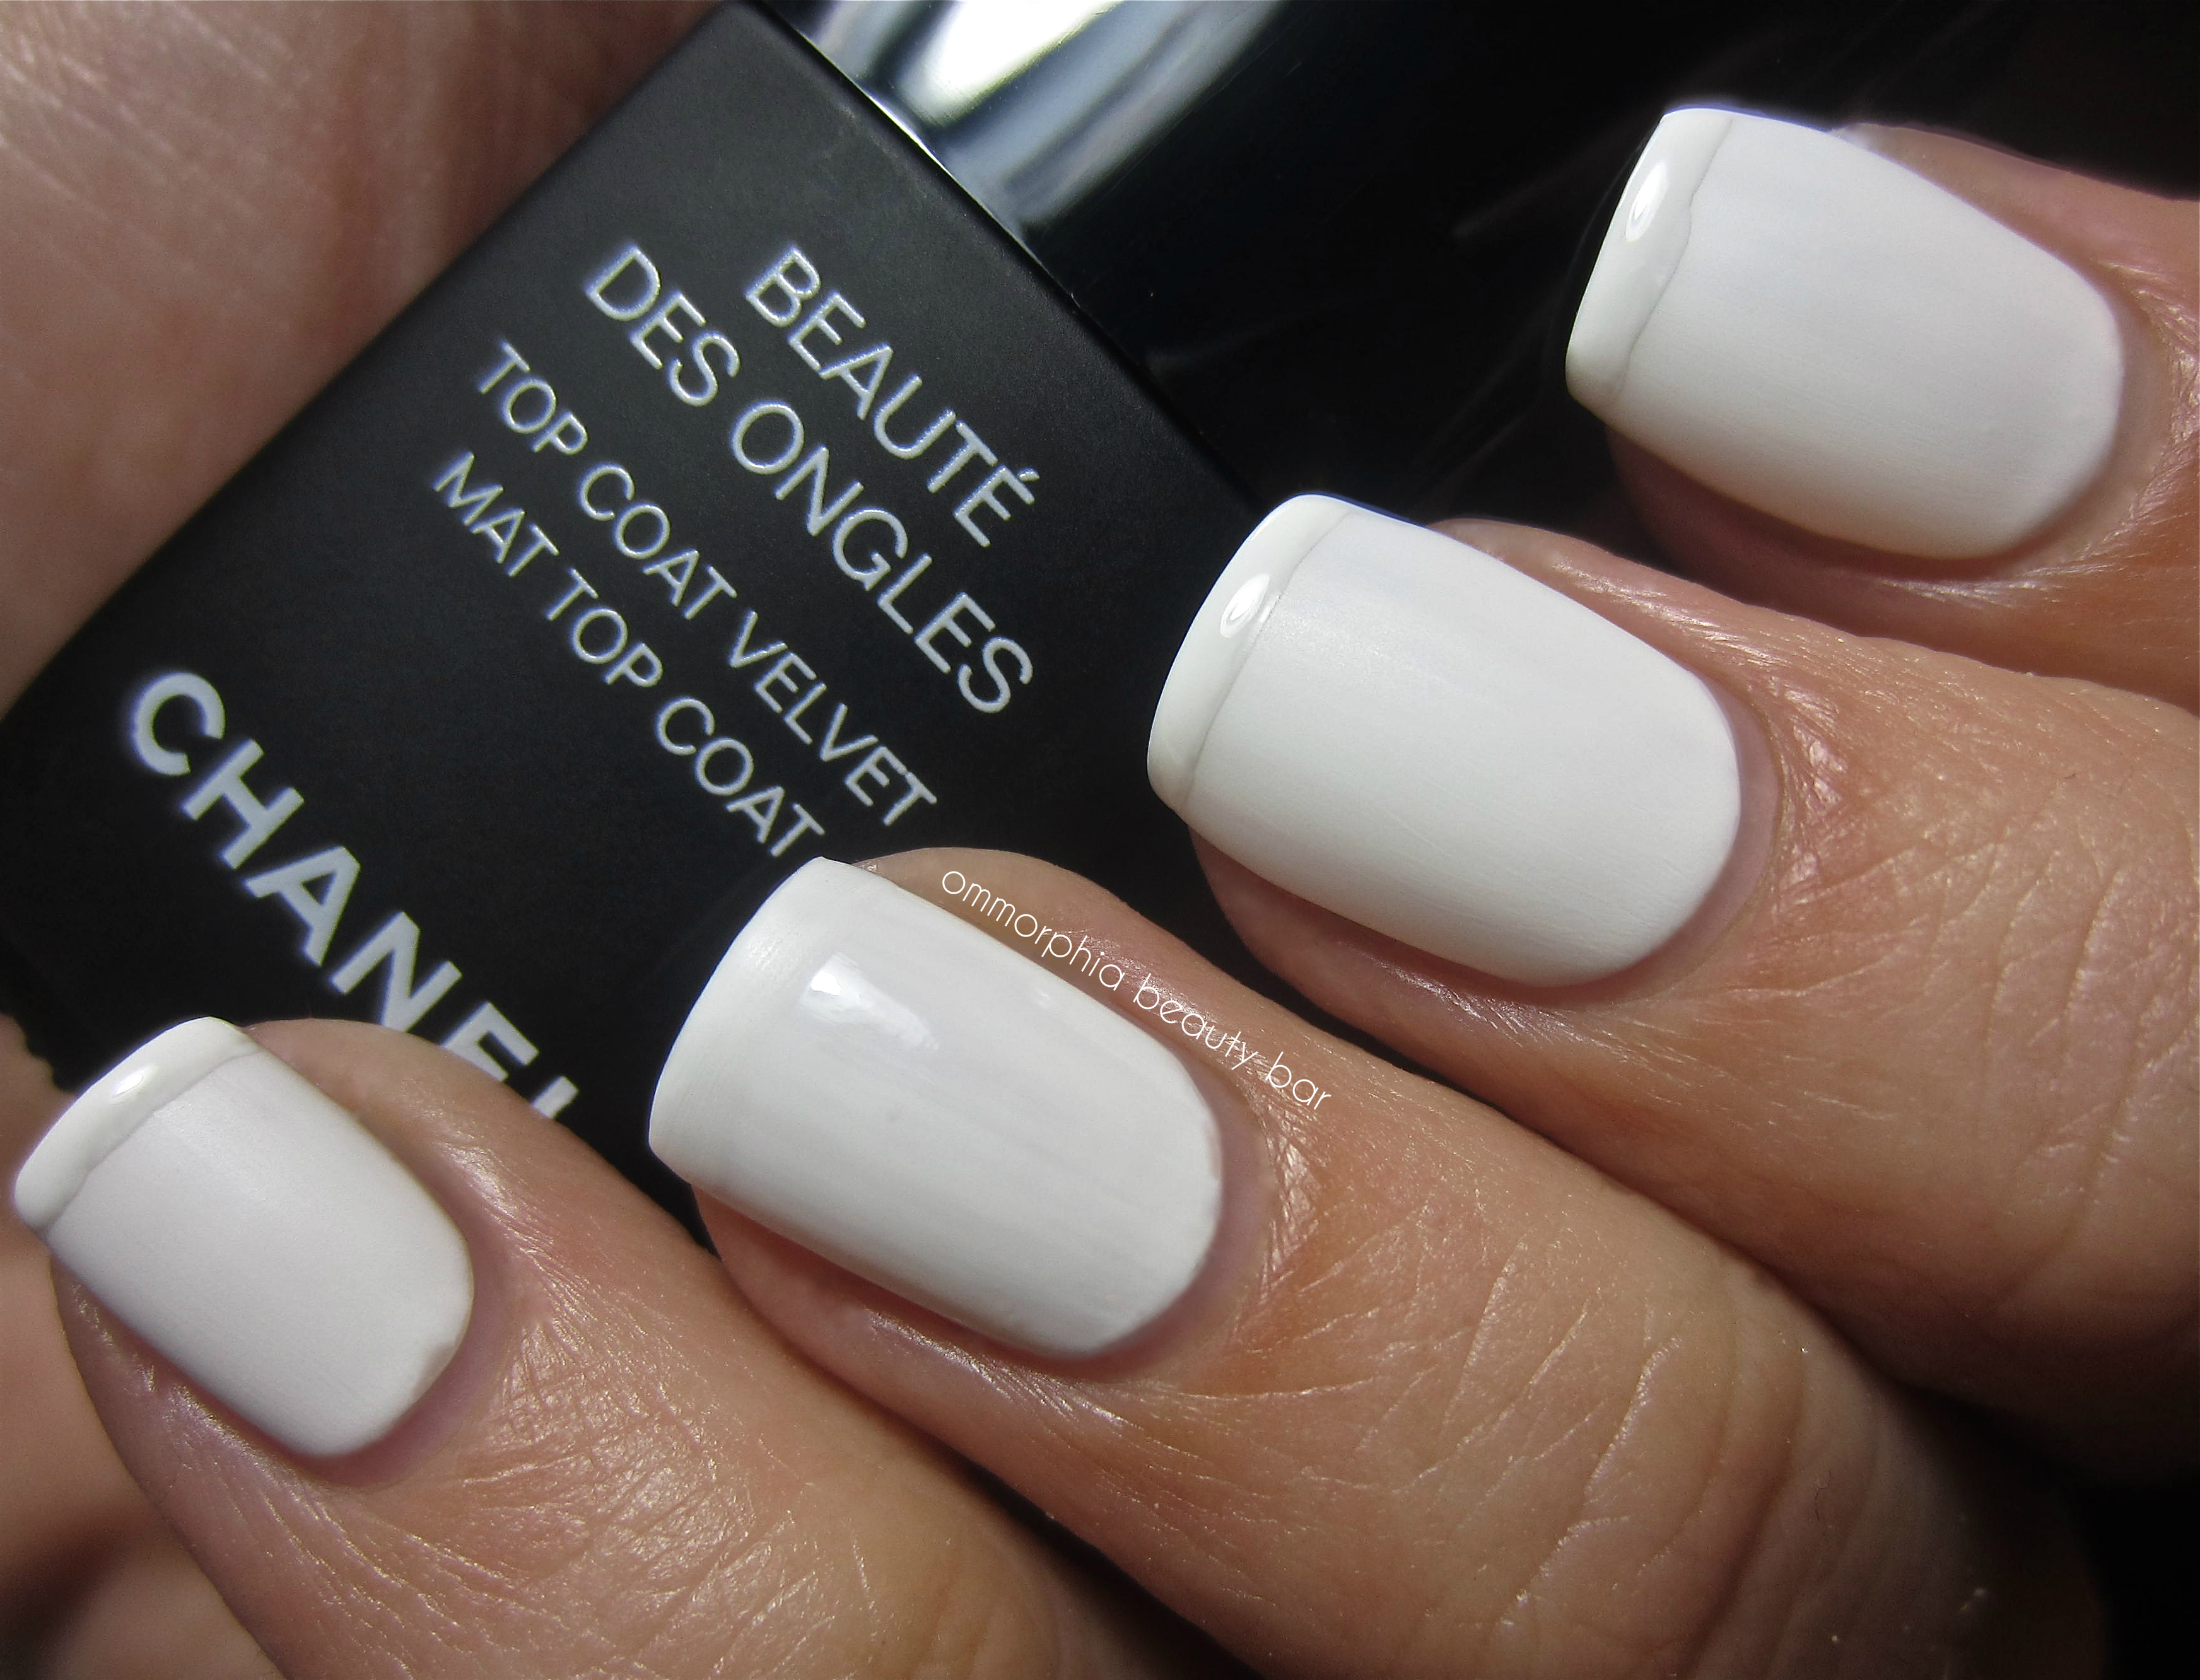
Channelling my inner Snow Queen, I decided to go full on winter … and so my tone-on-tone winter white mani was born.

- The inspiration – a blanket of snow
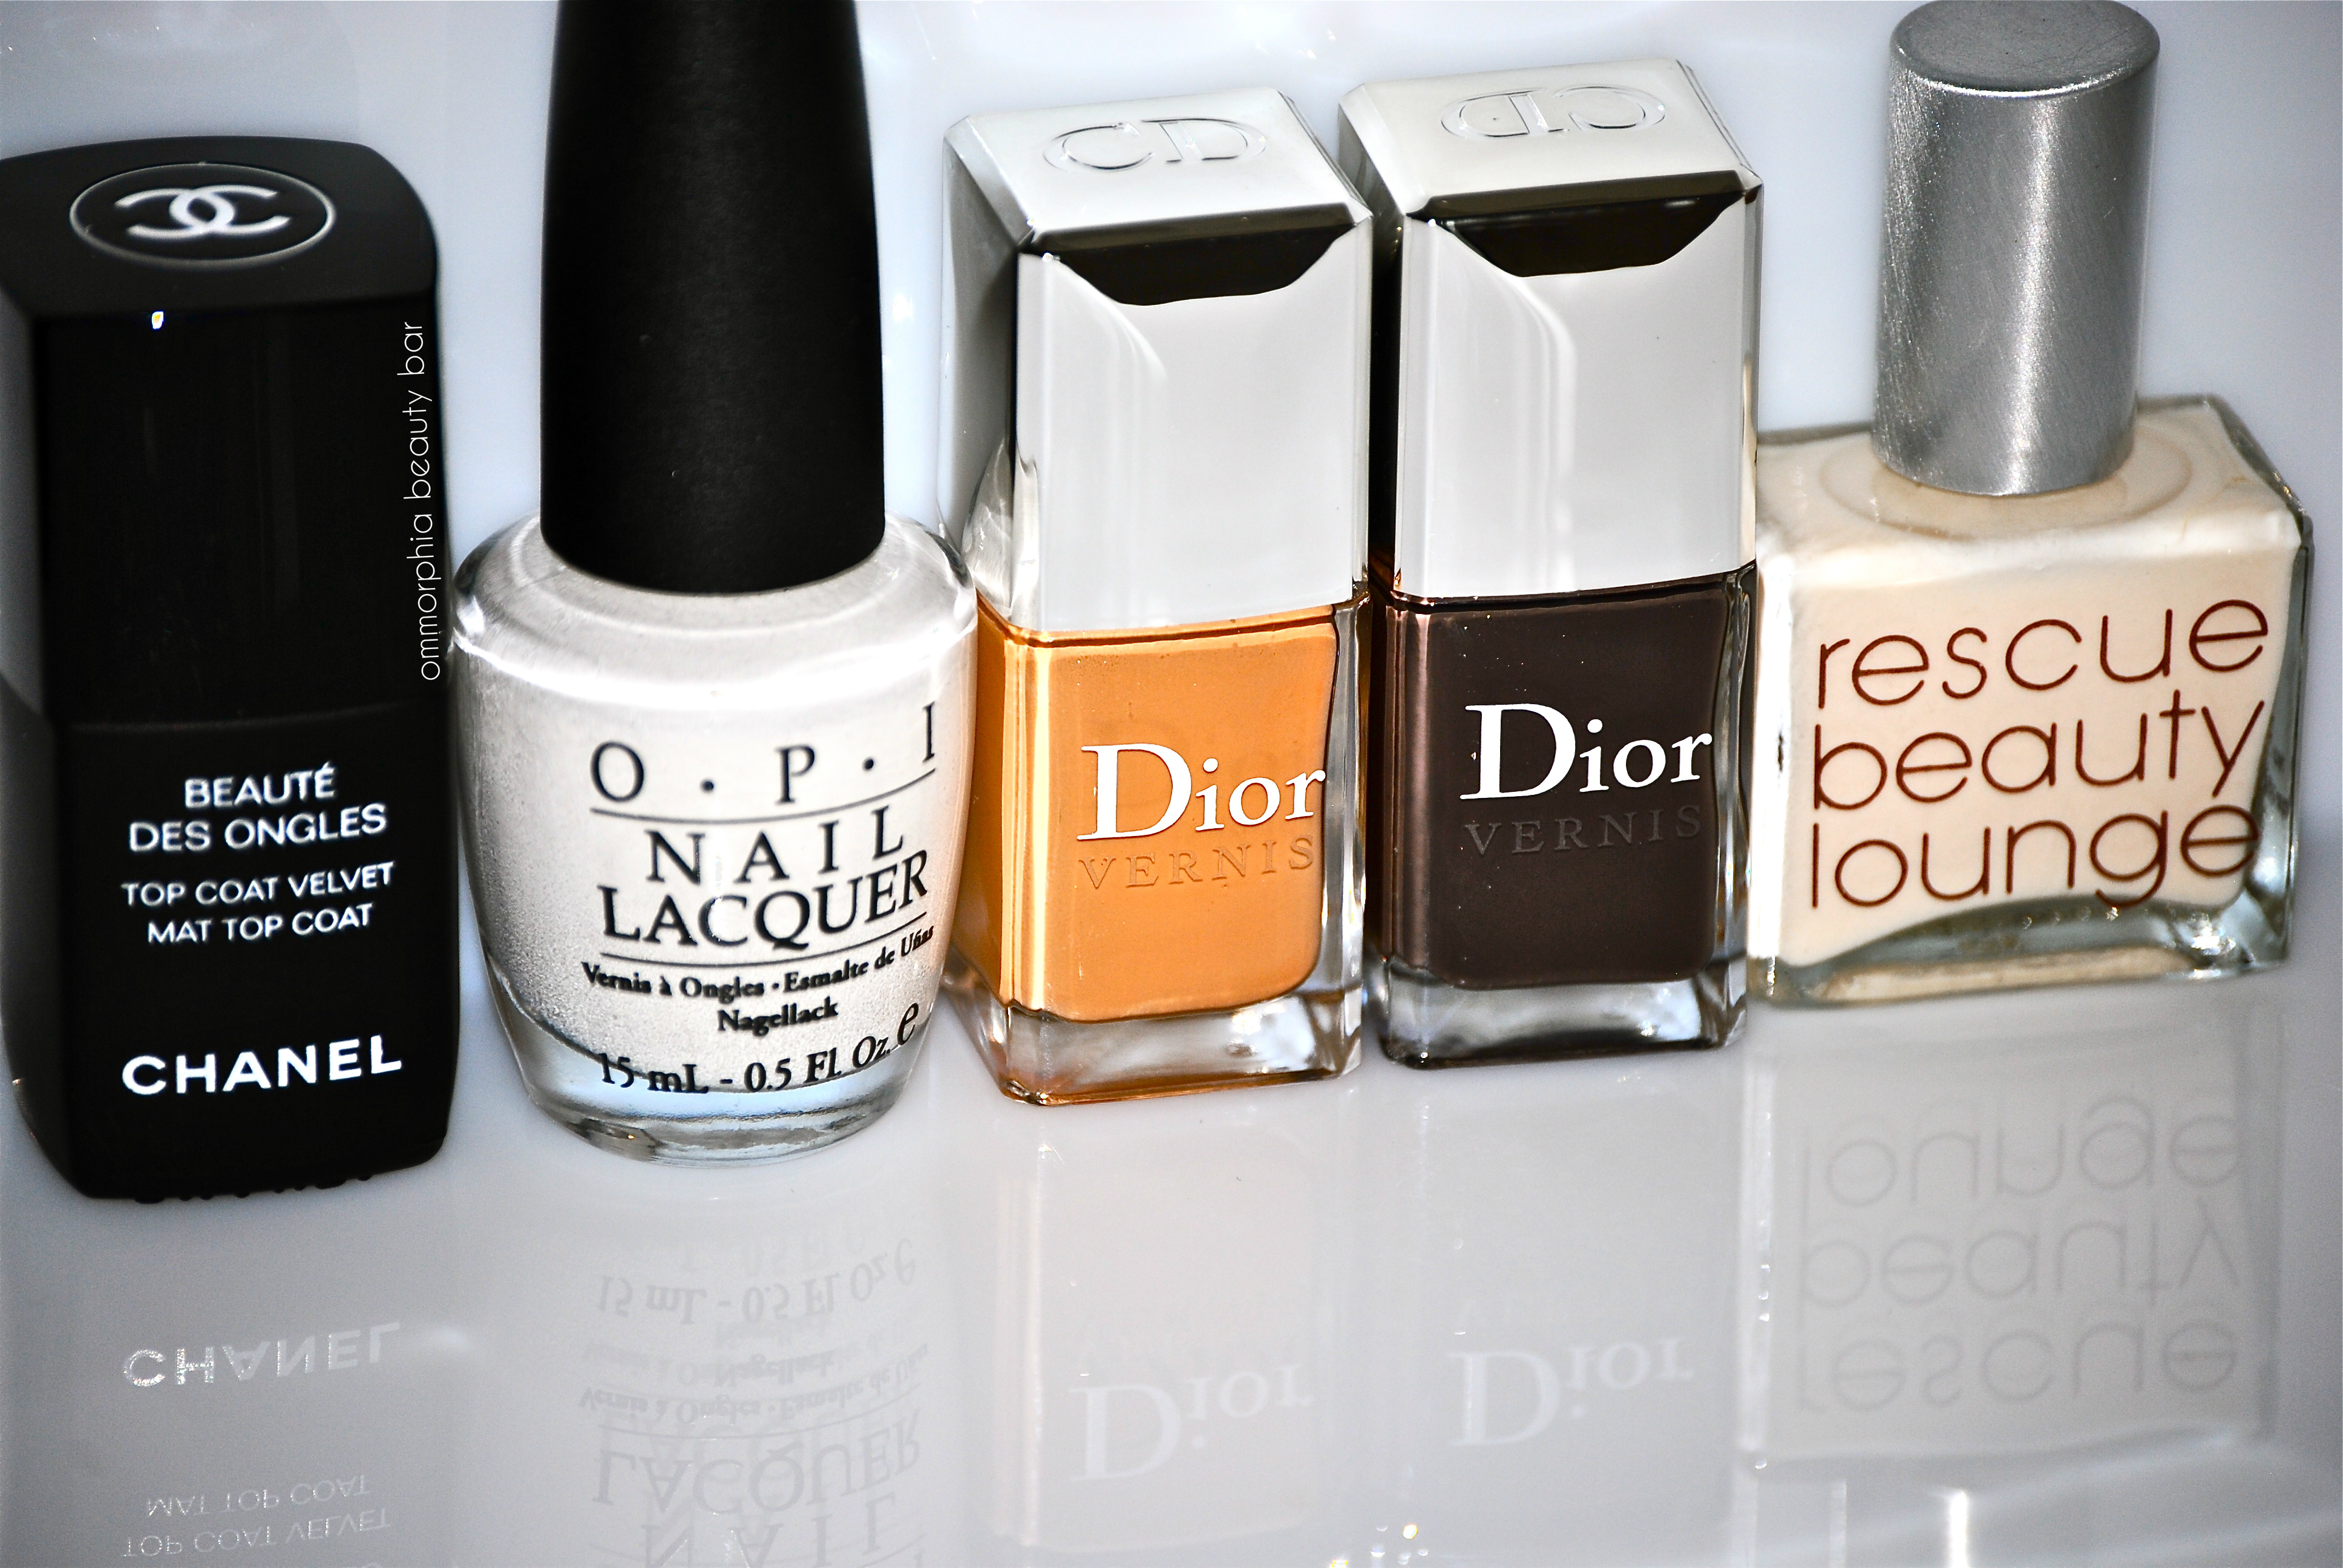
- The shades used – OPI Bride’s Bouquet (old formula) and CHANEL Velvet Mat Top Coat (previously reviewed here)
- The look – matte white nails with glossy white tips, except for the ring finger which sported the reverse: glossy white with a matte white tip
- Application – 3 thin coats of Bride’s Bouquet for the base on all nails, 2 thin coats on the tips
The bottle of Bride’s Bouquet that I have, is in OPI’s old formula – therefore not toxin-free, but it was the exact shade of white I was looking for; neither leaning too yellow, grey or pink, but rather a pure & pristine white hue. Application was easy, although it required 3 thin coats to reach the opacity I was looking for. The finish was one of unbelievable glossiness but I could have done without the fumes, a by-product of its formula.
When I originally reviewed CHANEL’s Velvet Mat Top Coat (limited edition), I stated that it took longer to develop its effect than other mattifying products, but over Bride’s Bouquet, not only did it work relatively quickly, but left a plush finish behind and lent my nails a softly diffused look.
The tips were all done free-hand (hence the less than perfect application) … I love this delicate effect!

Winter’s Snow nails
Winter’s Snow nails
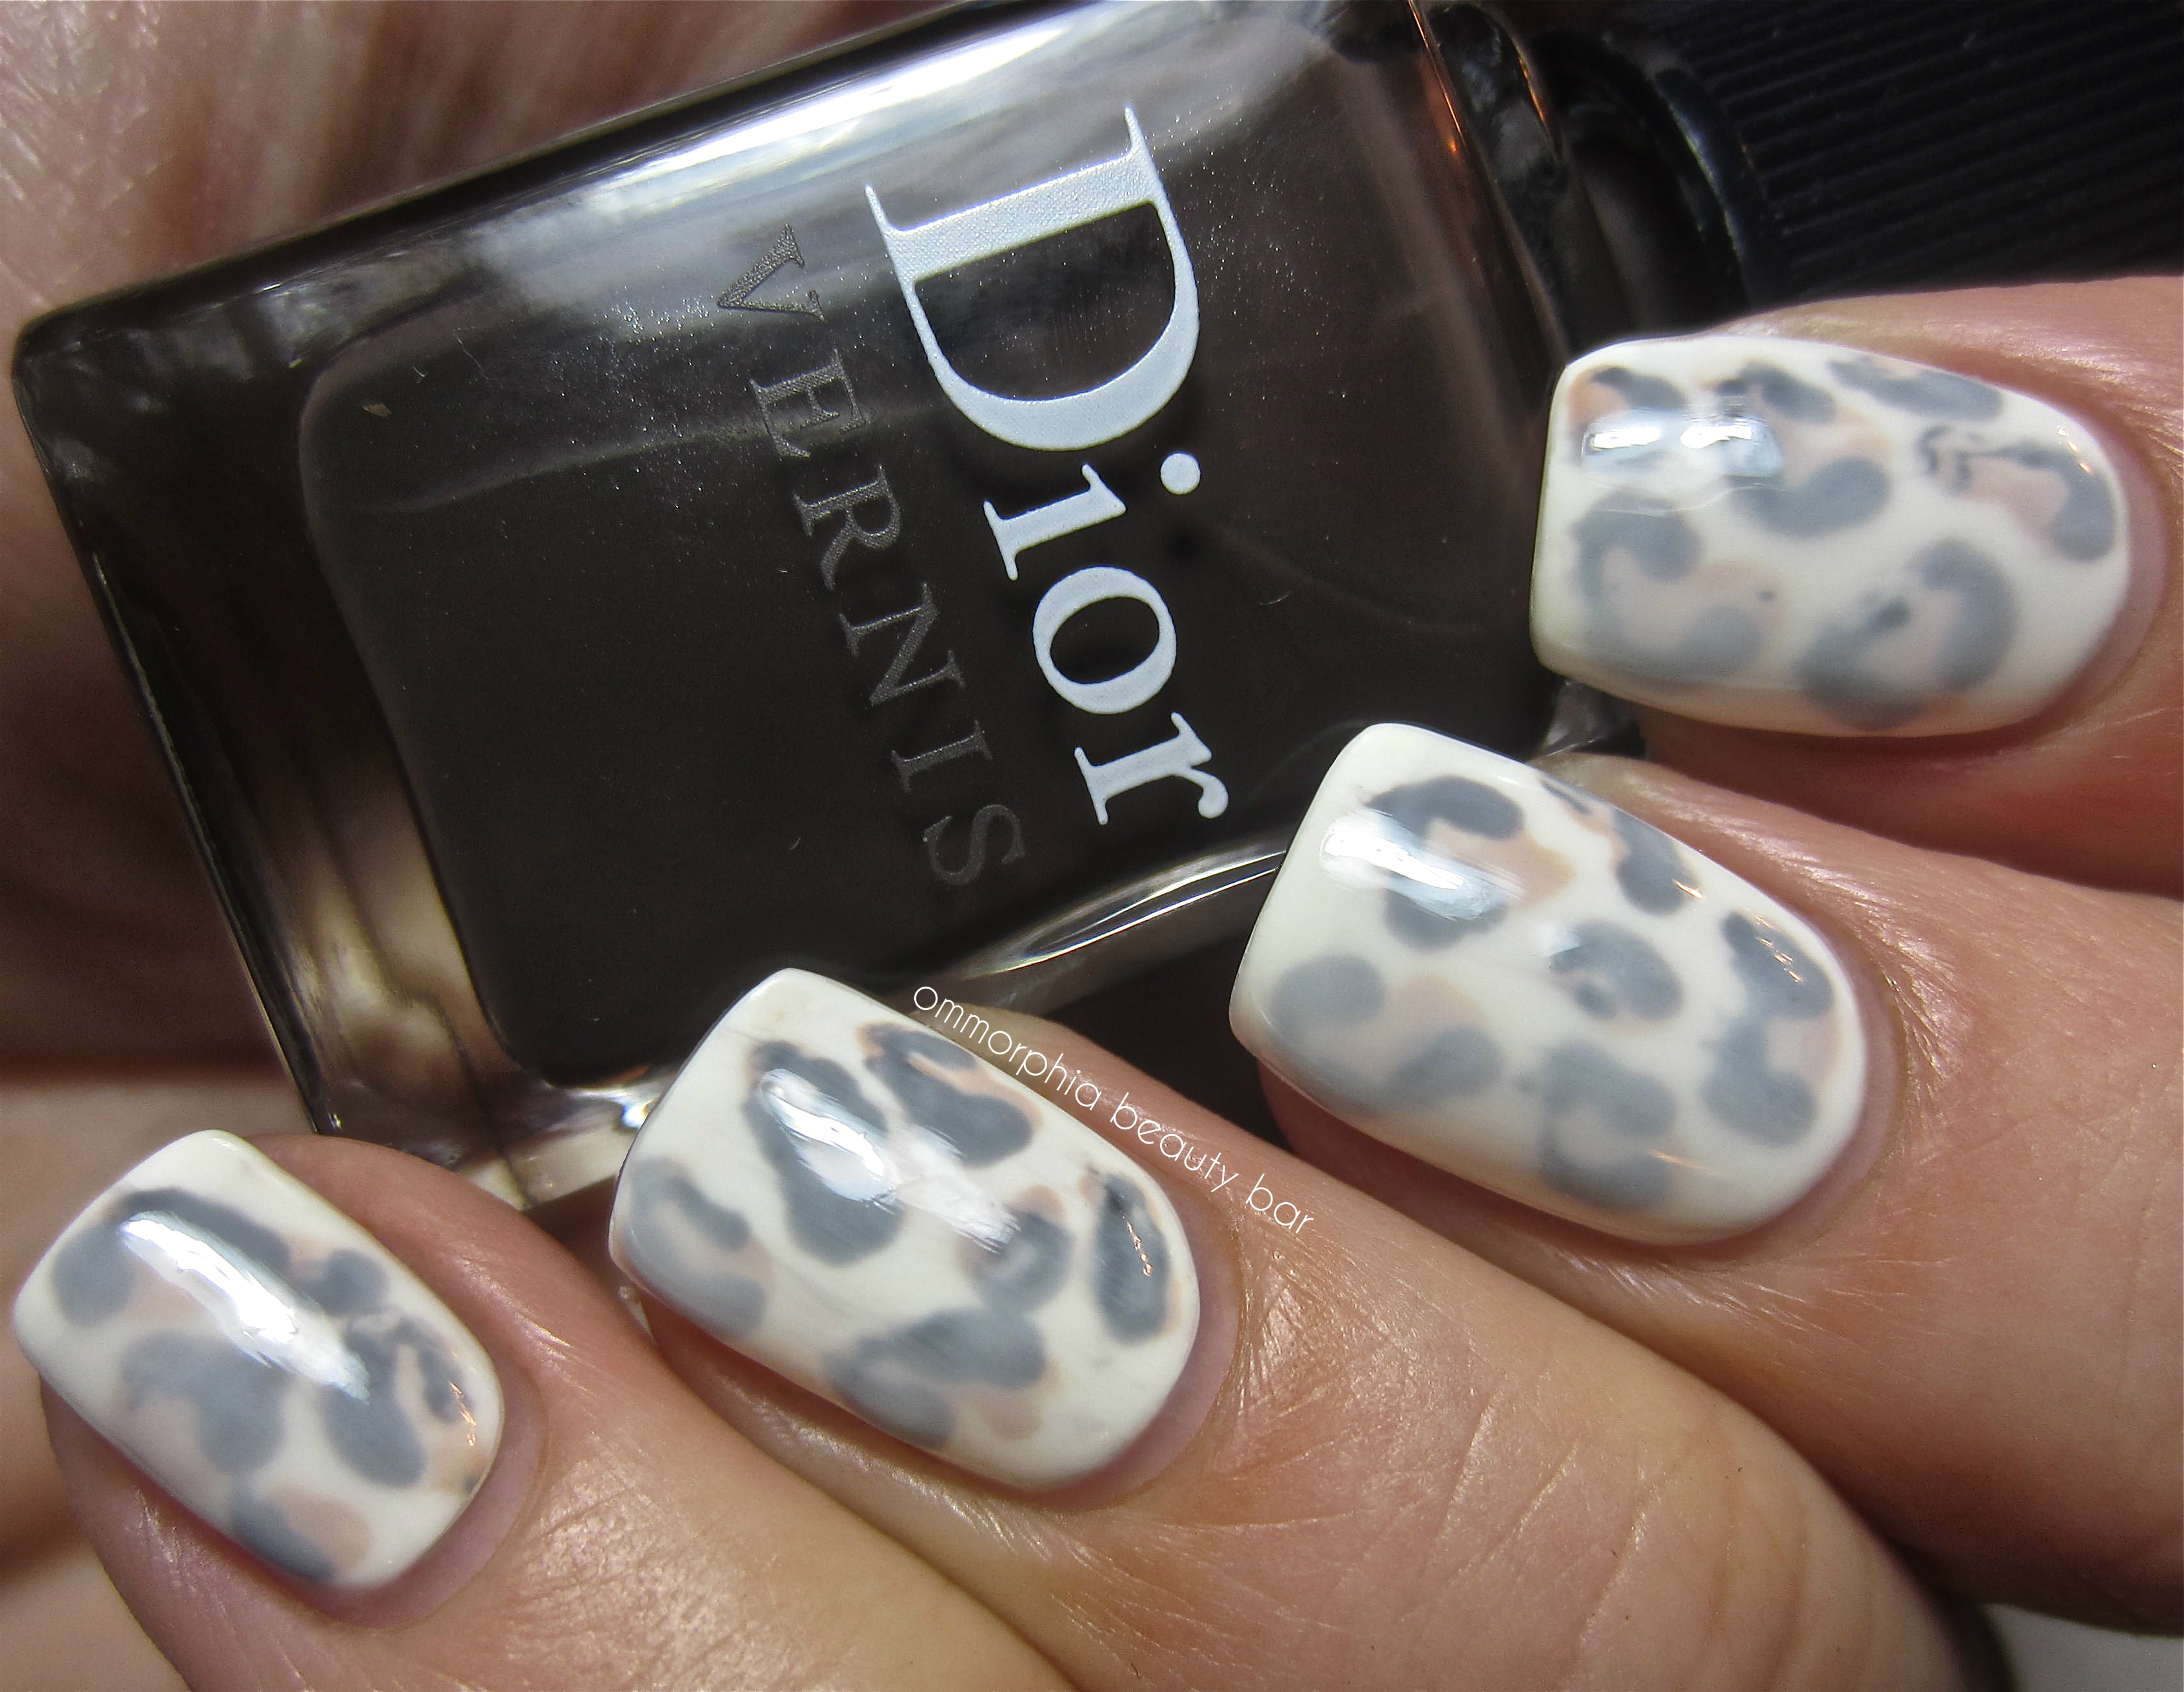
Of course, it didn’t end there. I wanted to take this look up a notch and decided that my all white nails would be the perfect canvas to attempt something I’ve been curious to try – leopard spots, but not just any leopard: those of a snow leopard, an elusive and solitary feline beauty found in the mountainous regions of Central Asia, reigning supreme in snowy landscapes.
- The inspiration – a Snow Leopard’s rosettes
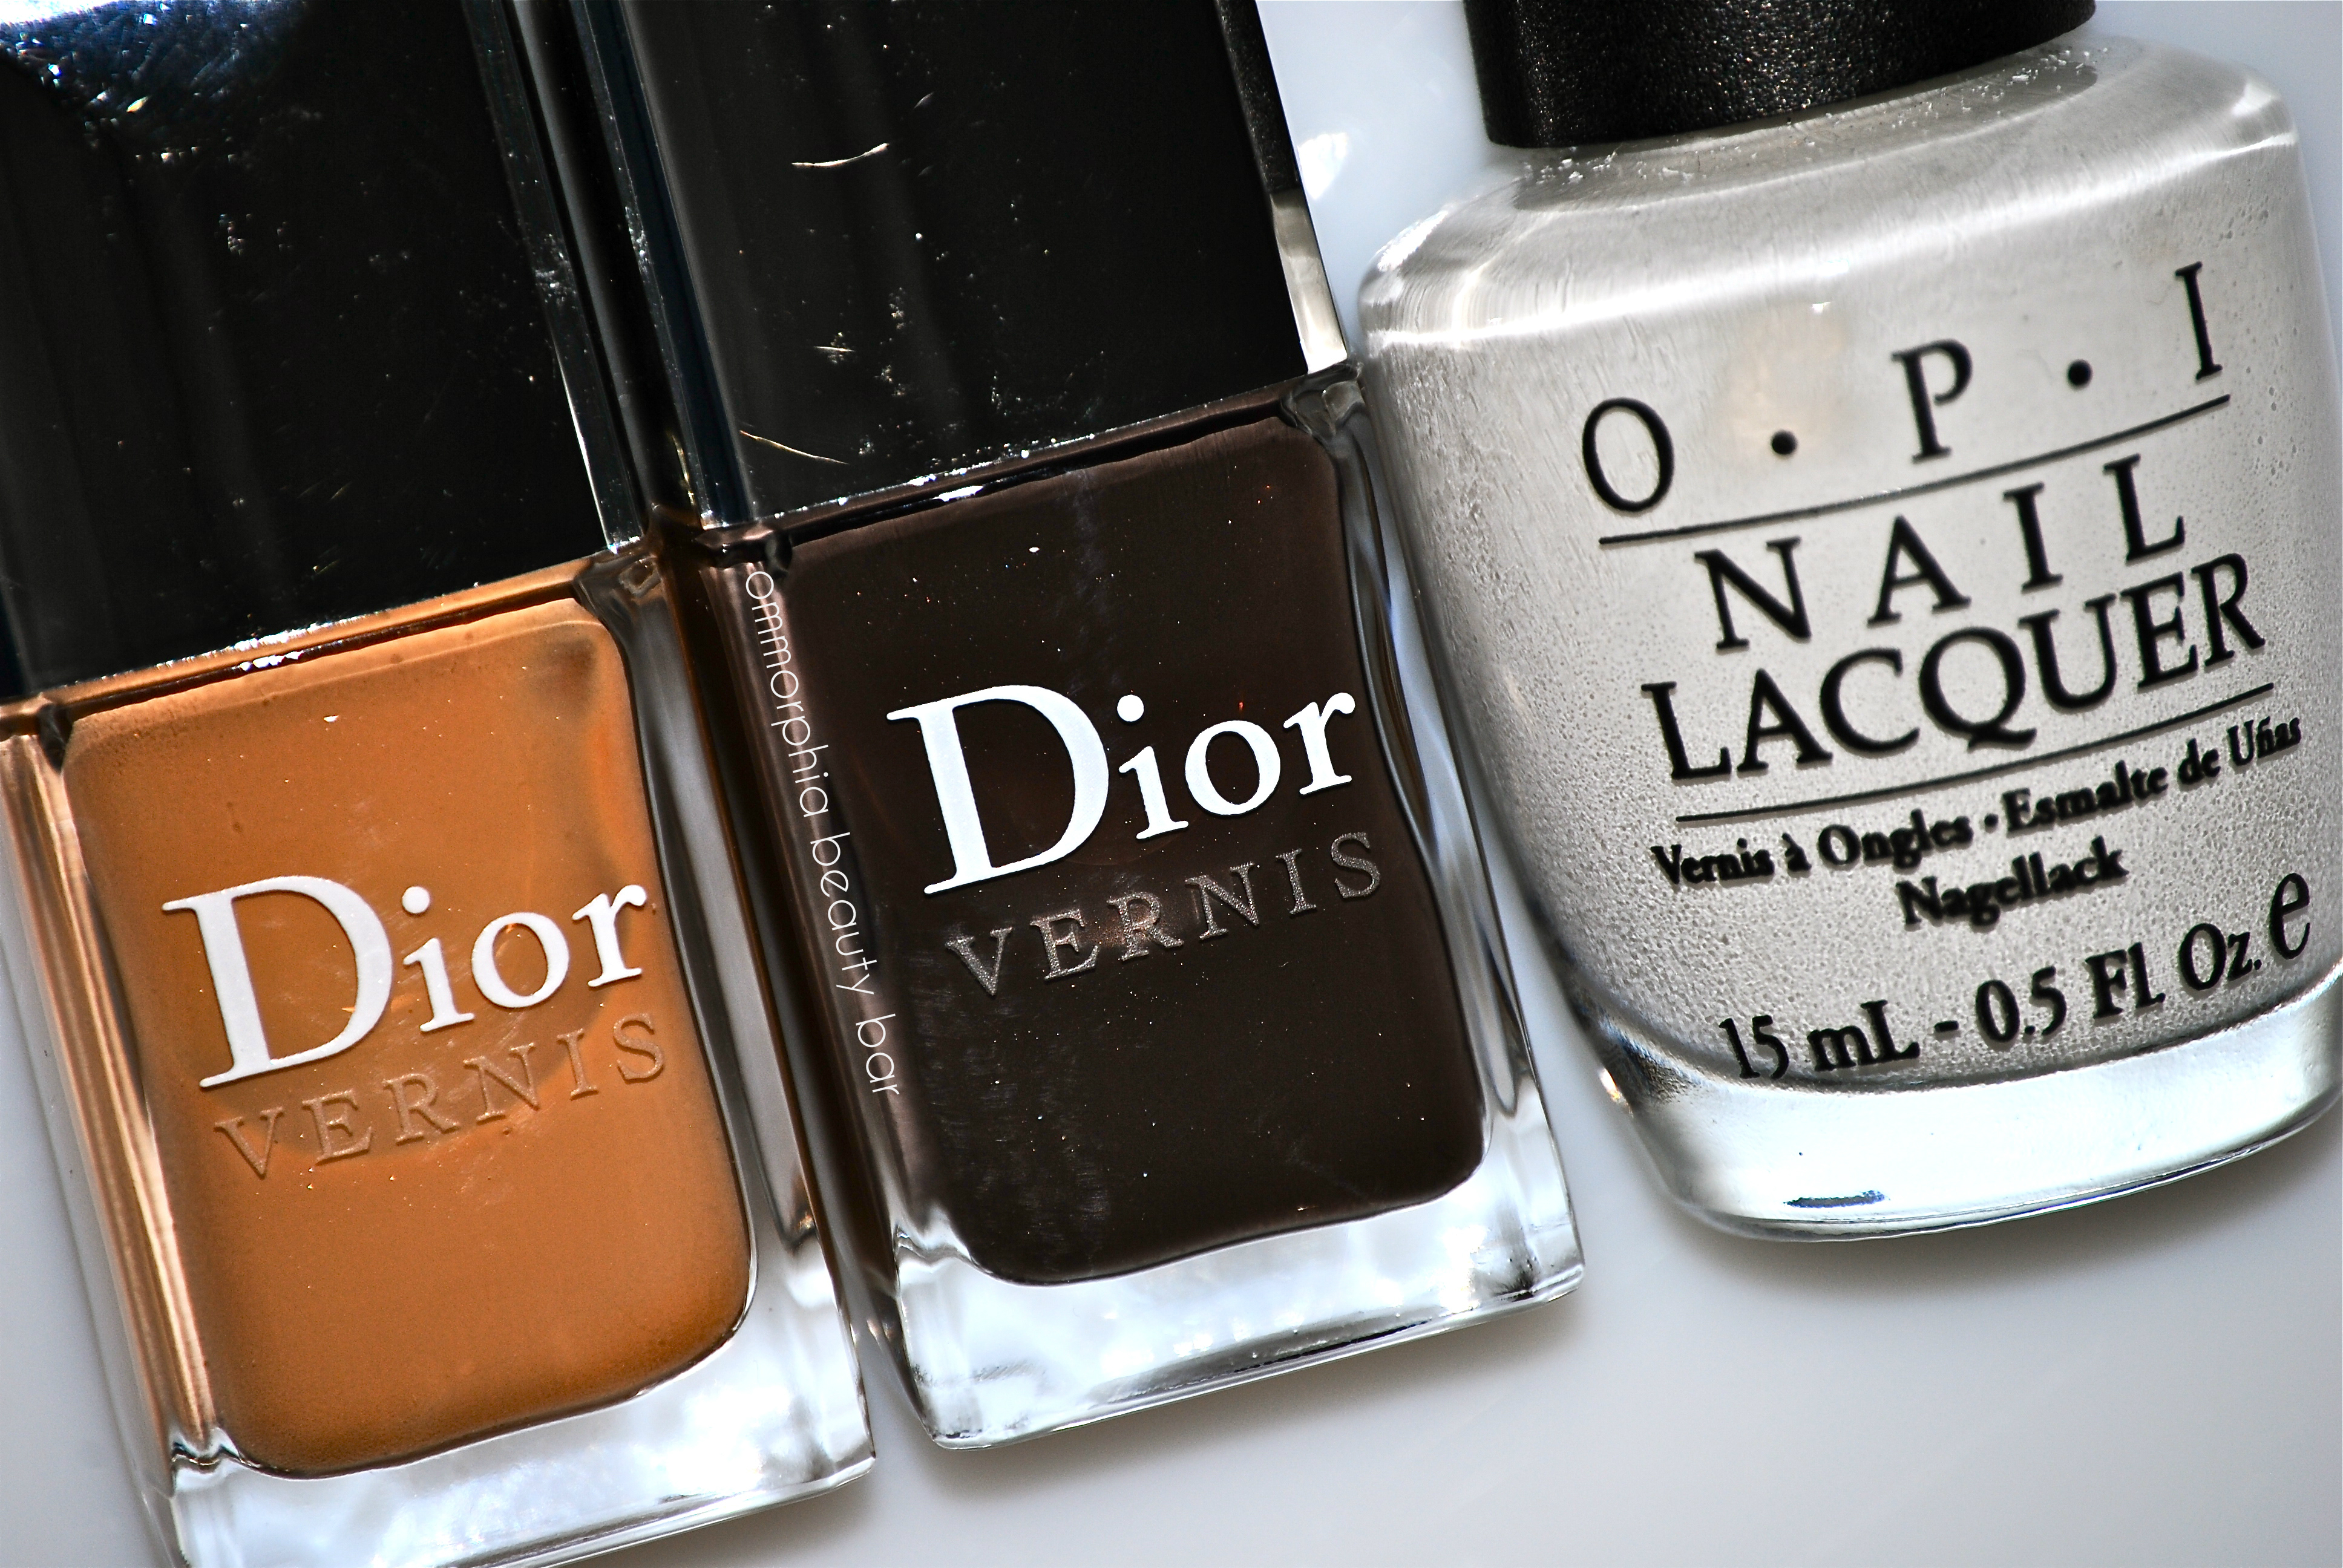
- The shades used – Dior’s Camel and Ebony (from the limited edition Mitzah Collection – previously reviewed here)
- The look – irregularly shaped & spaced dabs of the tan shade, partially outlined with the darker shade
- Application – using a fine brush, I created irregularly shaped rosettes with ‘Camel’, partially outlined using ‘Ebony’ which was applied with the blunted end of a toothpick.
Interestingly, the two shades used to make the rosette shapes, Camel and Ebony, were created in homage to Dior muse Mitzah Bricard’s love of leopard print — I love it when things all tie in together like that!
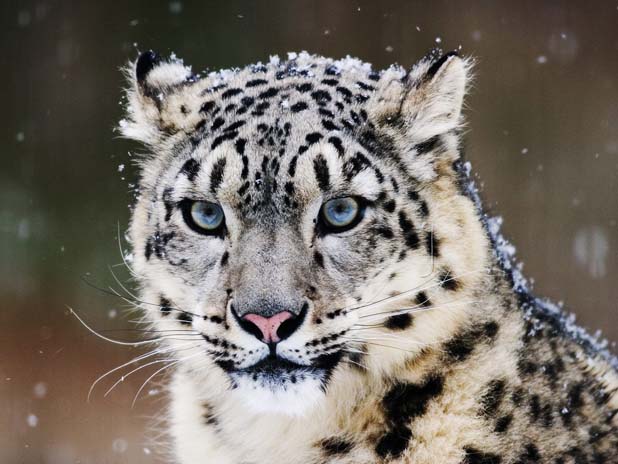
Snow Leopard (Panthera uncia) – source
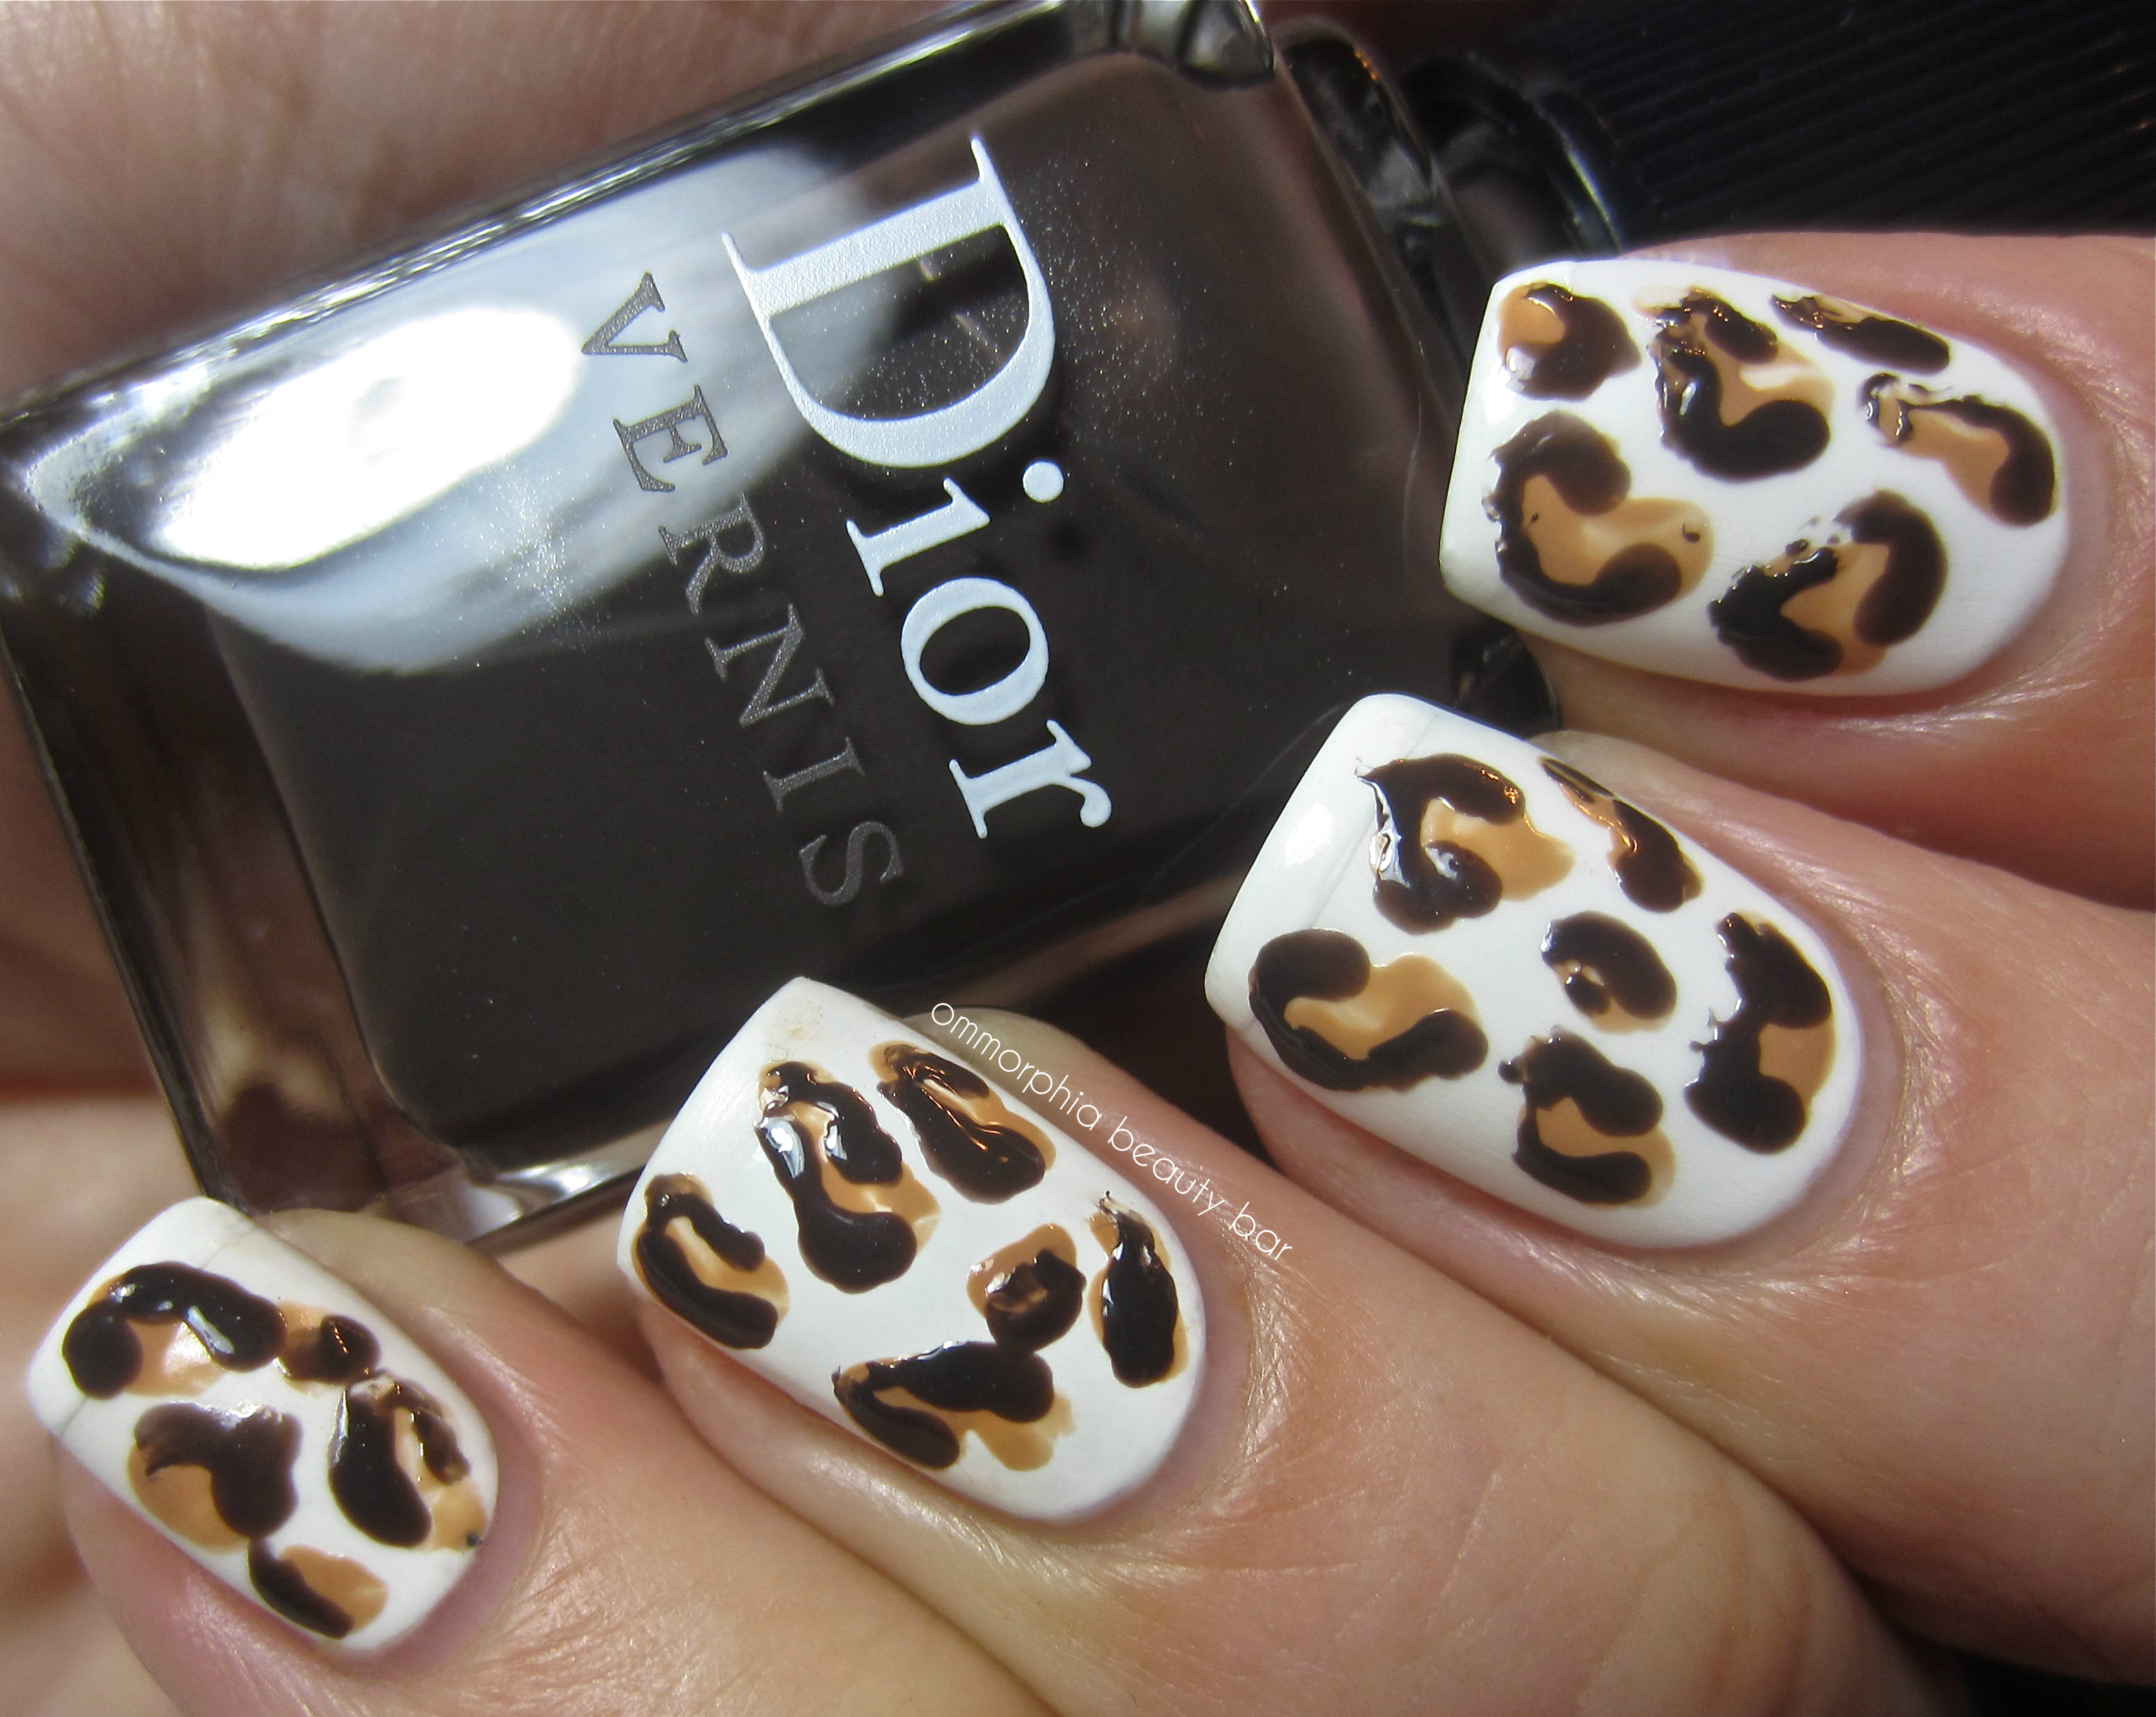
free-hand leopard rosettes

To complete my Snow Leopard look, I chose Rescue Beauty’s ‘Bella’ from the GOMM Collection (previously reviewed here), a creamy translucent white hue that not only softened the look of the rosettes, but added a veiled & softened overall appearance – much like catching a glimpse of a snow leopard in a snow storm, no?
Snow Leopard nails
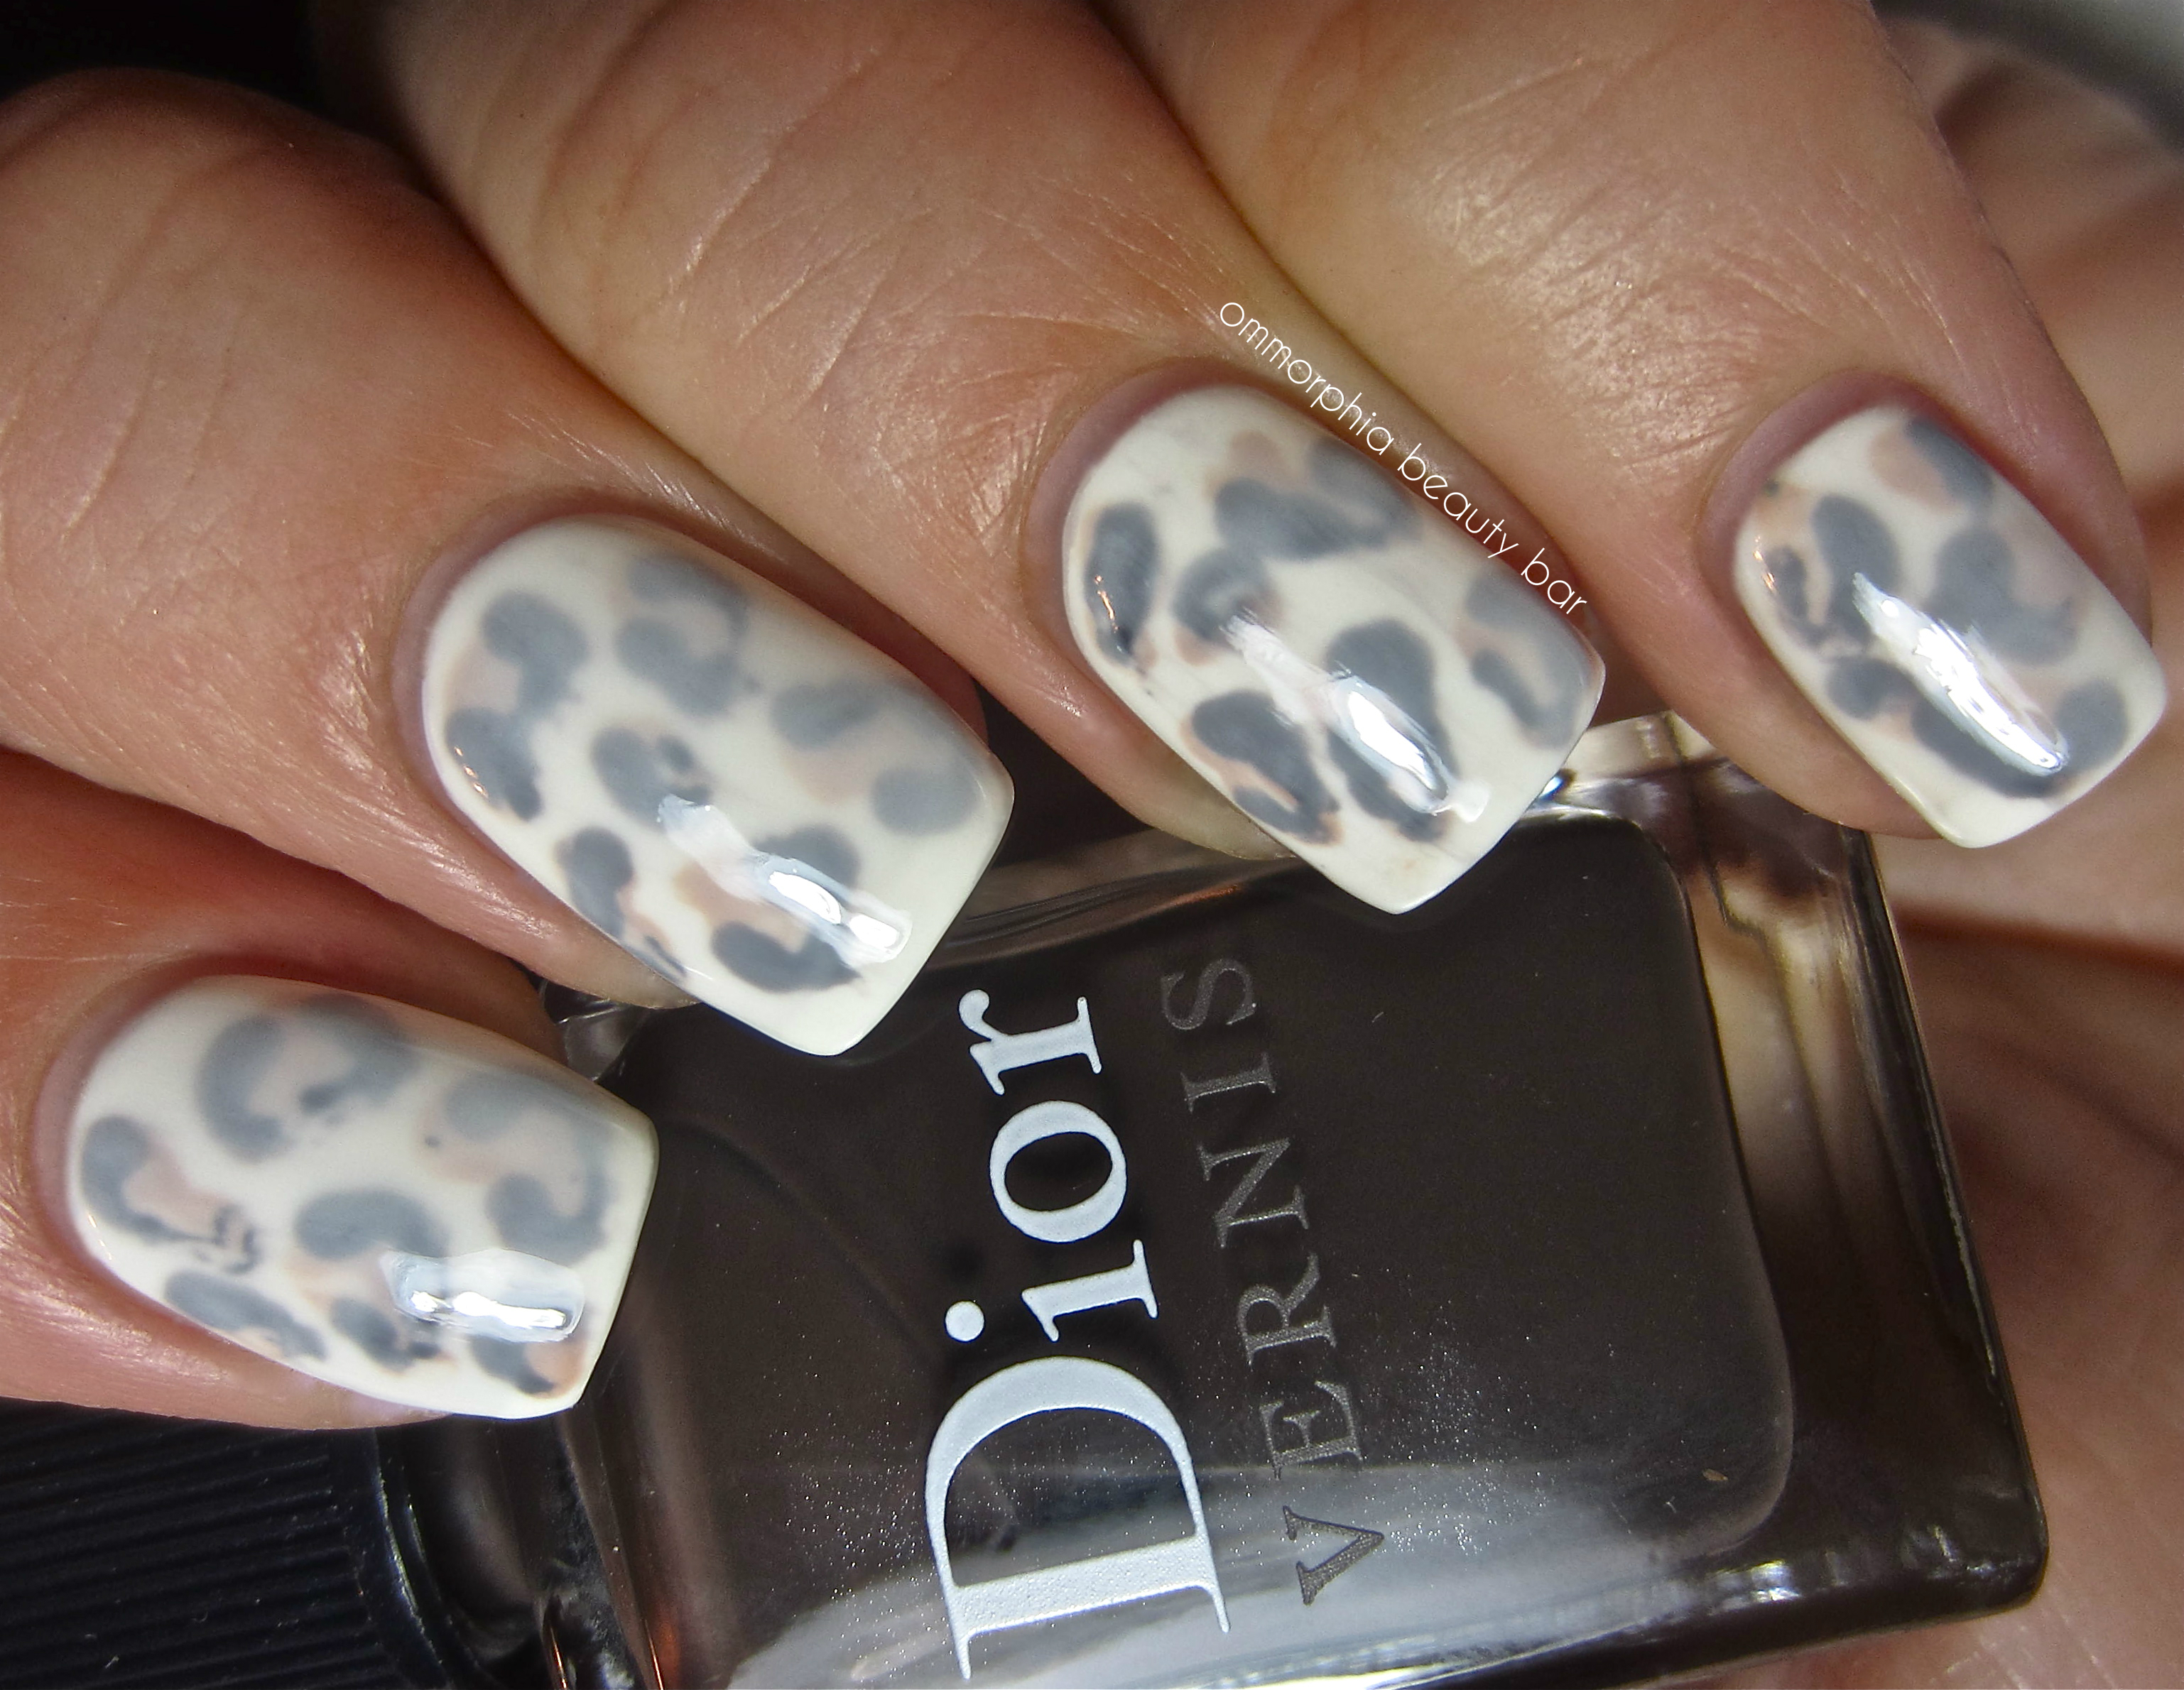
Snow Leopard nails
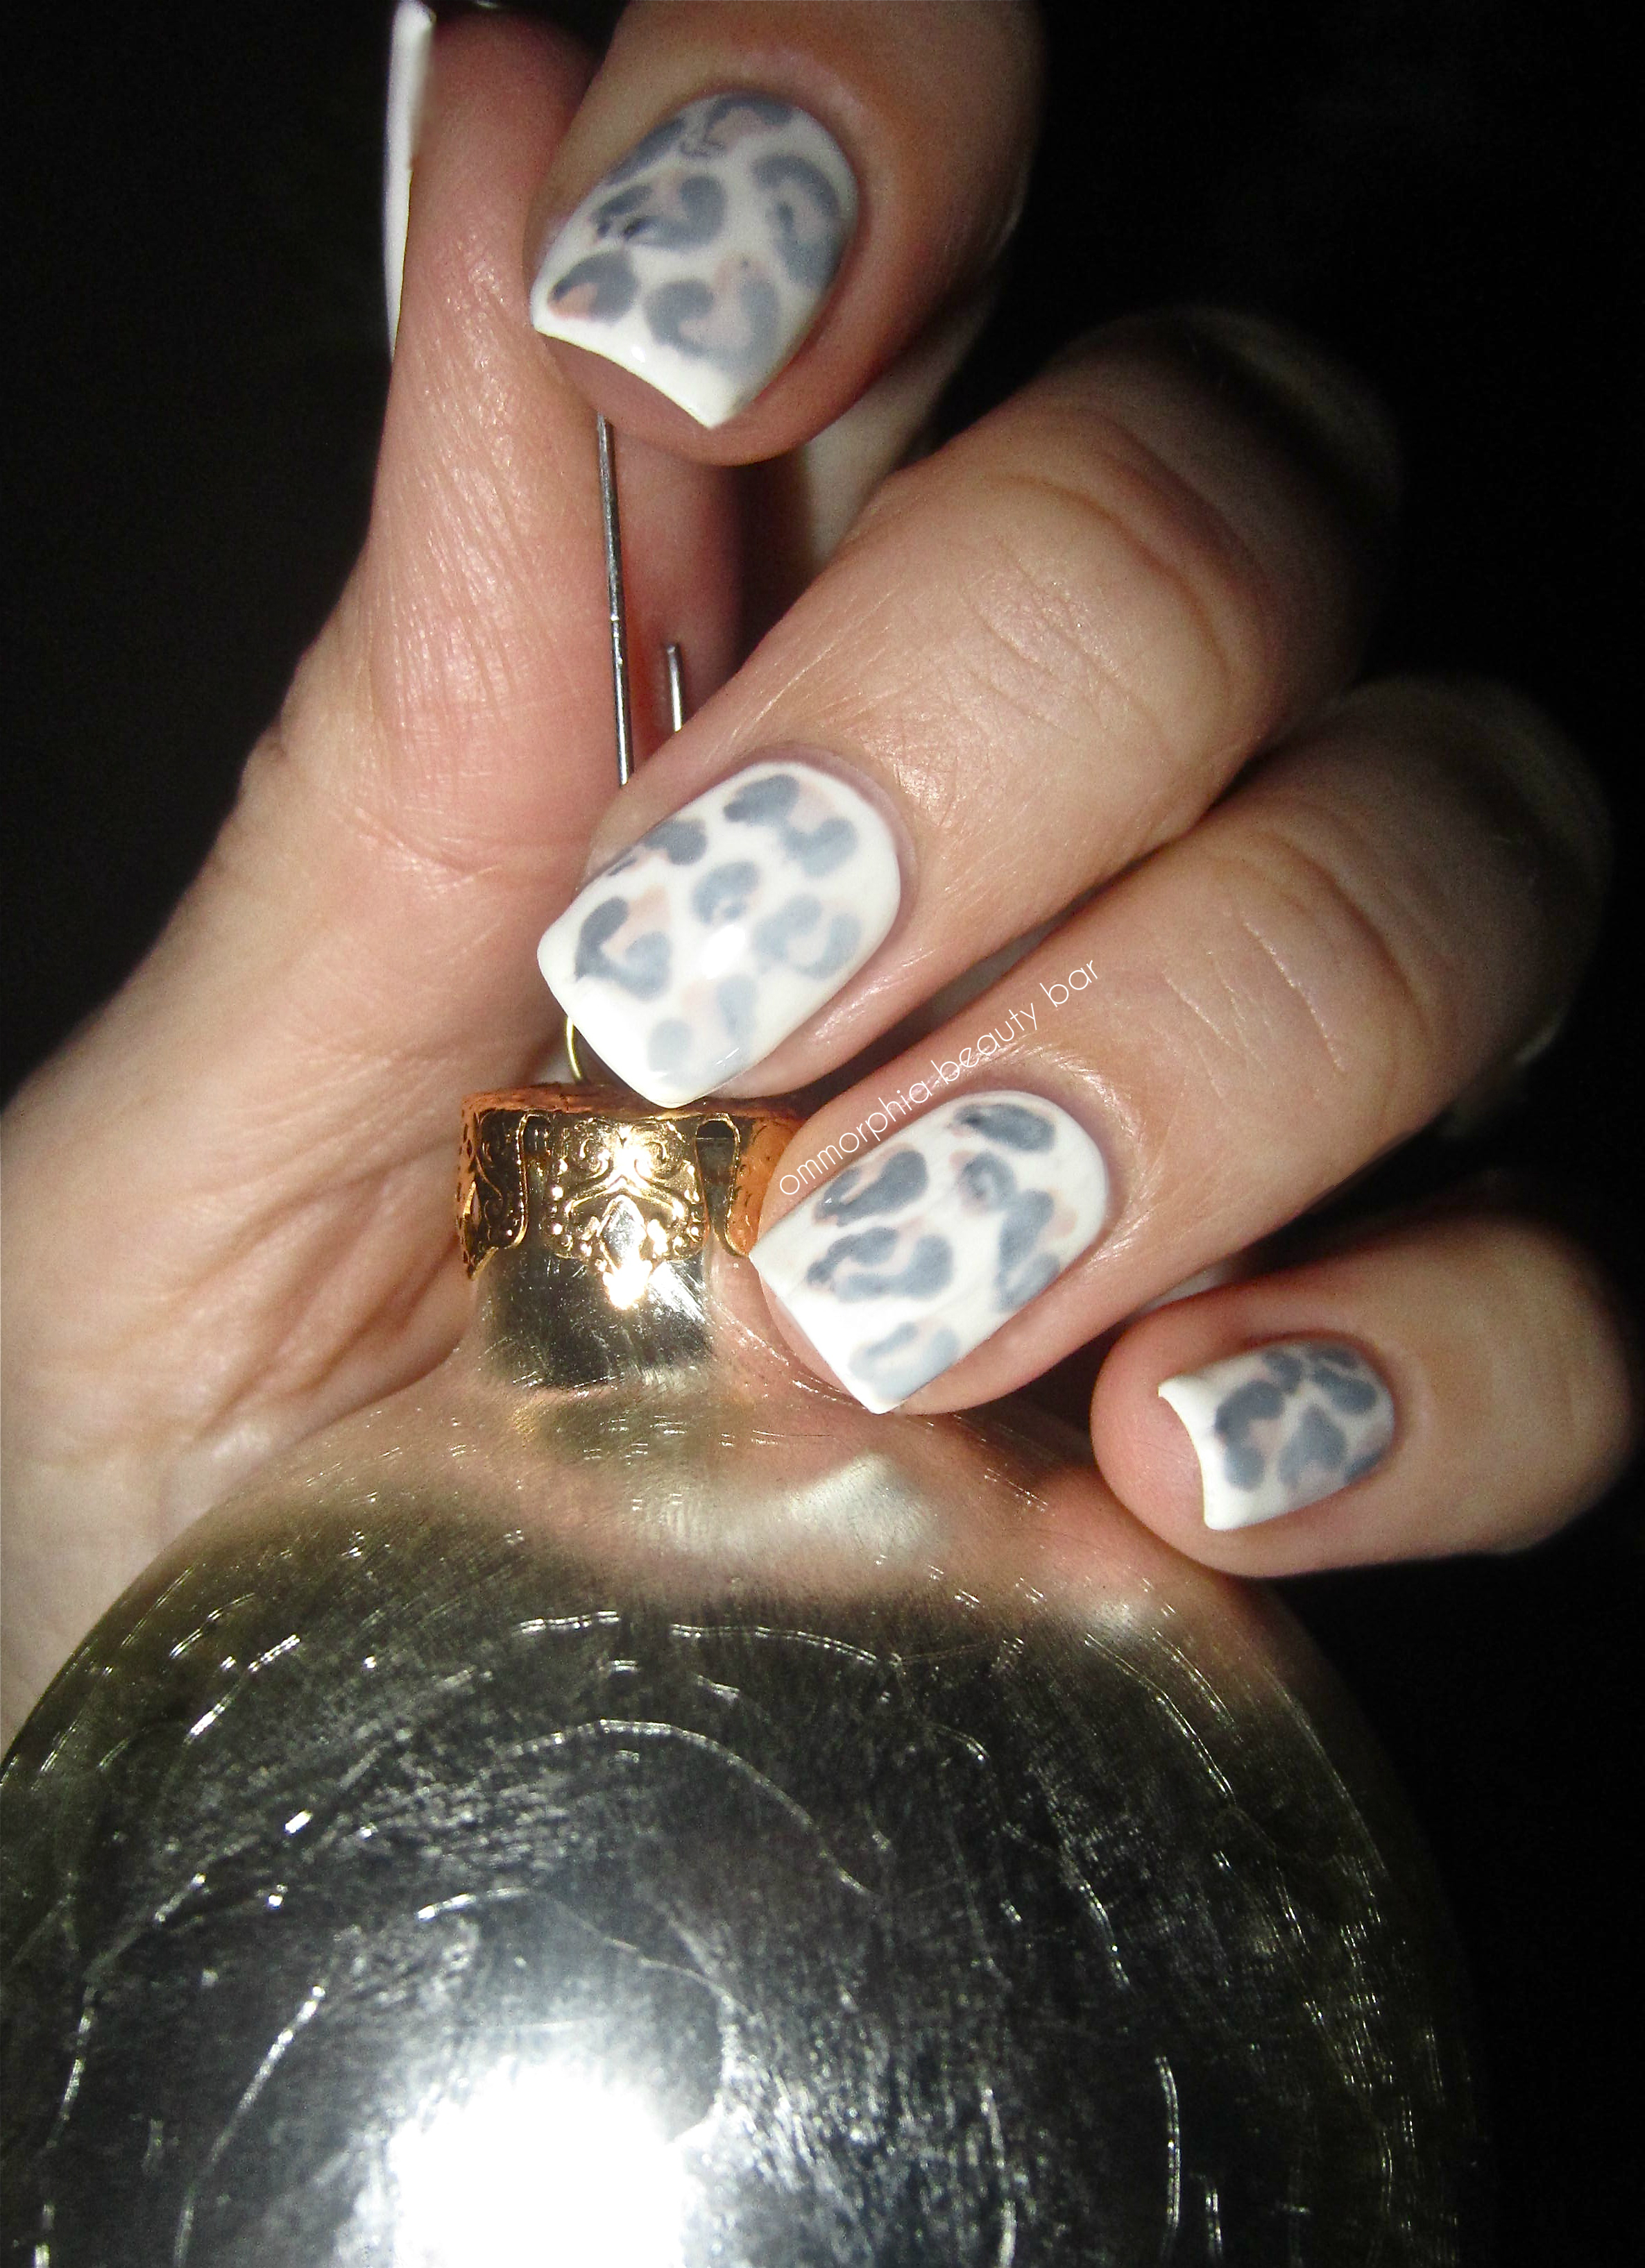
Snow Leopard nails … and an ornament!
Final thoughts: I don’t often delve into the world of nail art (as my skills in that area are meagre at best), but I was surprised by how easy it was to create this rosette pattern, using a minimum amount of products and fuss. While I loved the wintry feel of my white mani, I couldn’t stop staring at my nails with their muted leopard print. A very chic way to decorate the tree, that’s for sure!


19 Responses to An evolving mani: from wintry to Snow Leopard nails!