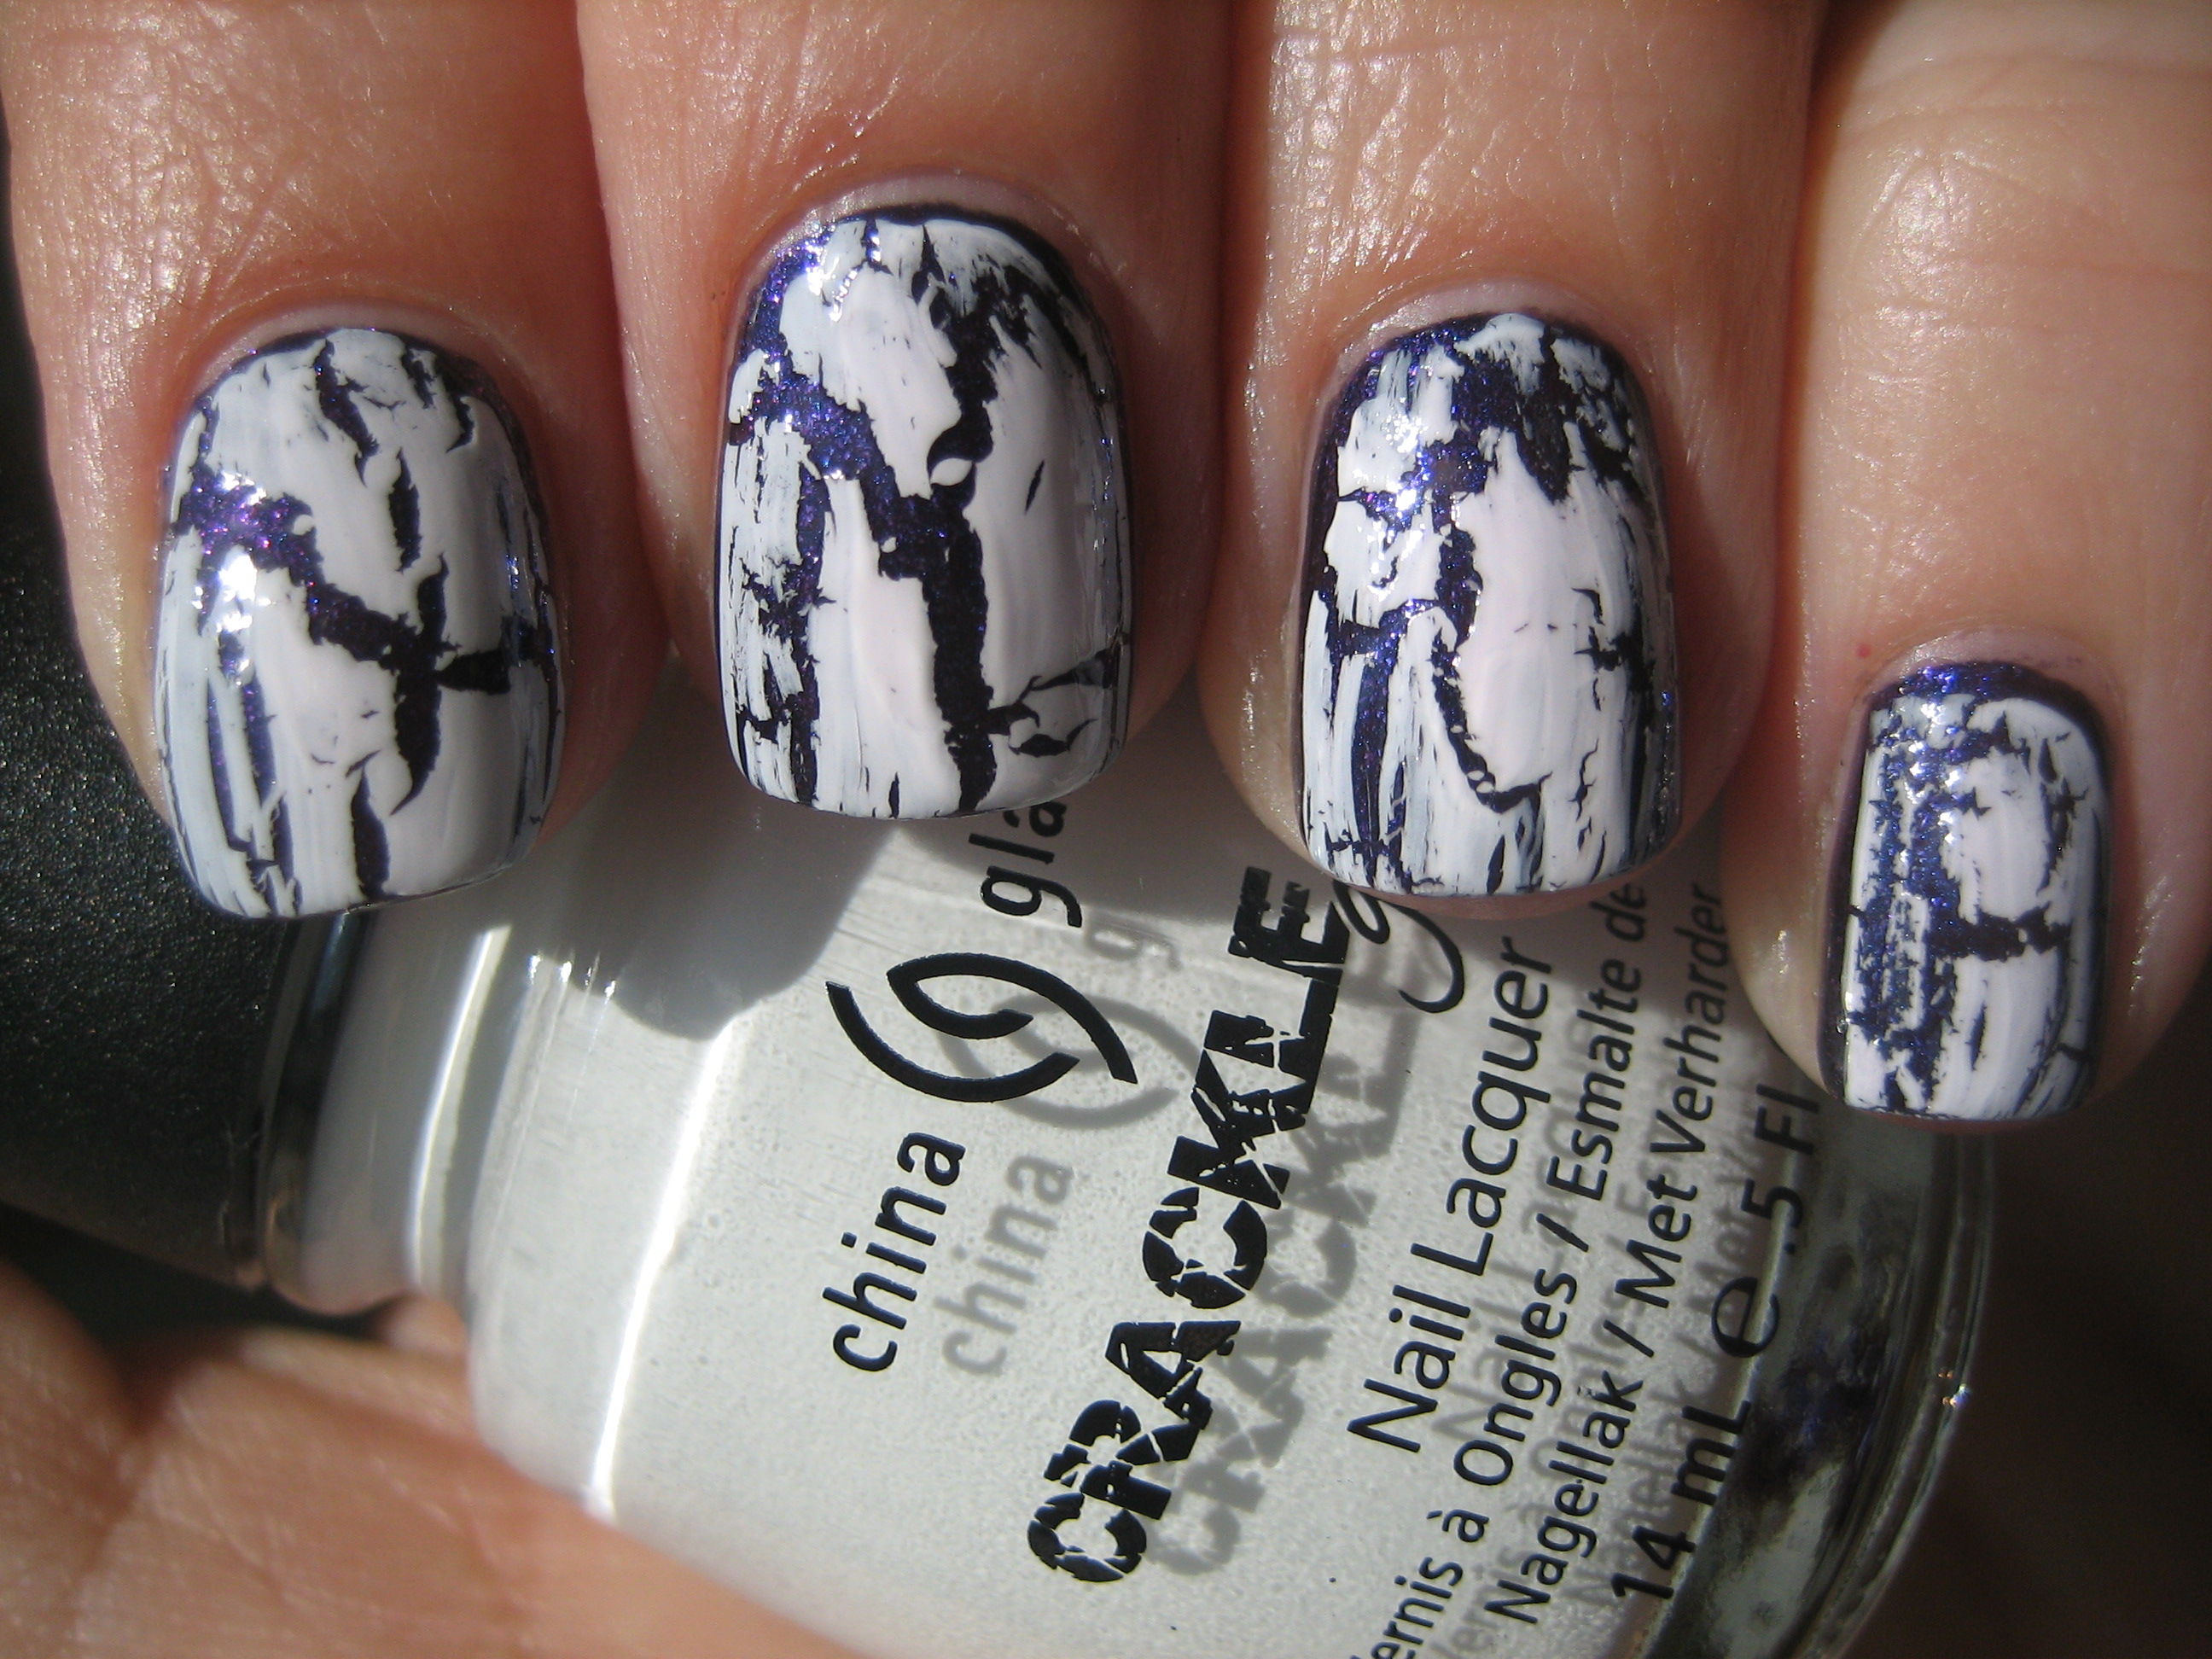
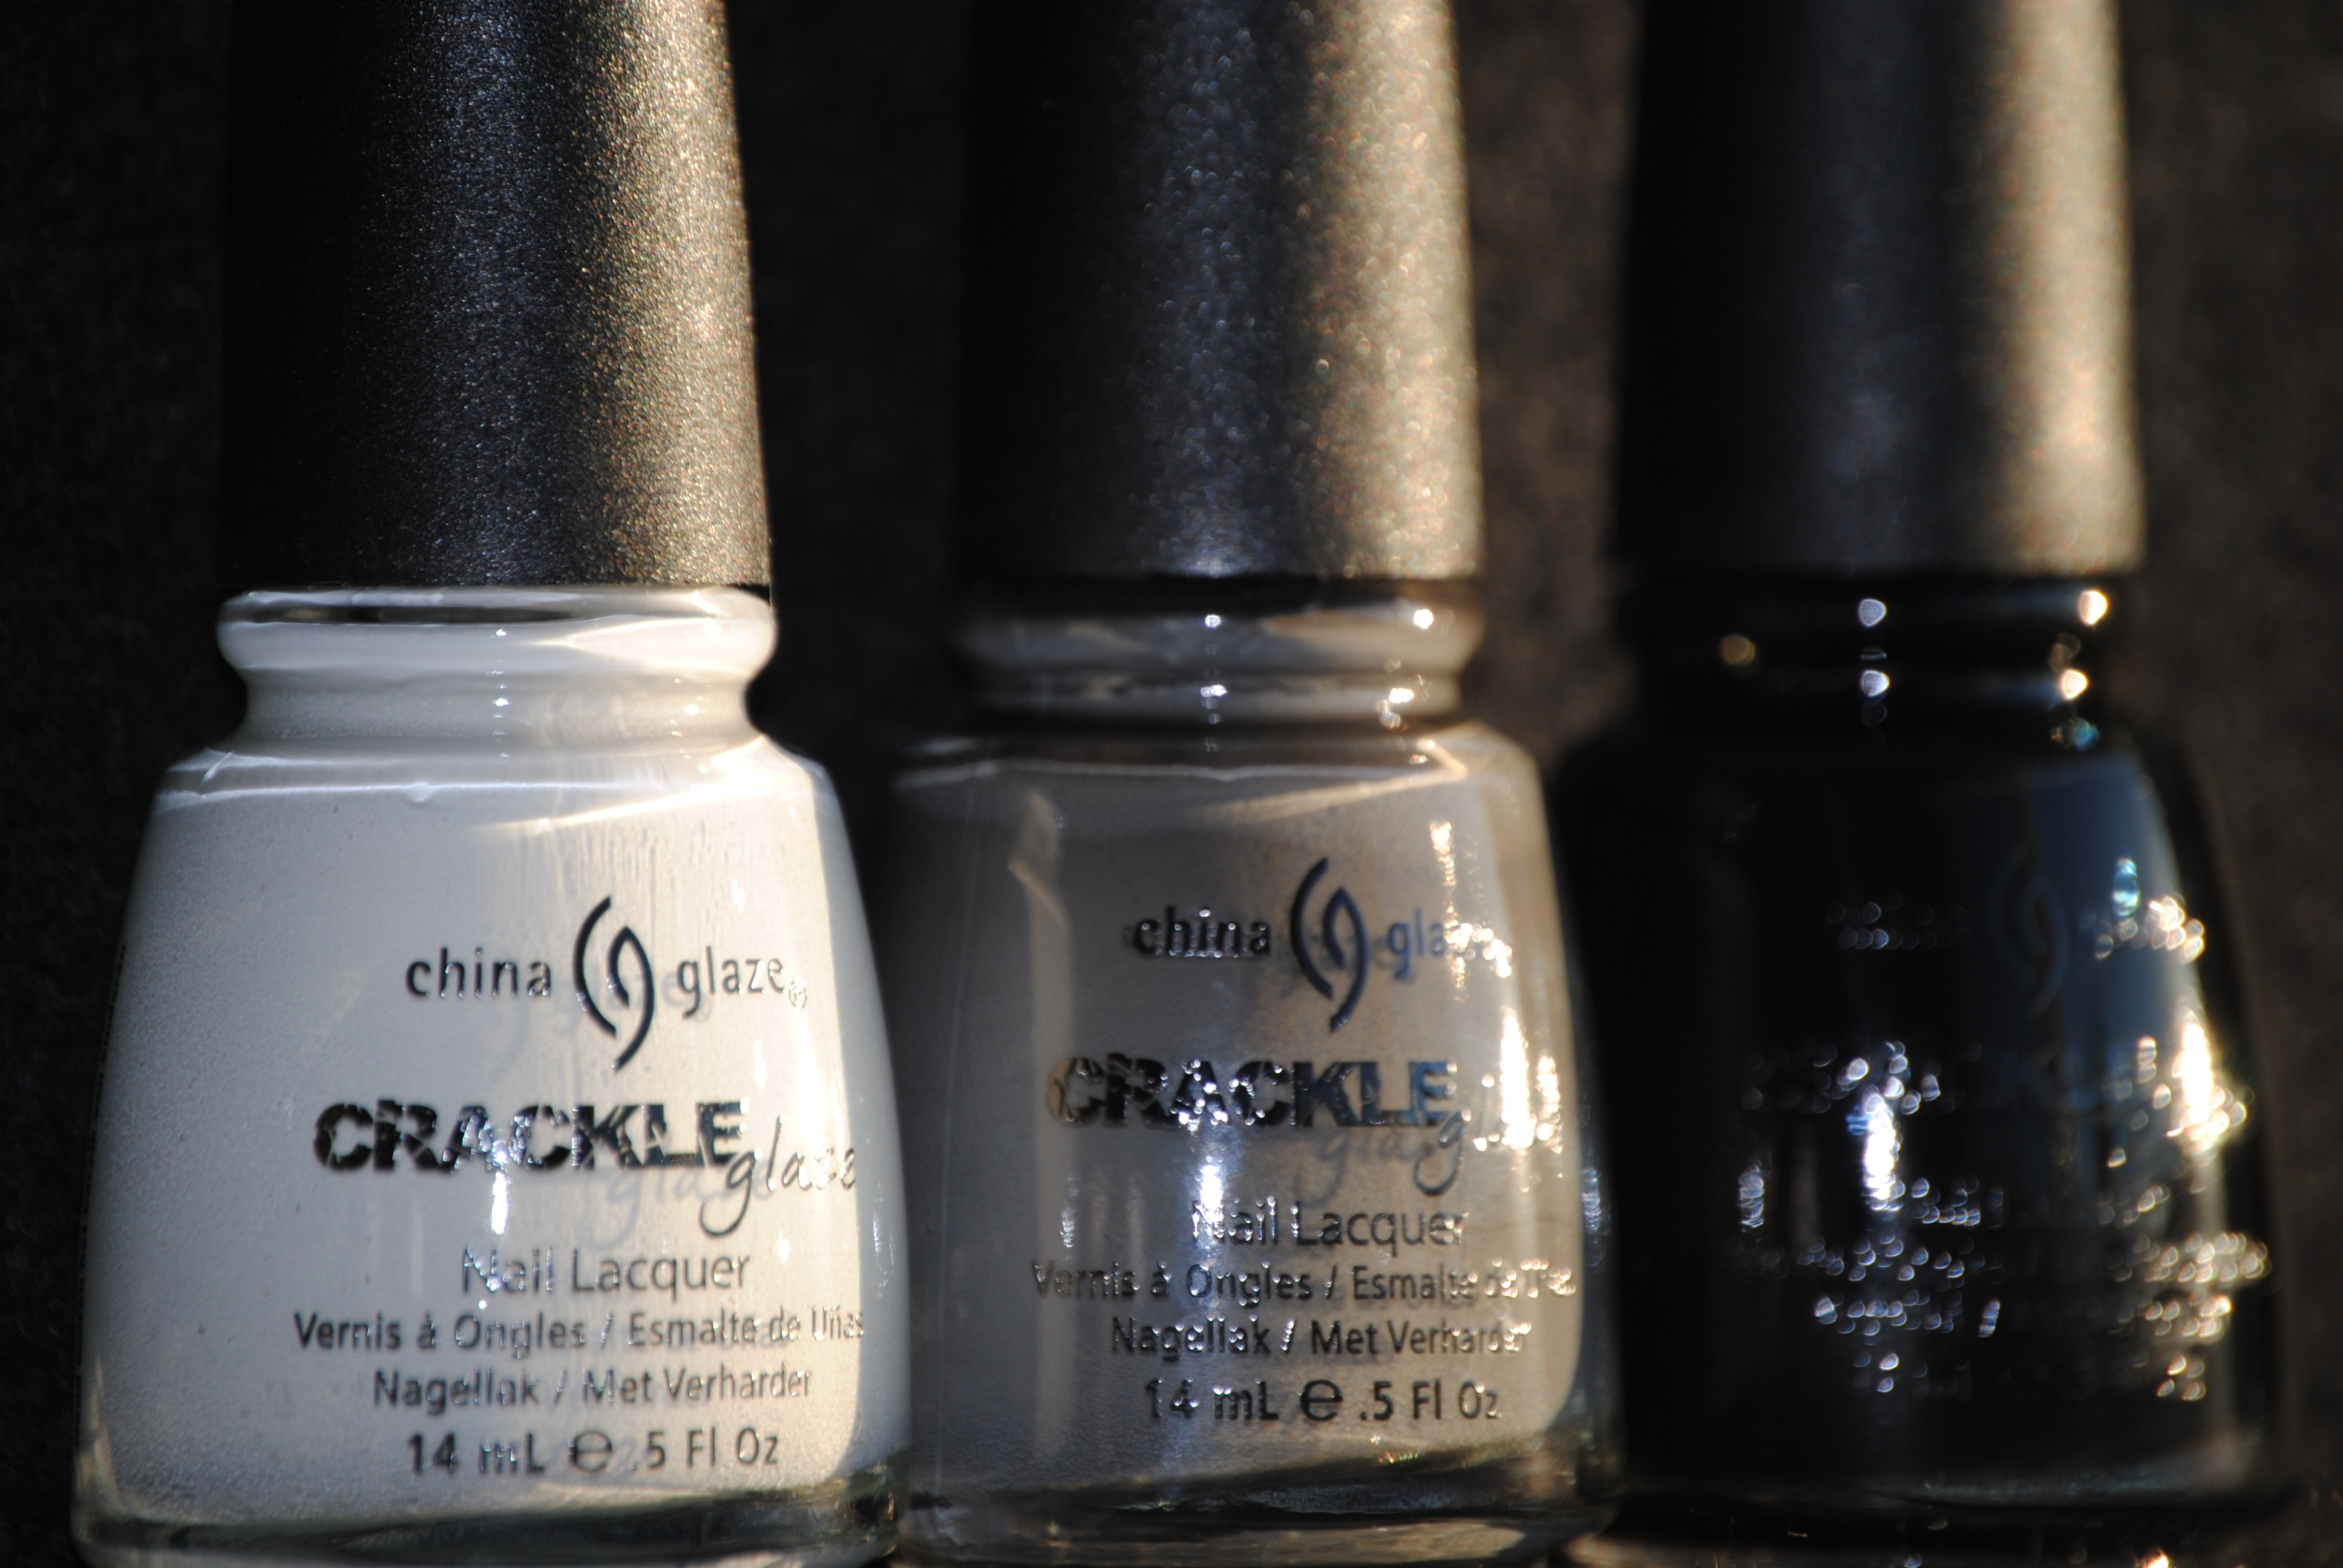
The long anticipated Crackle Glaze polishes from China Glaze are finally here! I have broken down my review into 2 parts, as I wanted to show you several looks that you can achieve with these lacquers, and so today I present you with part 1. The three polishes I refer to as “the darks” include ‘Lightning Bolt’ – a crisp white, ‘Cracked Concrete’ – a dolphin grey and ‘Black Mesh – a tar black. These polishes are not only easy to use, but having several shades to choose from gives you so many combinations to play with….you’re only limited by your own imagination! I wanted to show you how each of these Crackle Glazes can be adjusted tonally, depending on what base colour you opted for, and thus I came up with three looks: subtle, tone-on-tone and contrasting. All swatches are with Sèche Natural base coat and Essie Good To Go top coat.
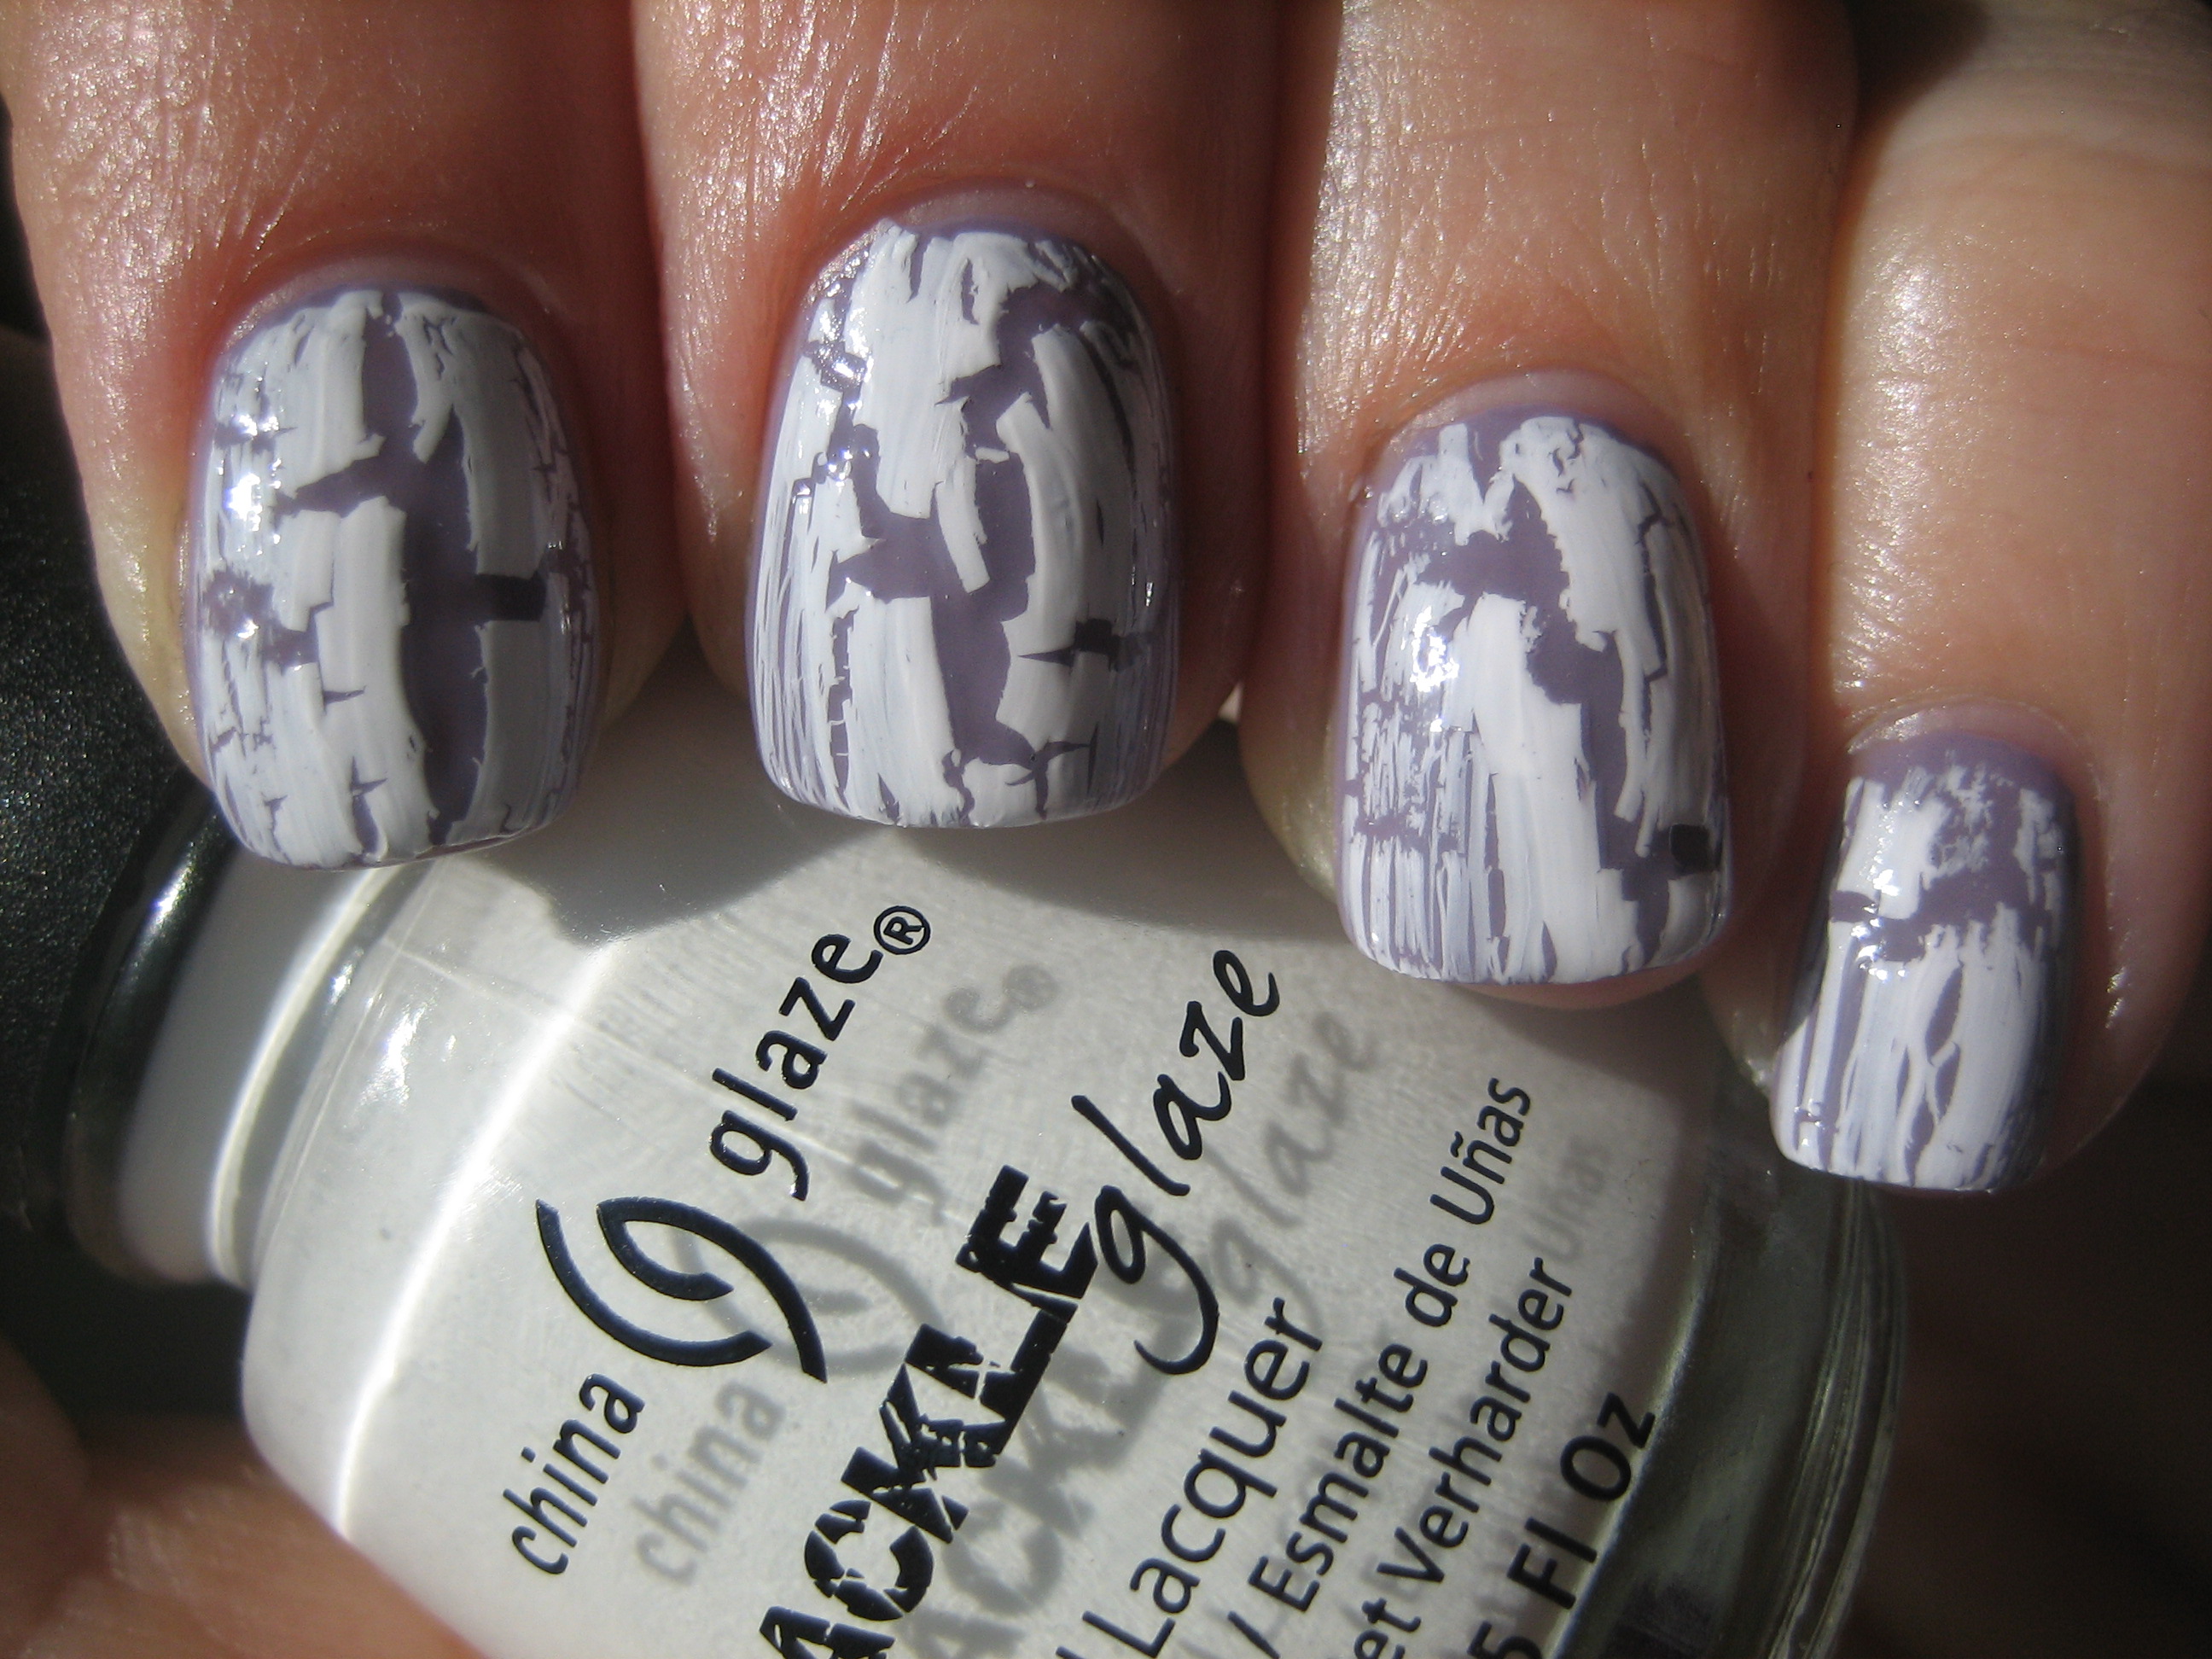
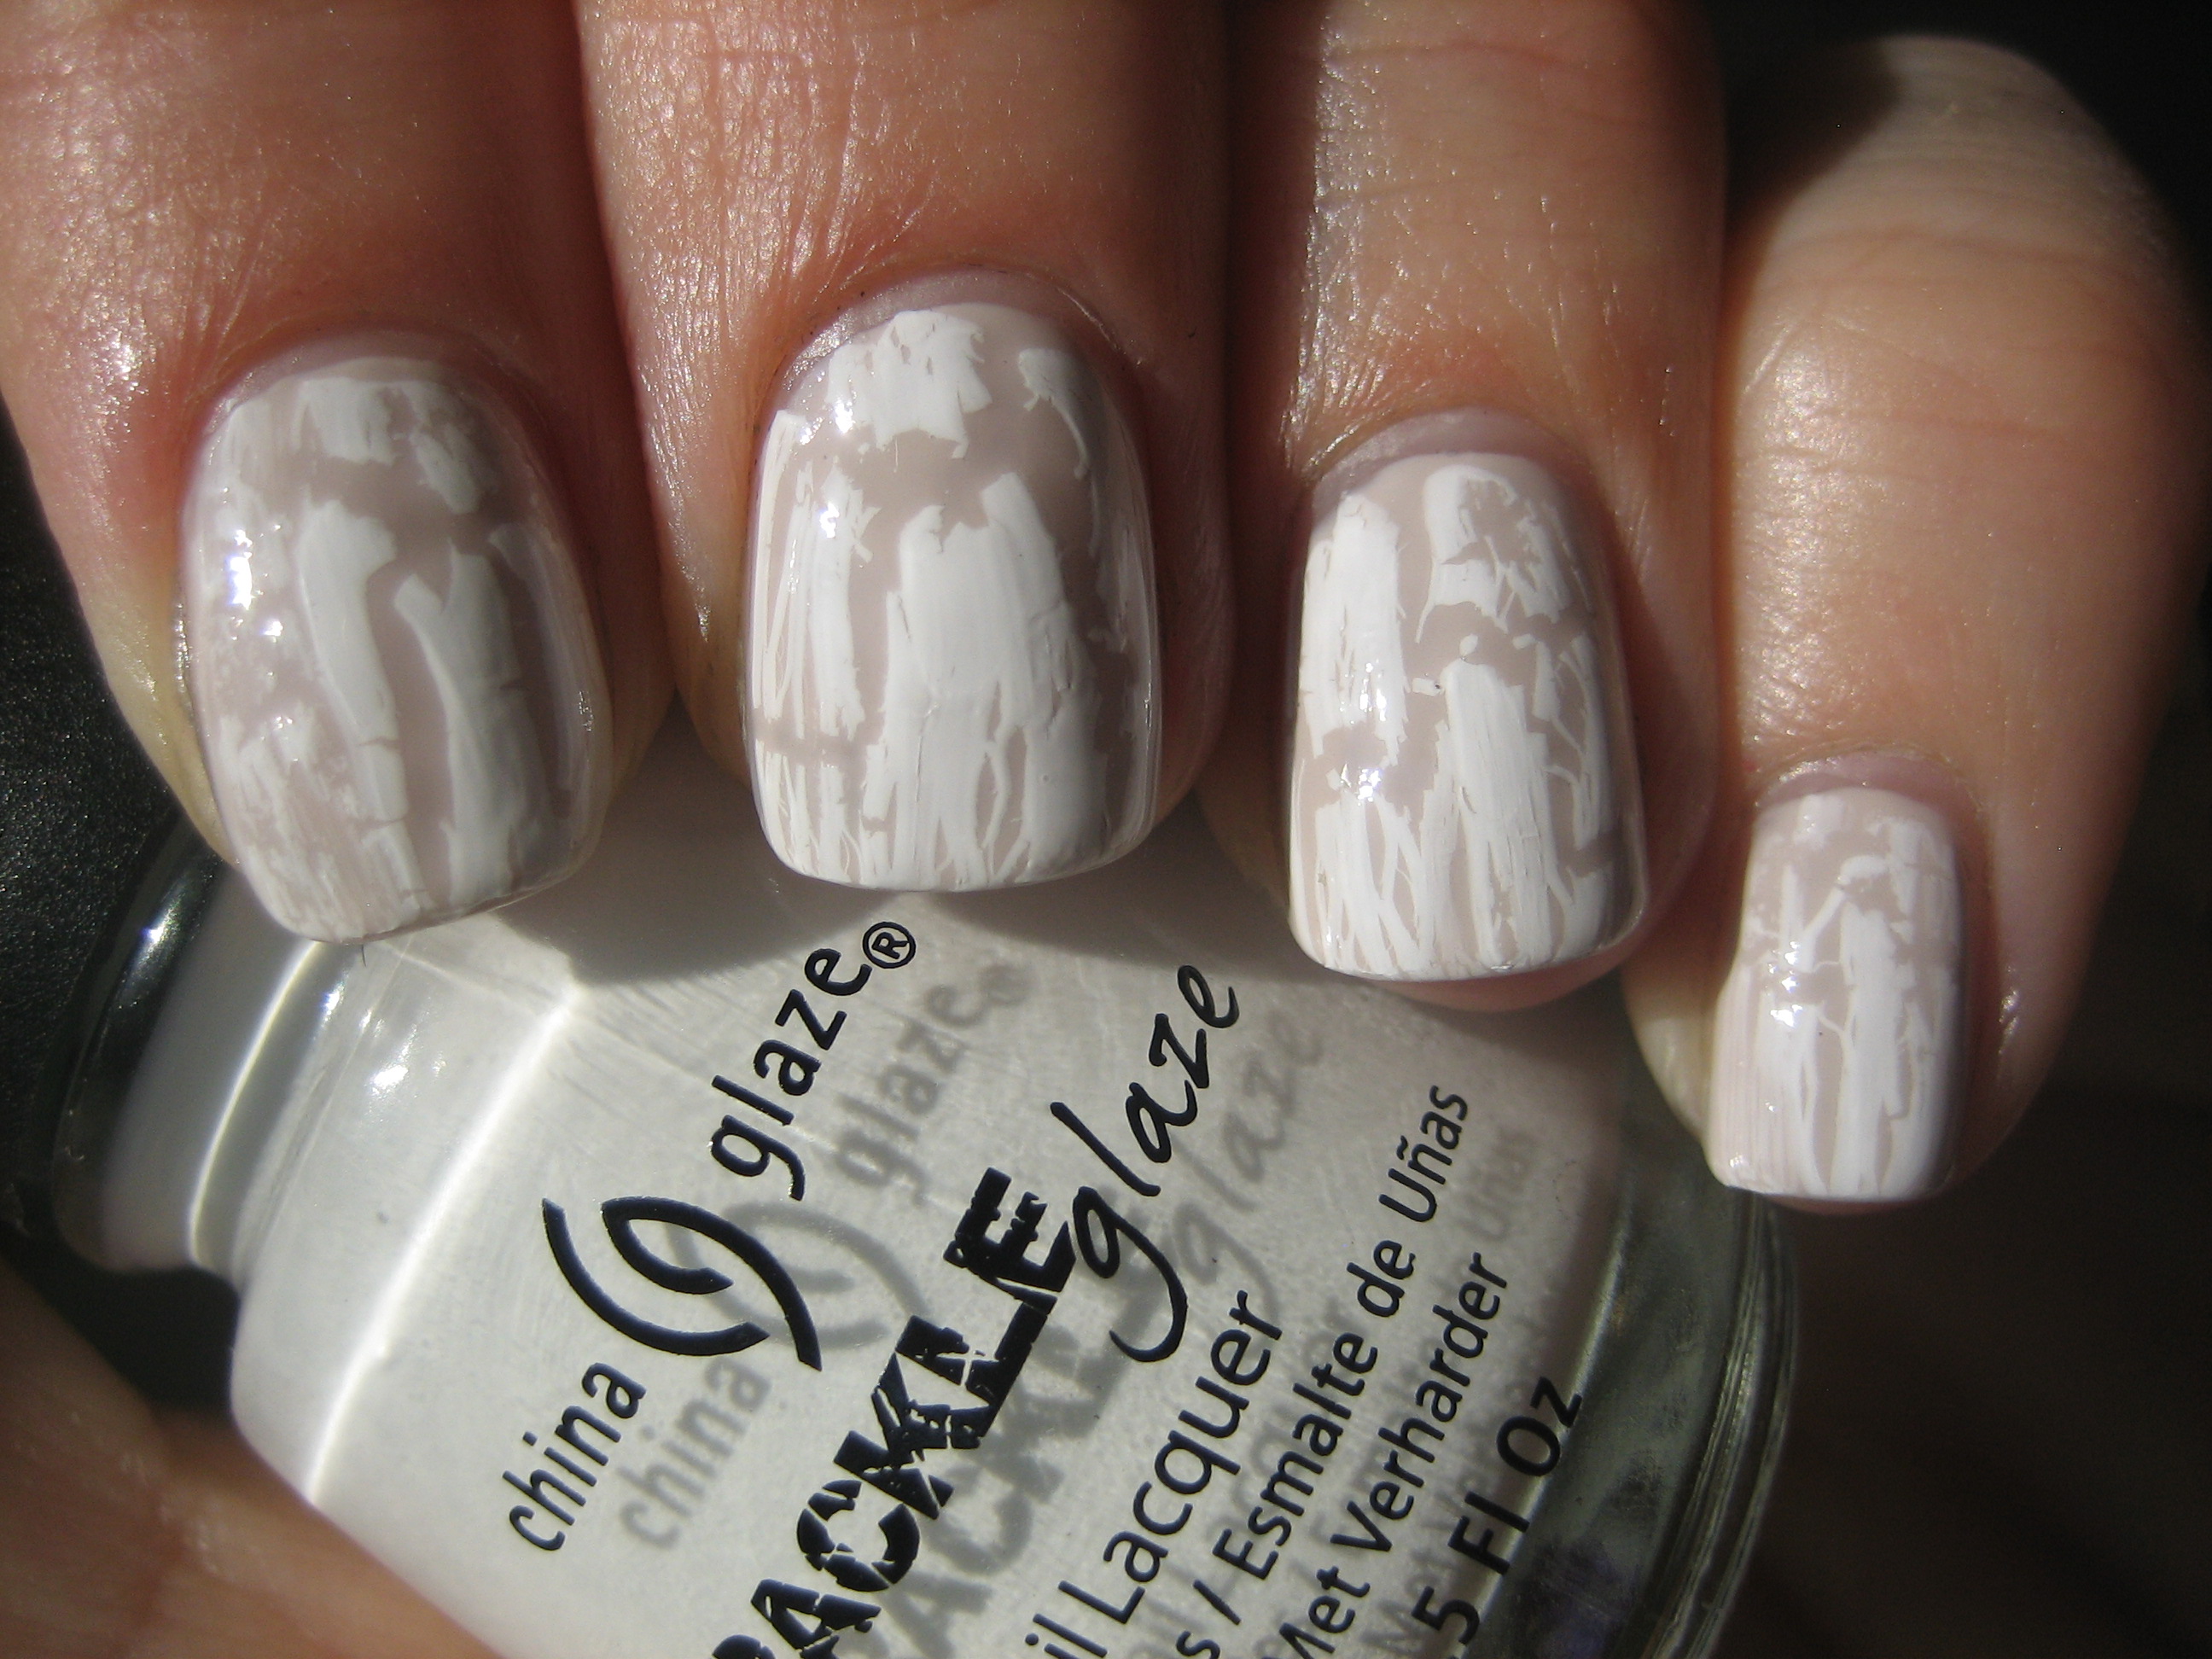
At first I thought that ‘Lightning Bolt’ would prove to be somewhat chalky (à la Liquid Paper!), but it was interesting to note that it had a slight sheen to it when dry. Getting the hang of how much of the crackle to apply is somewhat trial and error, but also surprisingly easy. The beauty is that with this effect, there really are no mistakes; everything can be made to work.
For the subtle look, I applied two coats of a-england’s ‘Guinevere’, a dreamy & muted lilac (reviewed here), as my base shade. I like how the dusty lavender peeking through, harmonizes so well with the white, without coming off too strong.
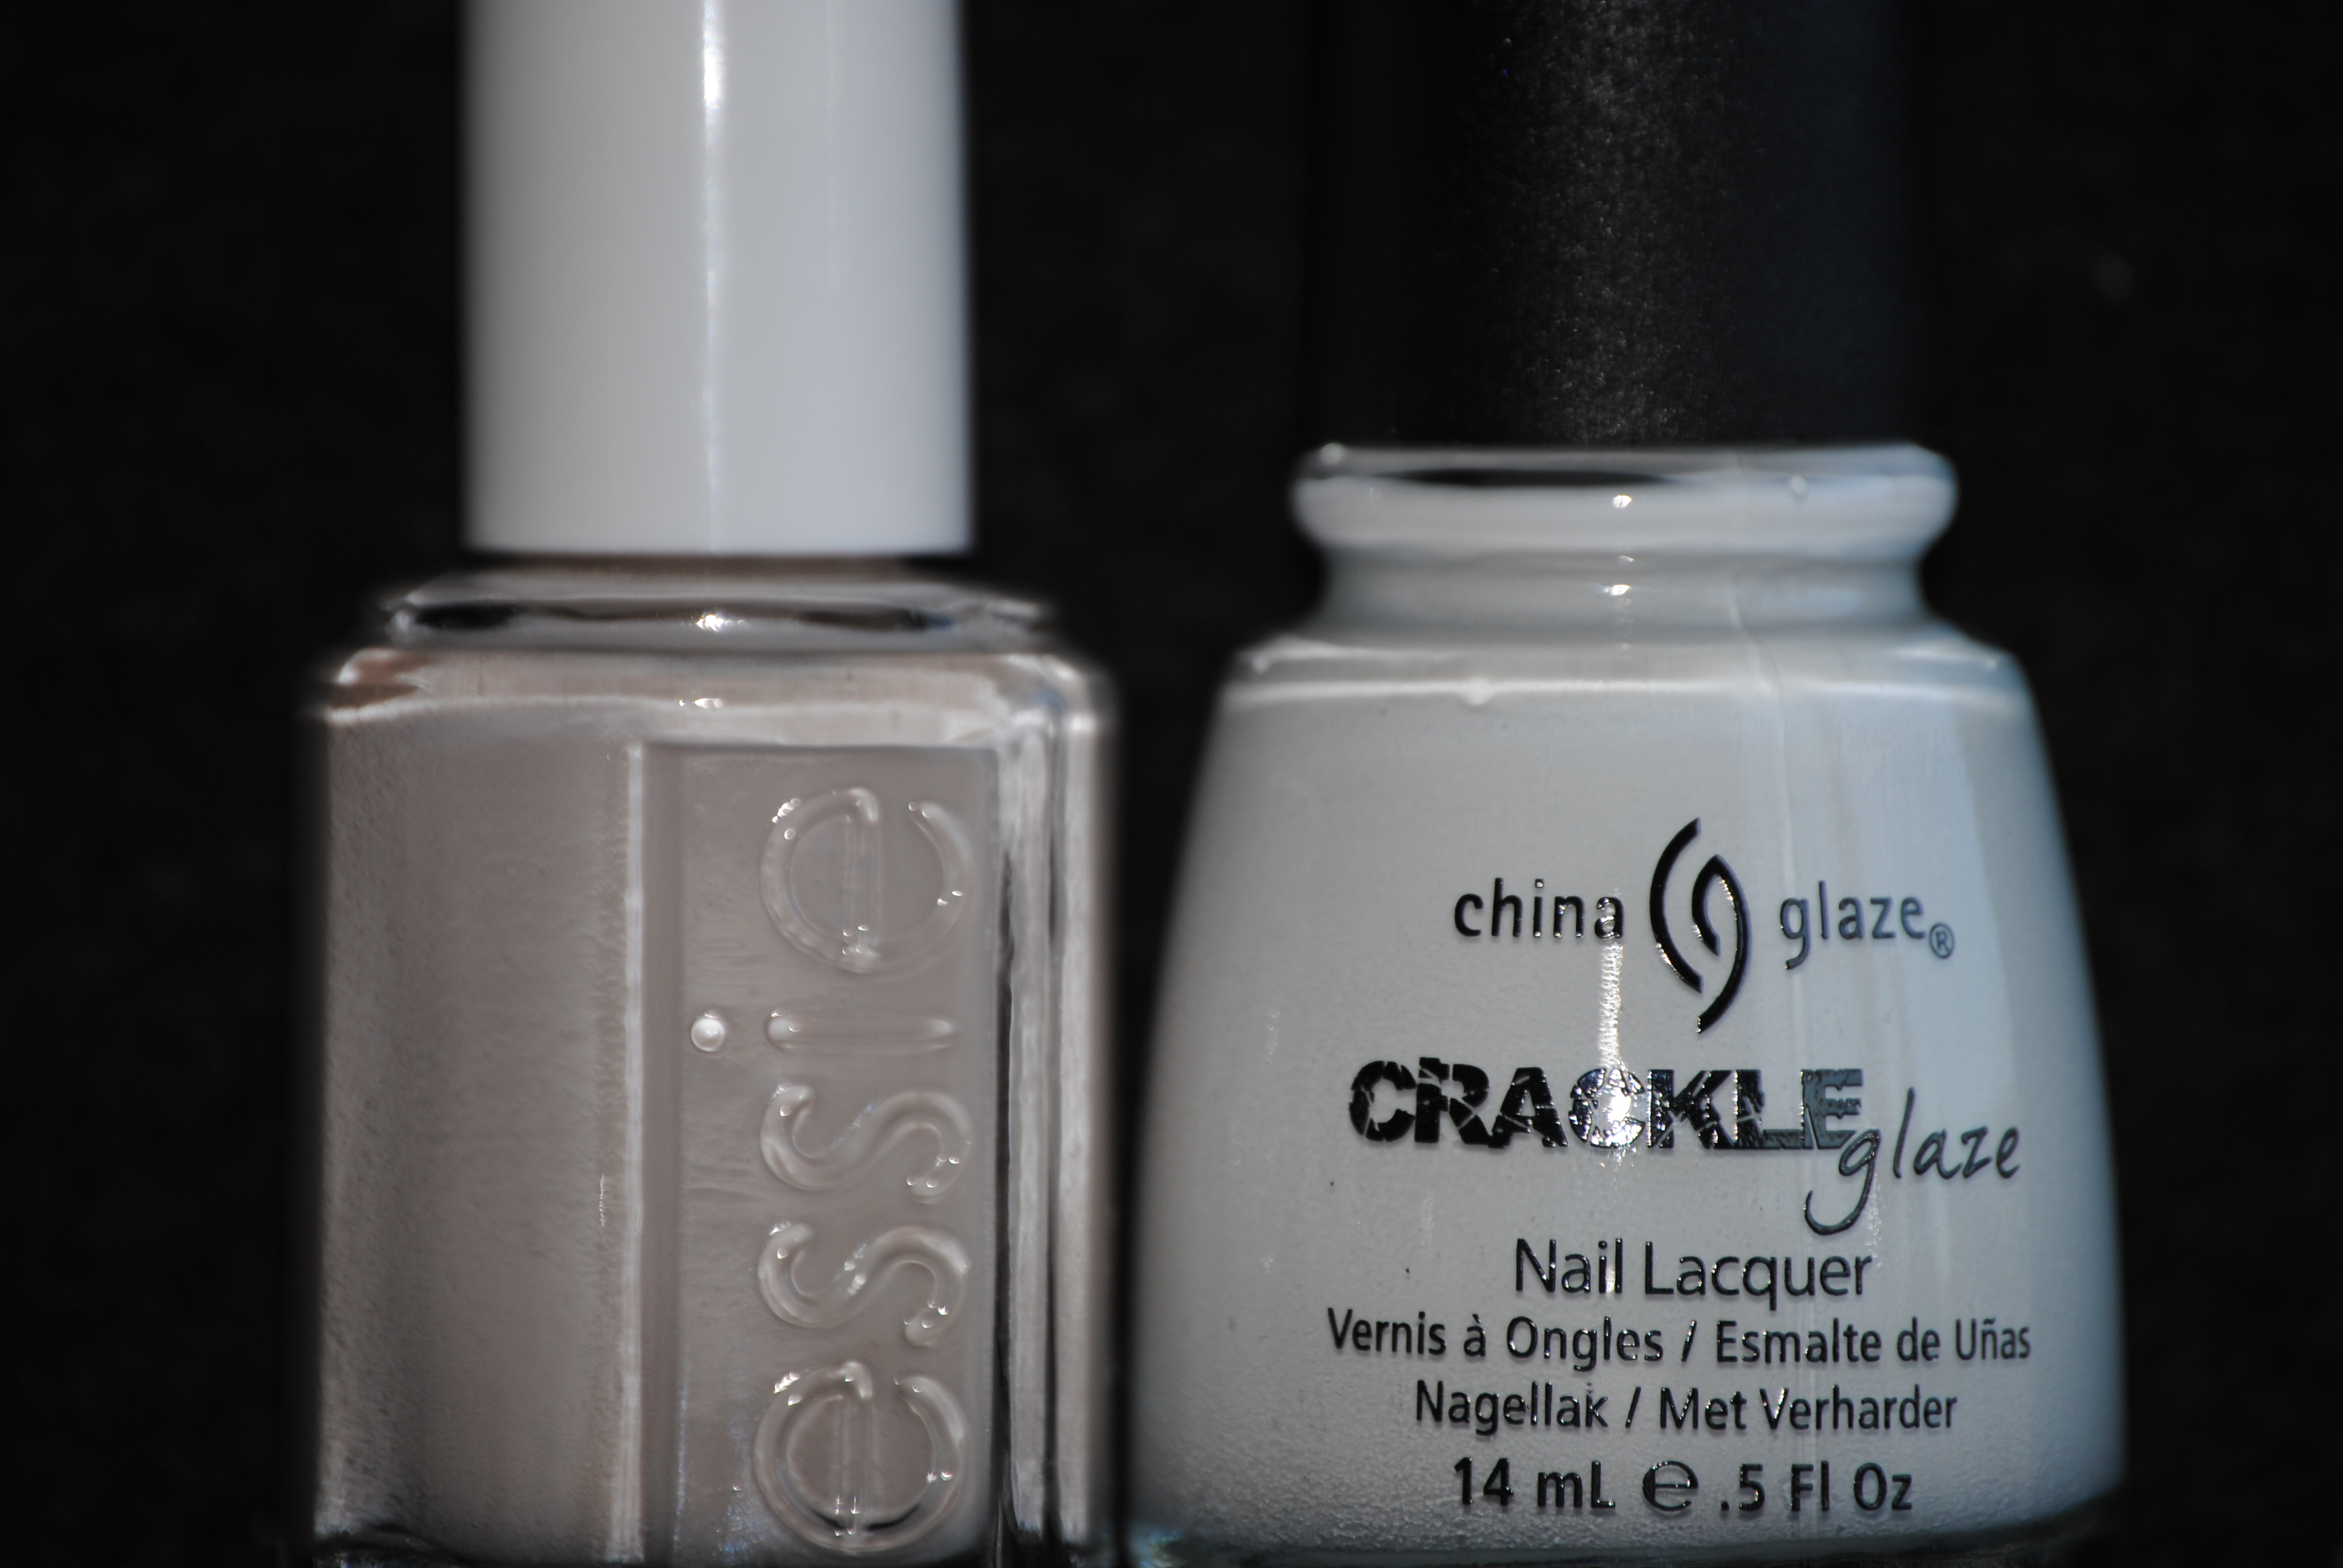
To achieve the tone-on-tone look, I applied three thin coats of Essie’s ‘Body Language’, a grey tinged cream, as my base shade. While the crackle effect is not as pronounced, I love how understated this look is, delicate and lacey.
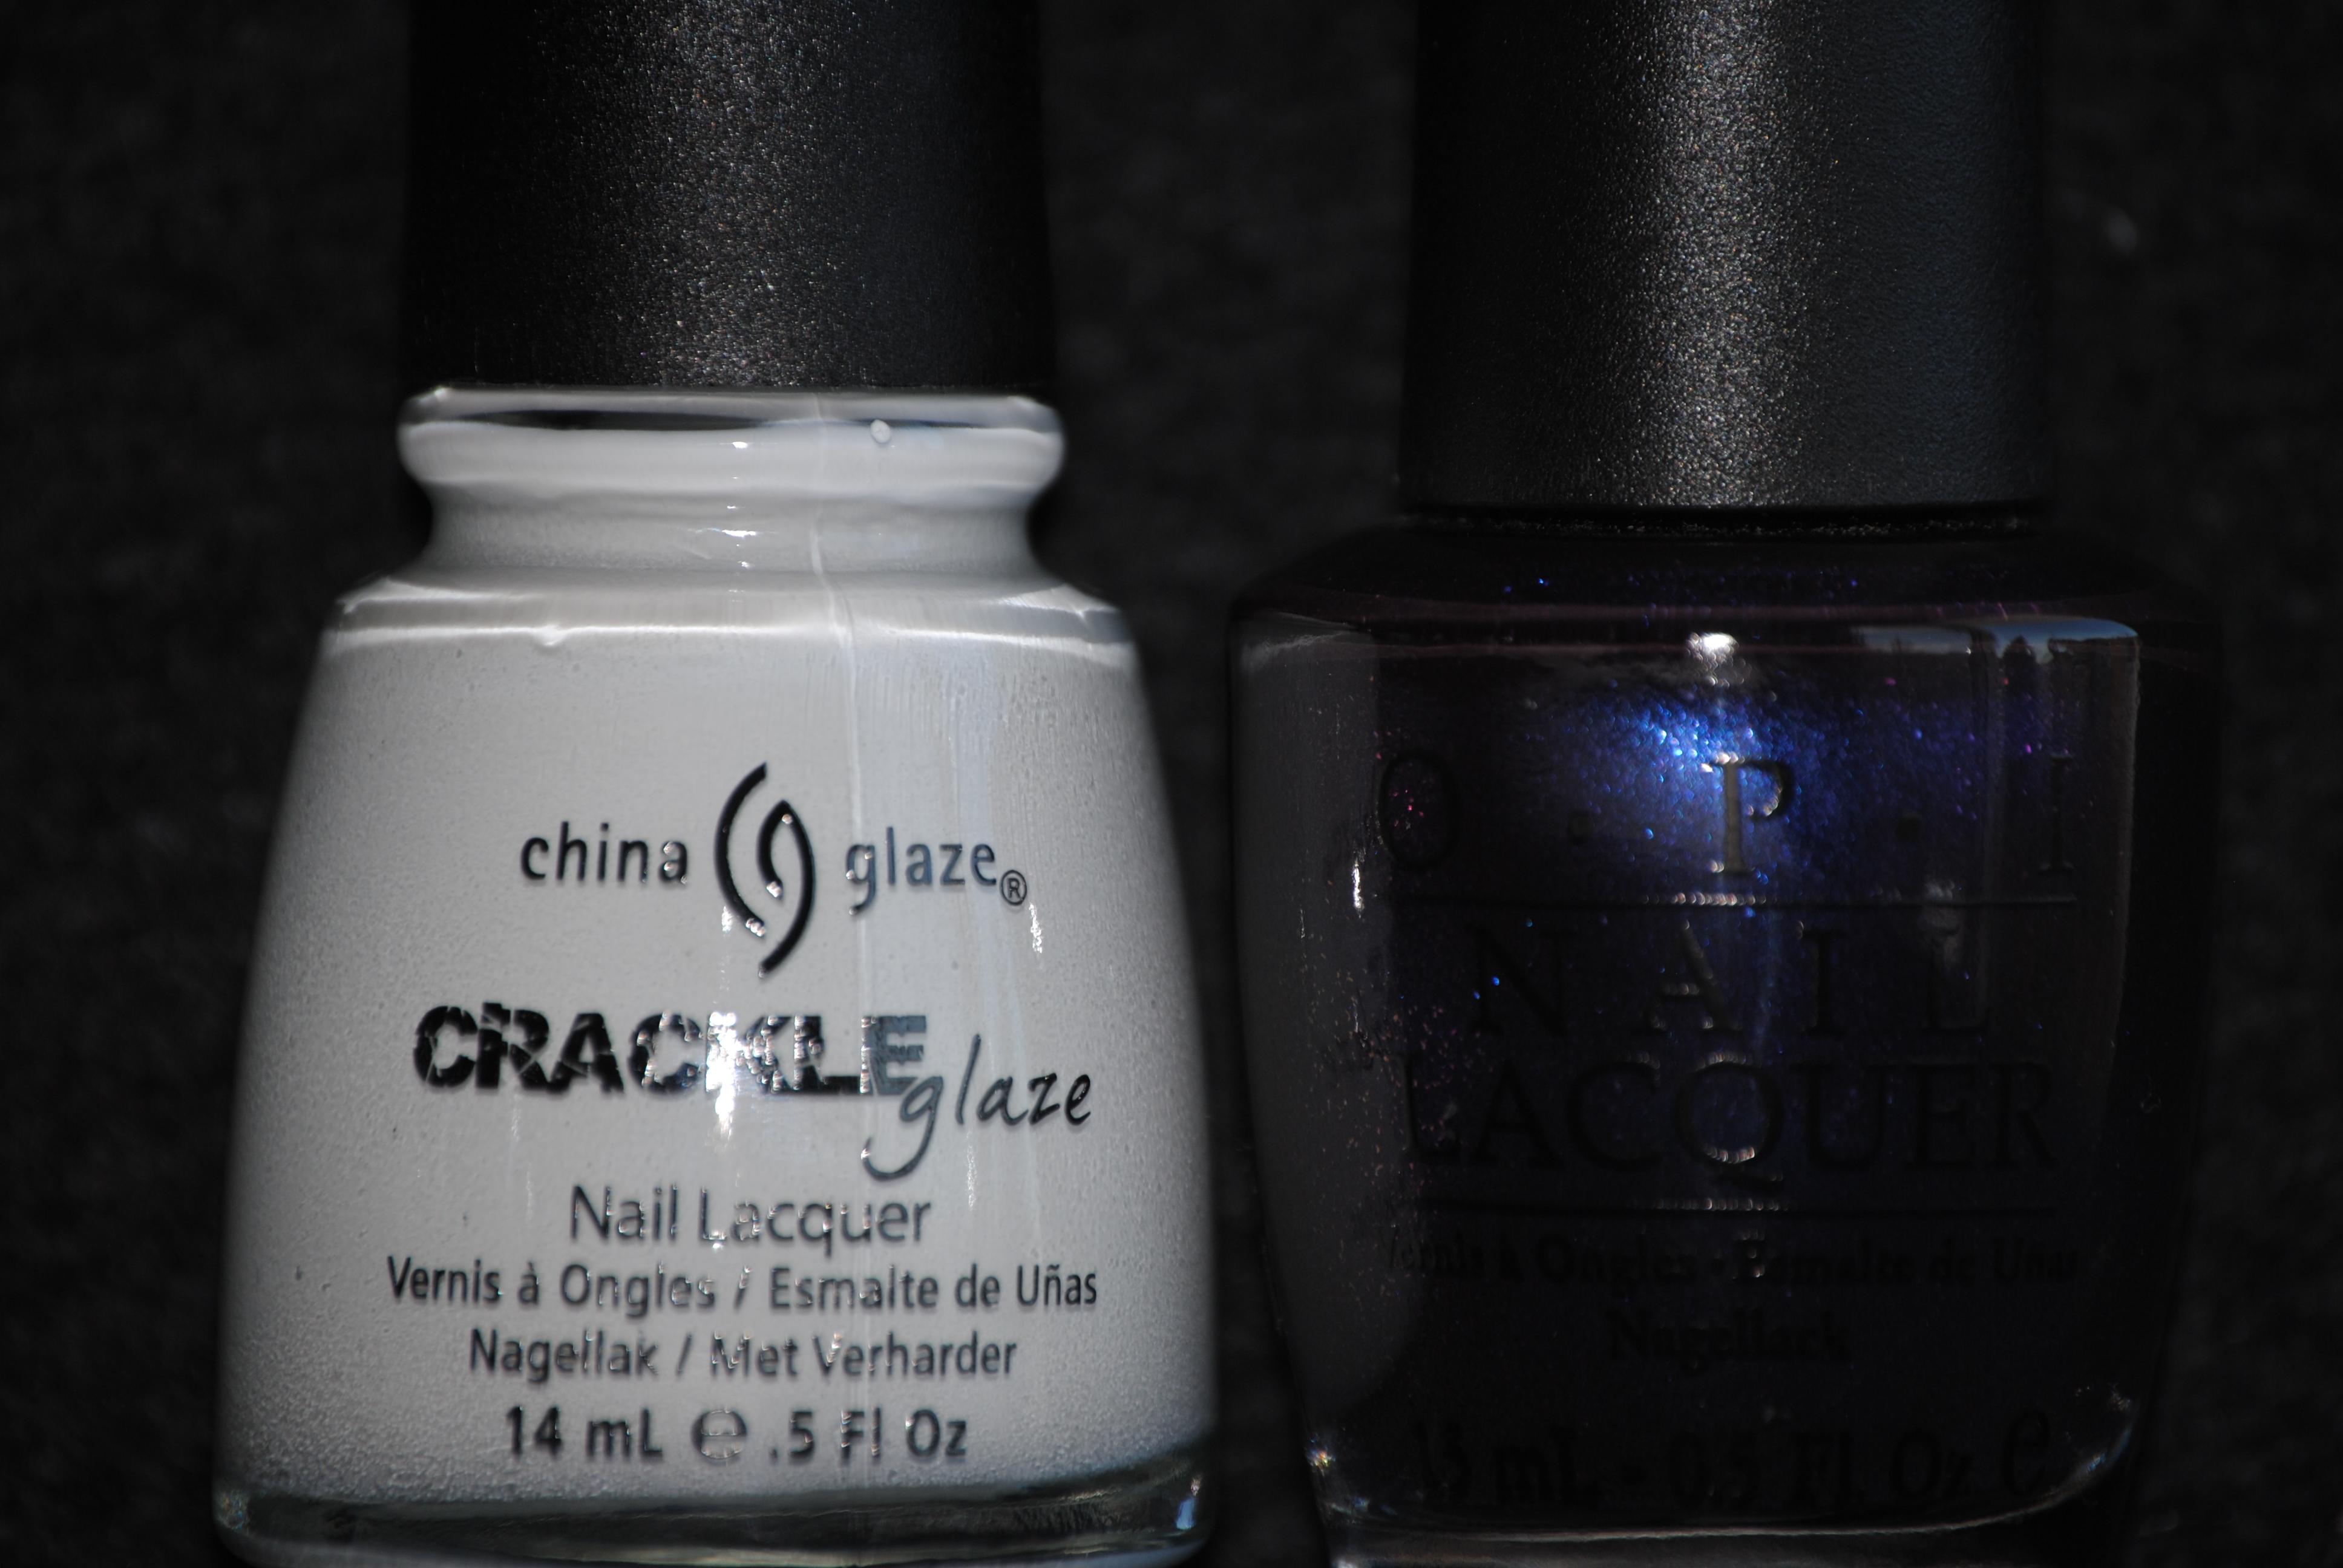
Finally, for the contrasting look, I applied two coats of OPI’s ‘Ink’, a deep cobalt with tons of fine multi coloured shimmer, as my base shade. What I enjoy about this contrast is how beautifully the darker base sets off the white crackle pattern.
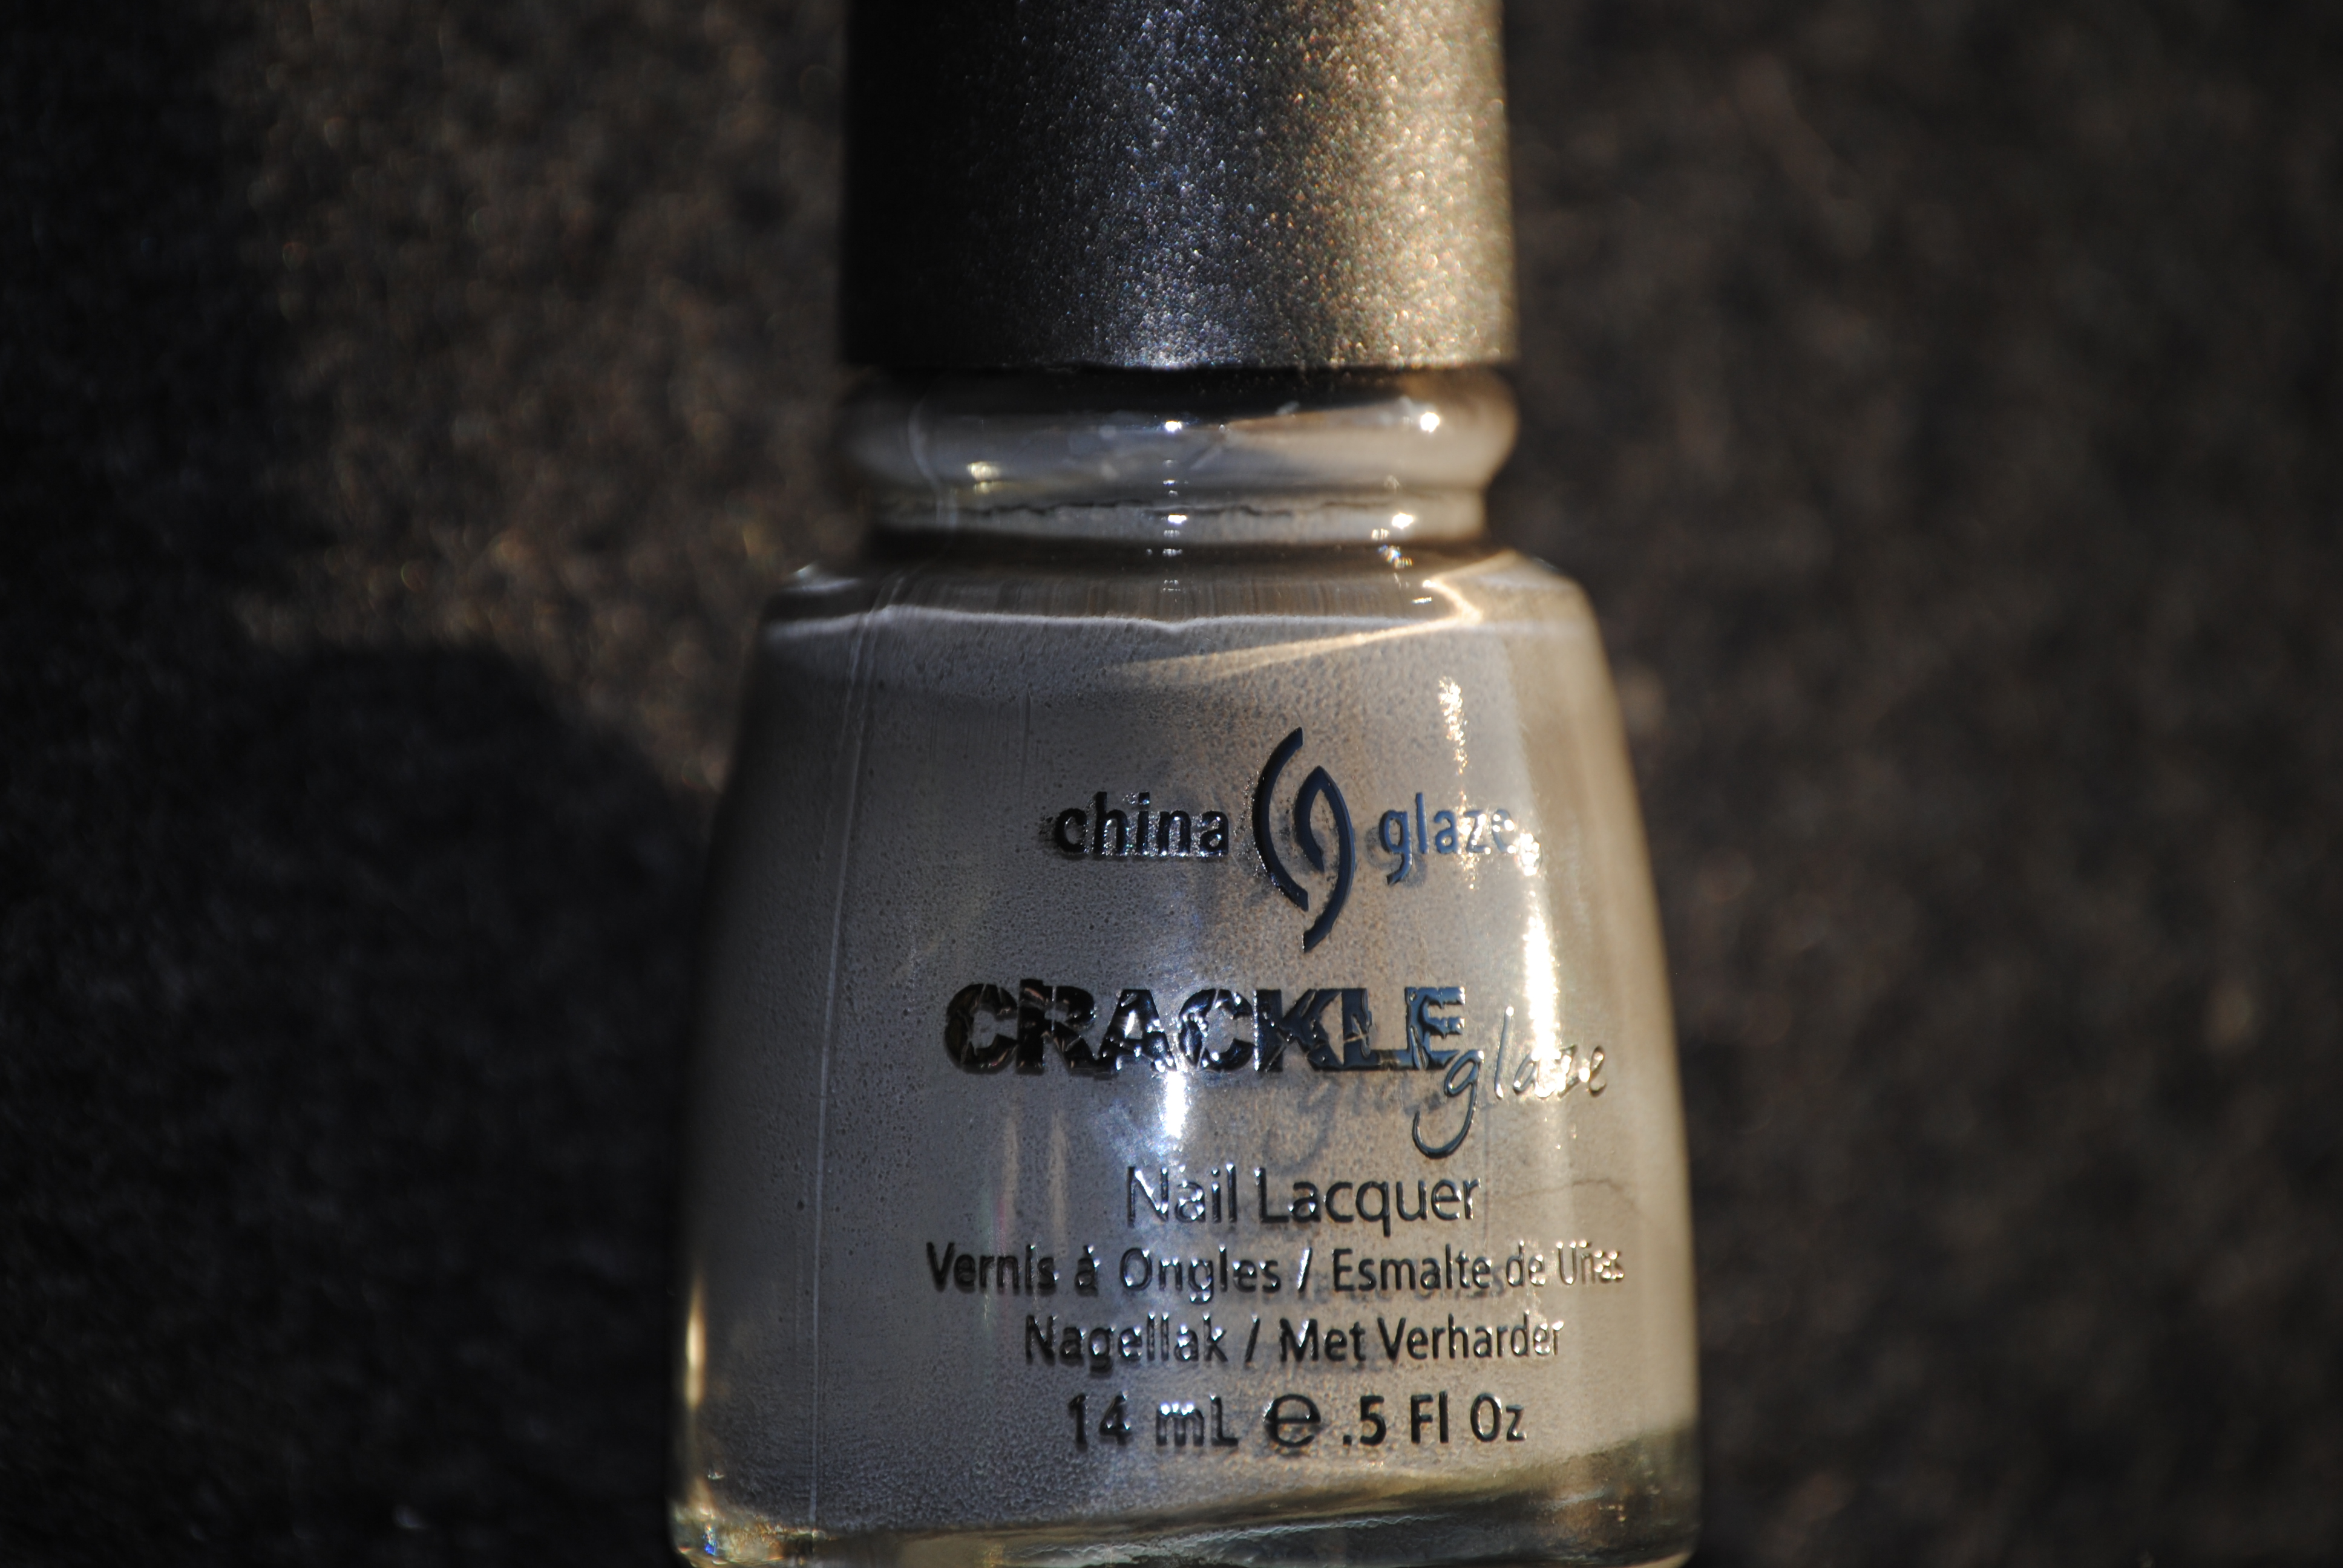
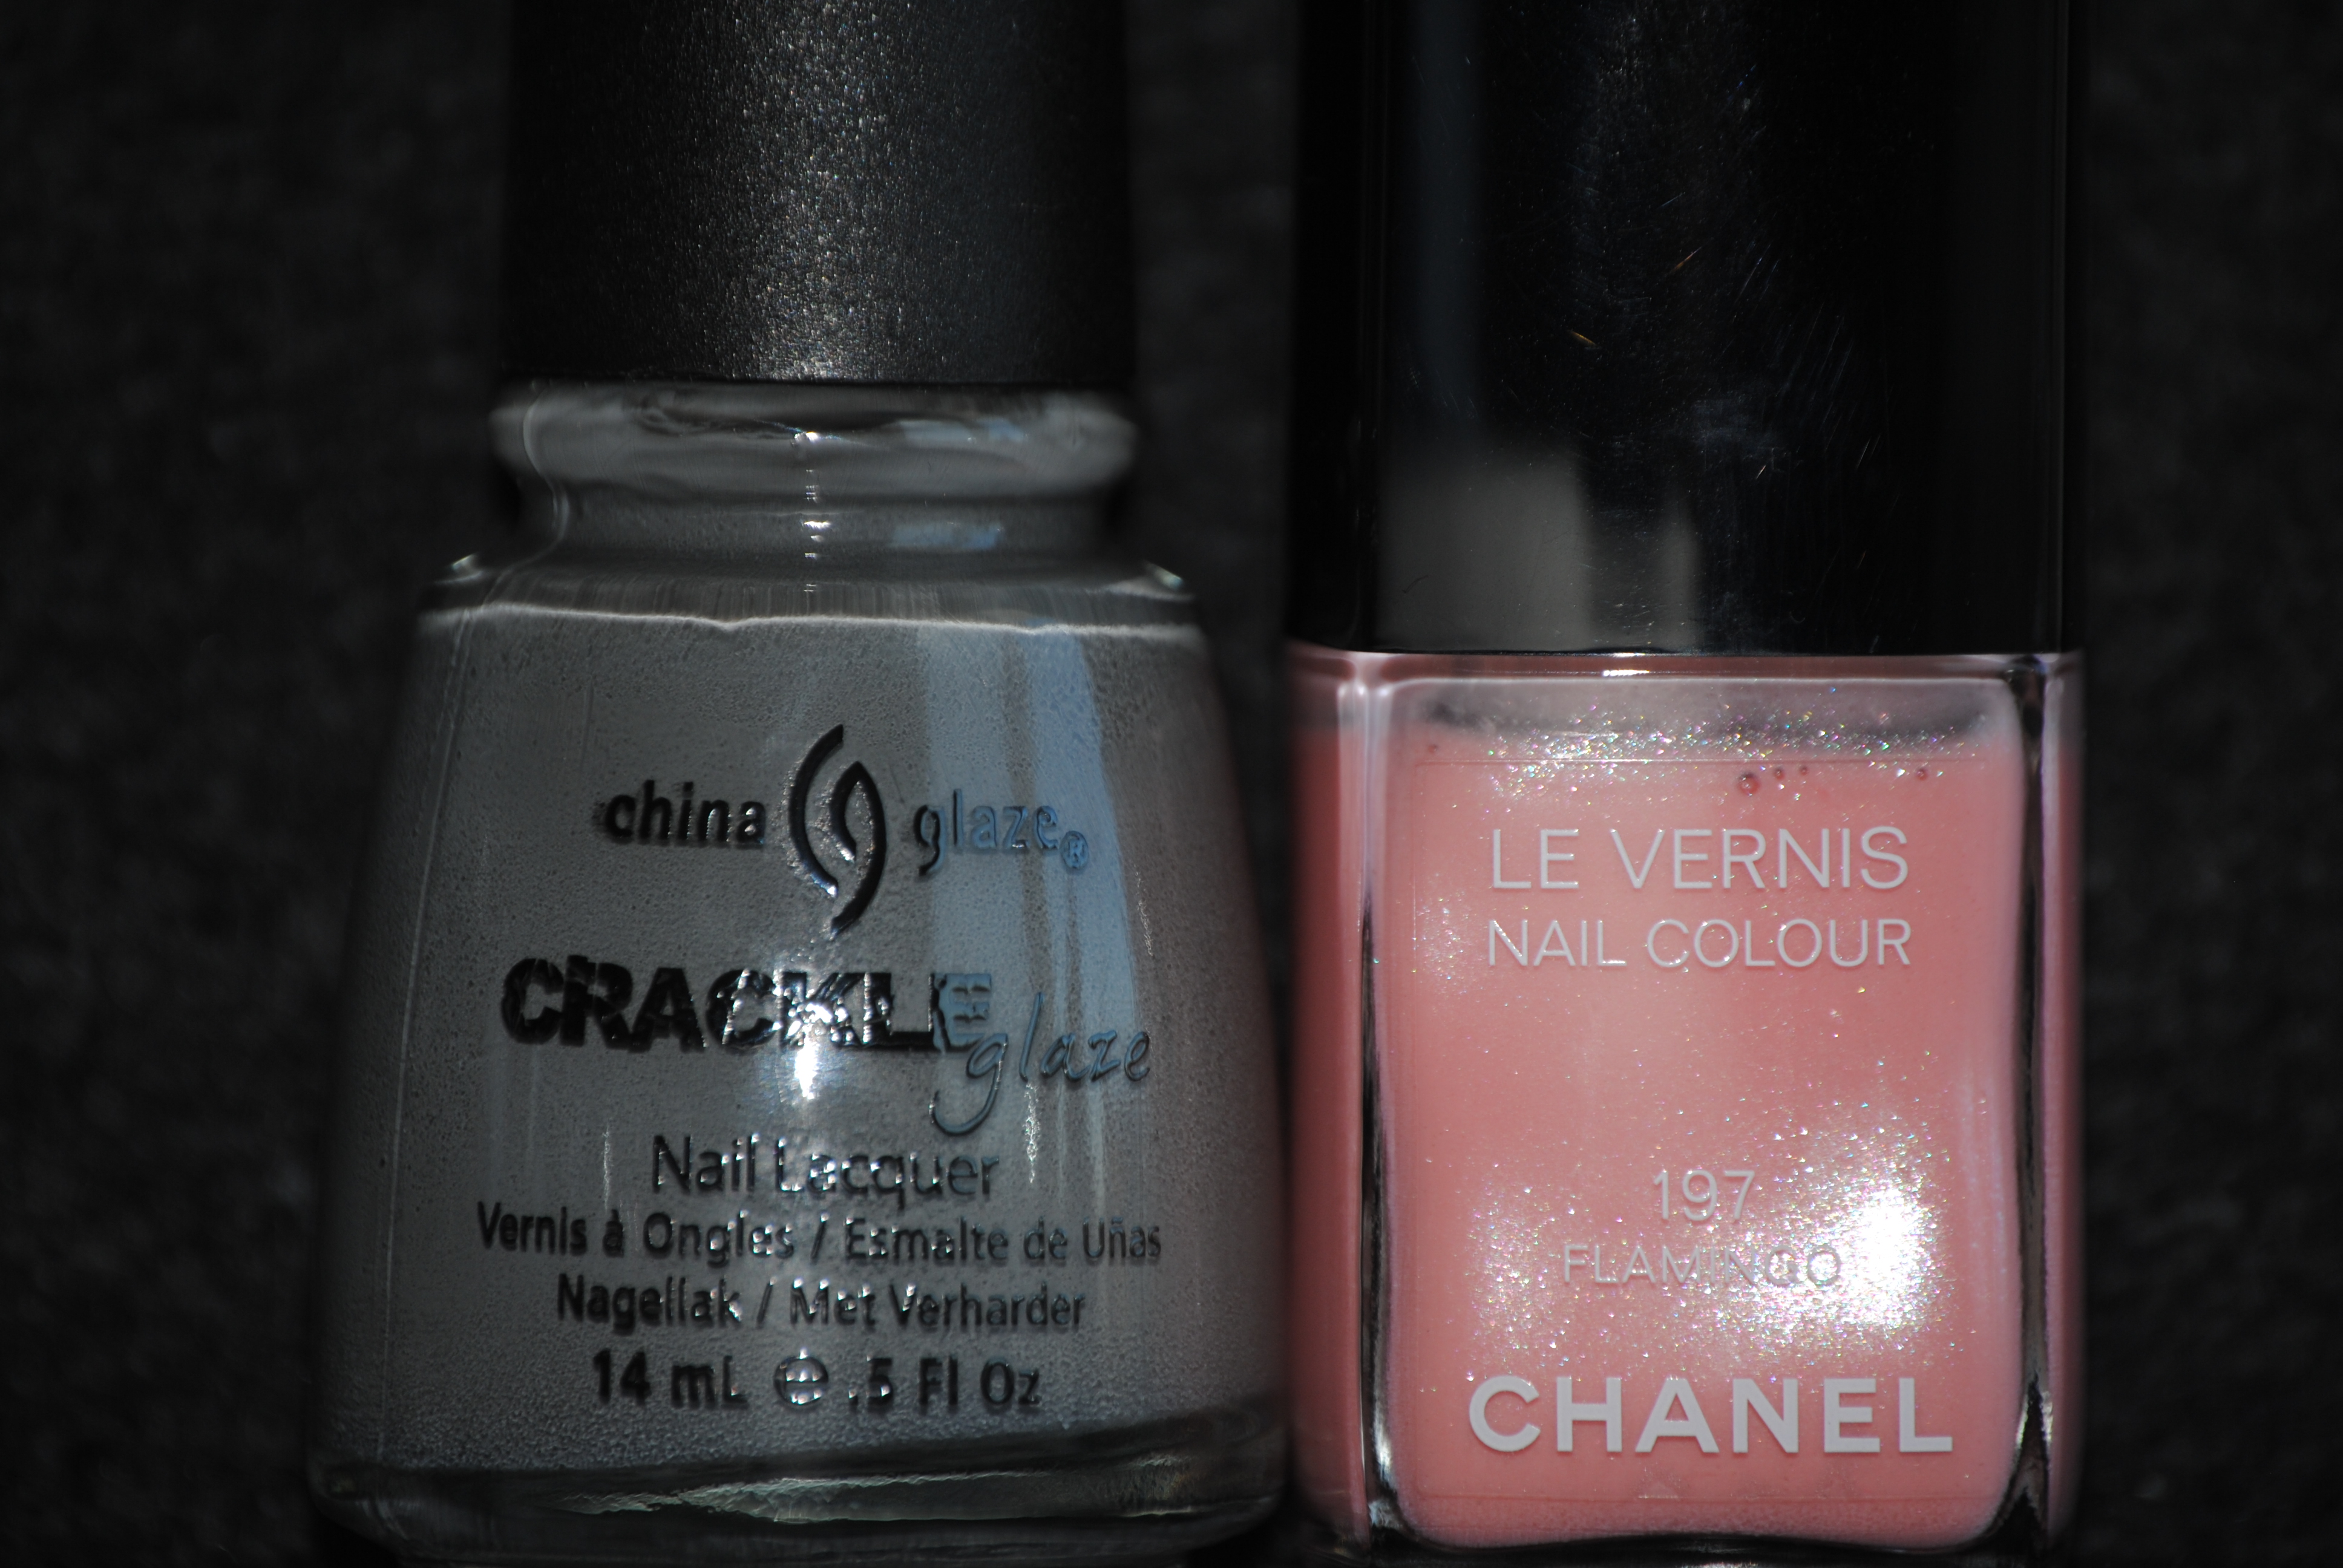
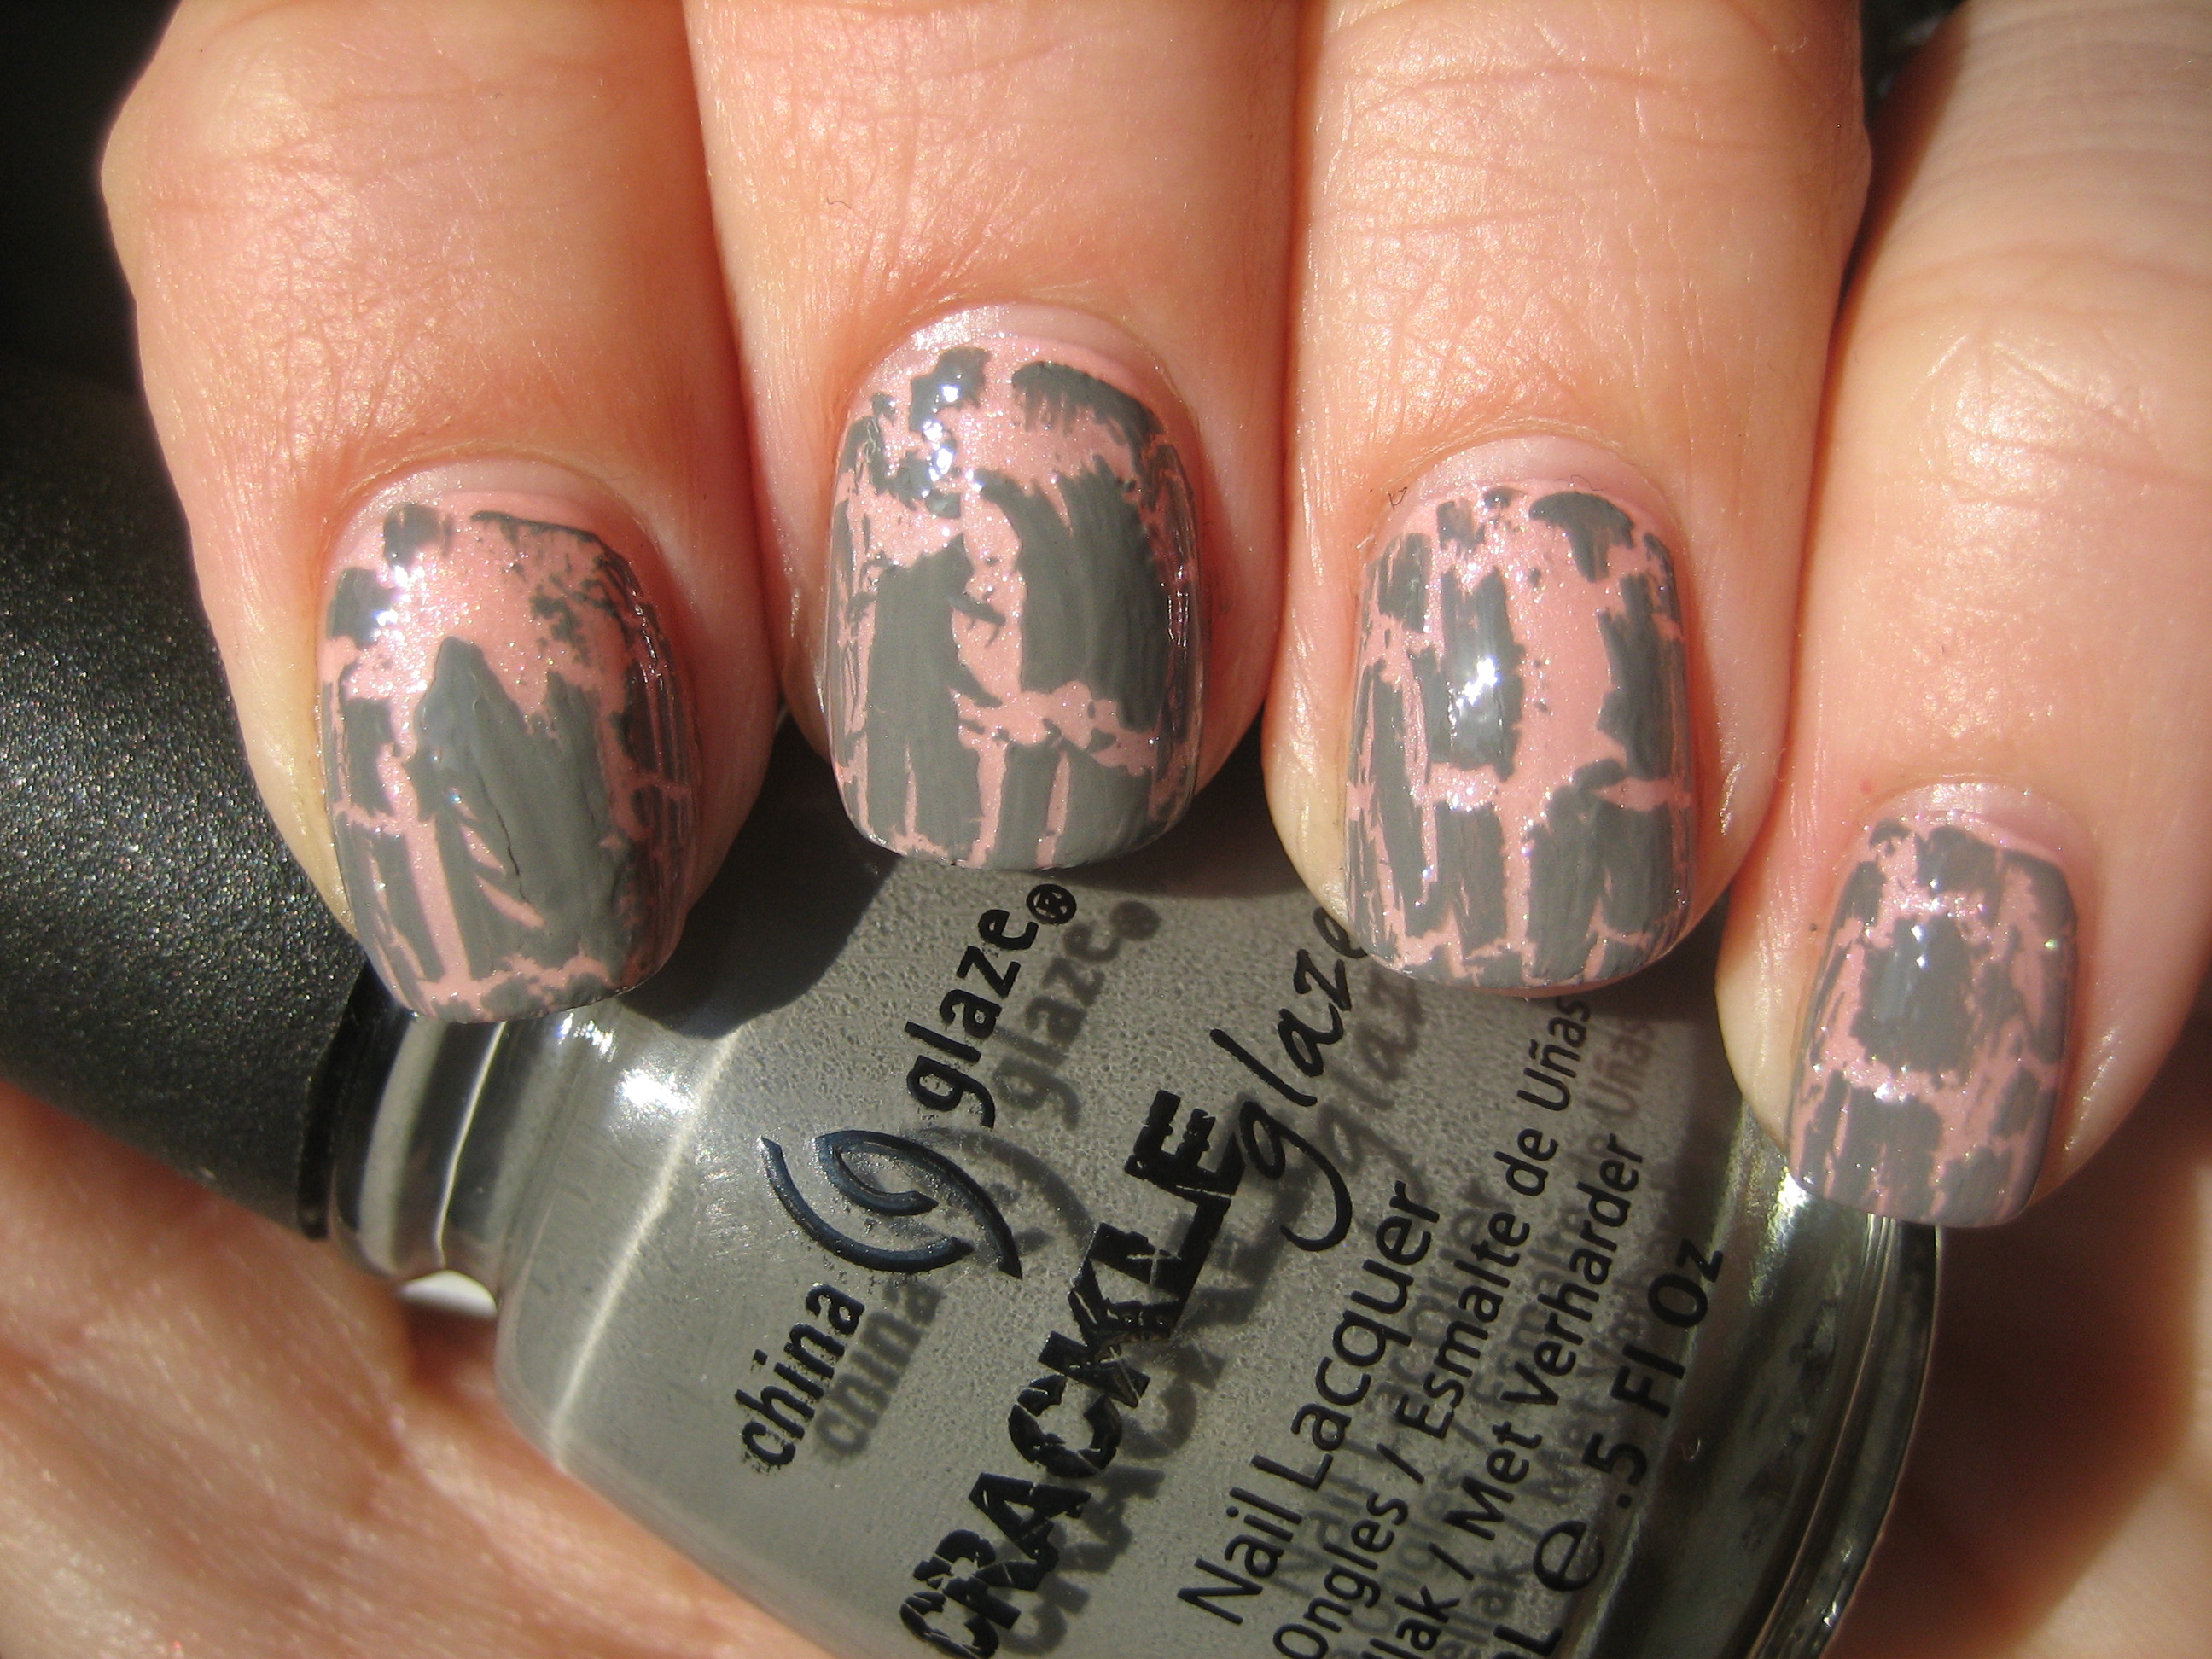
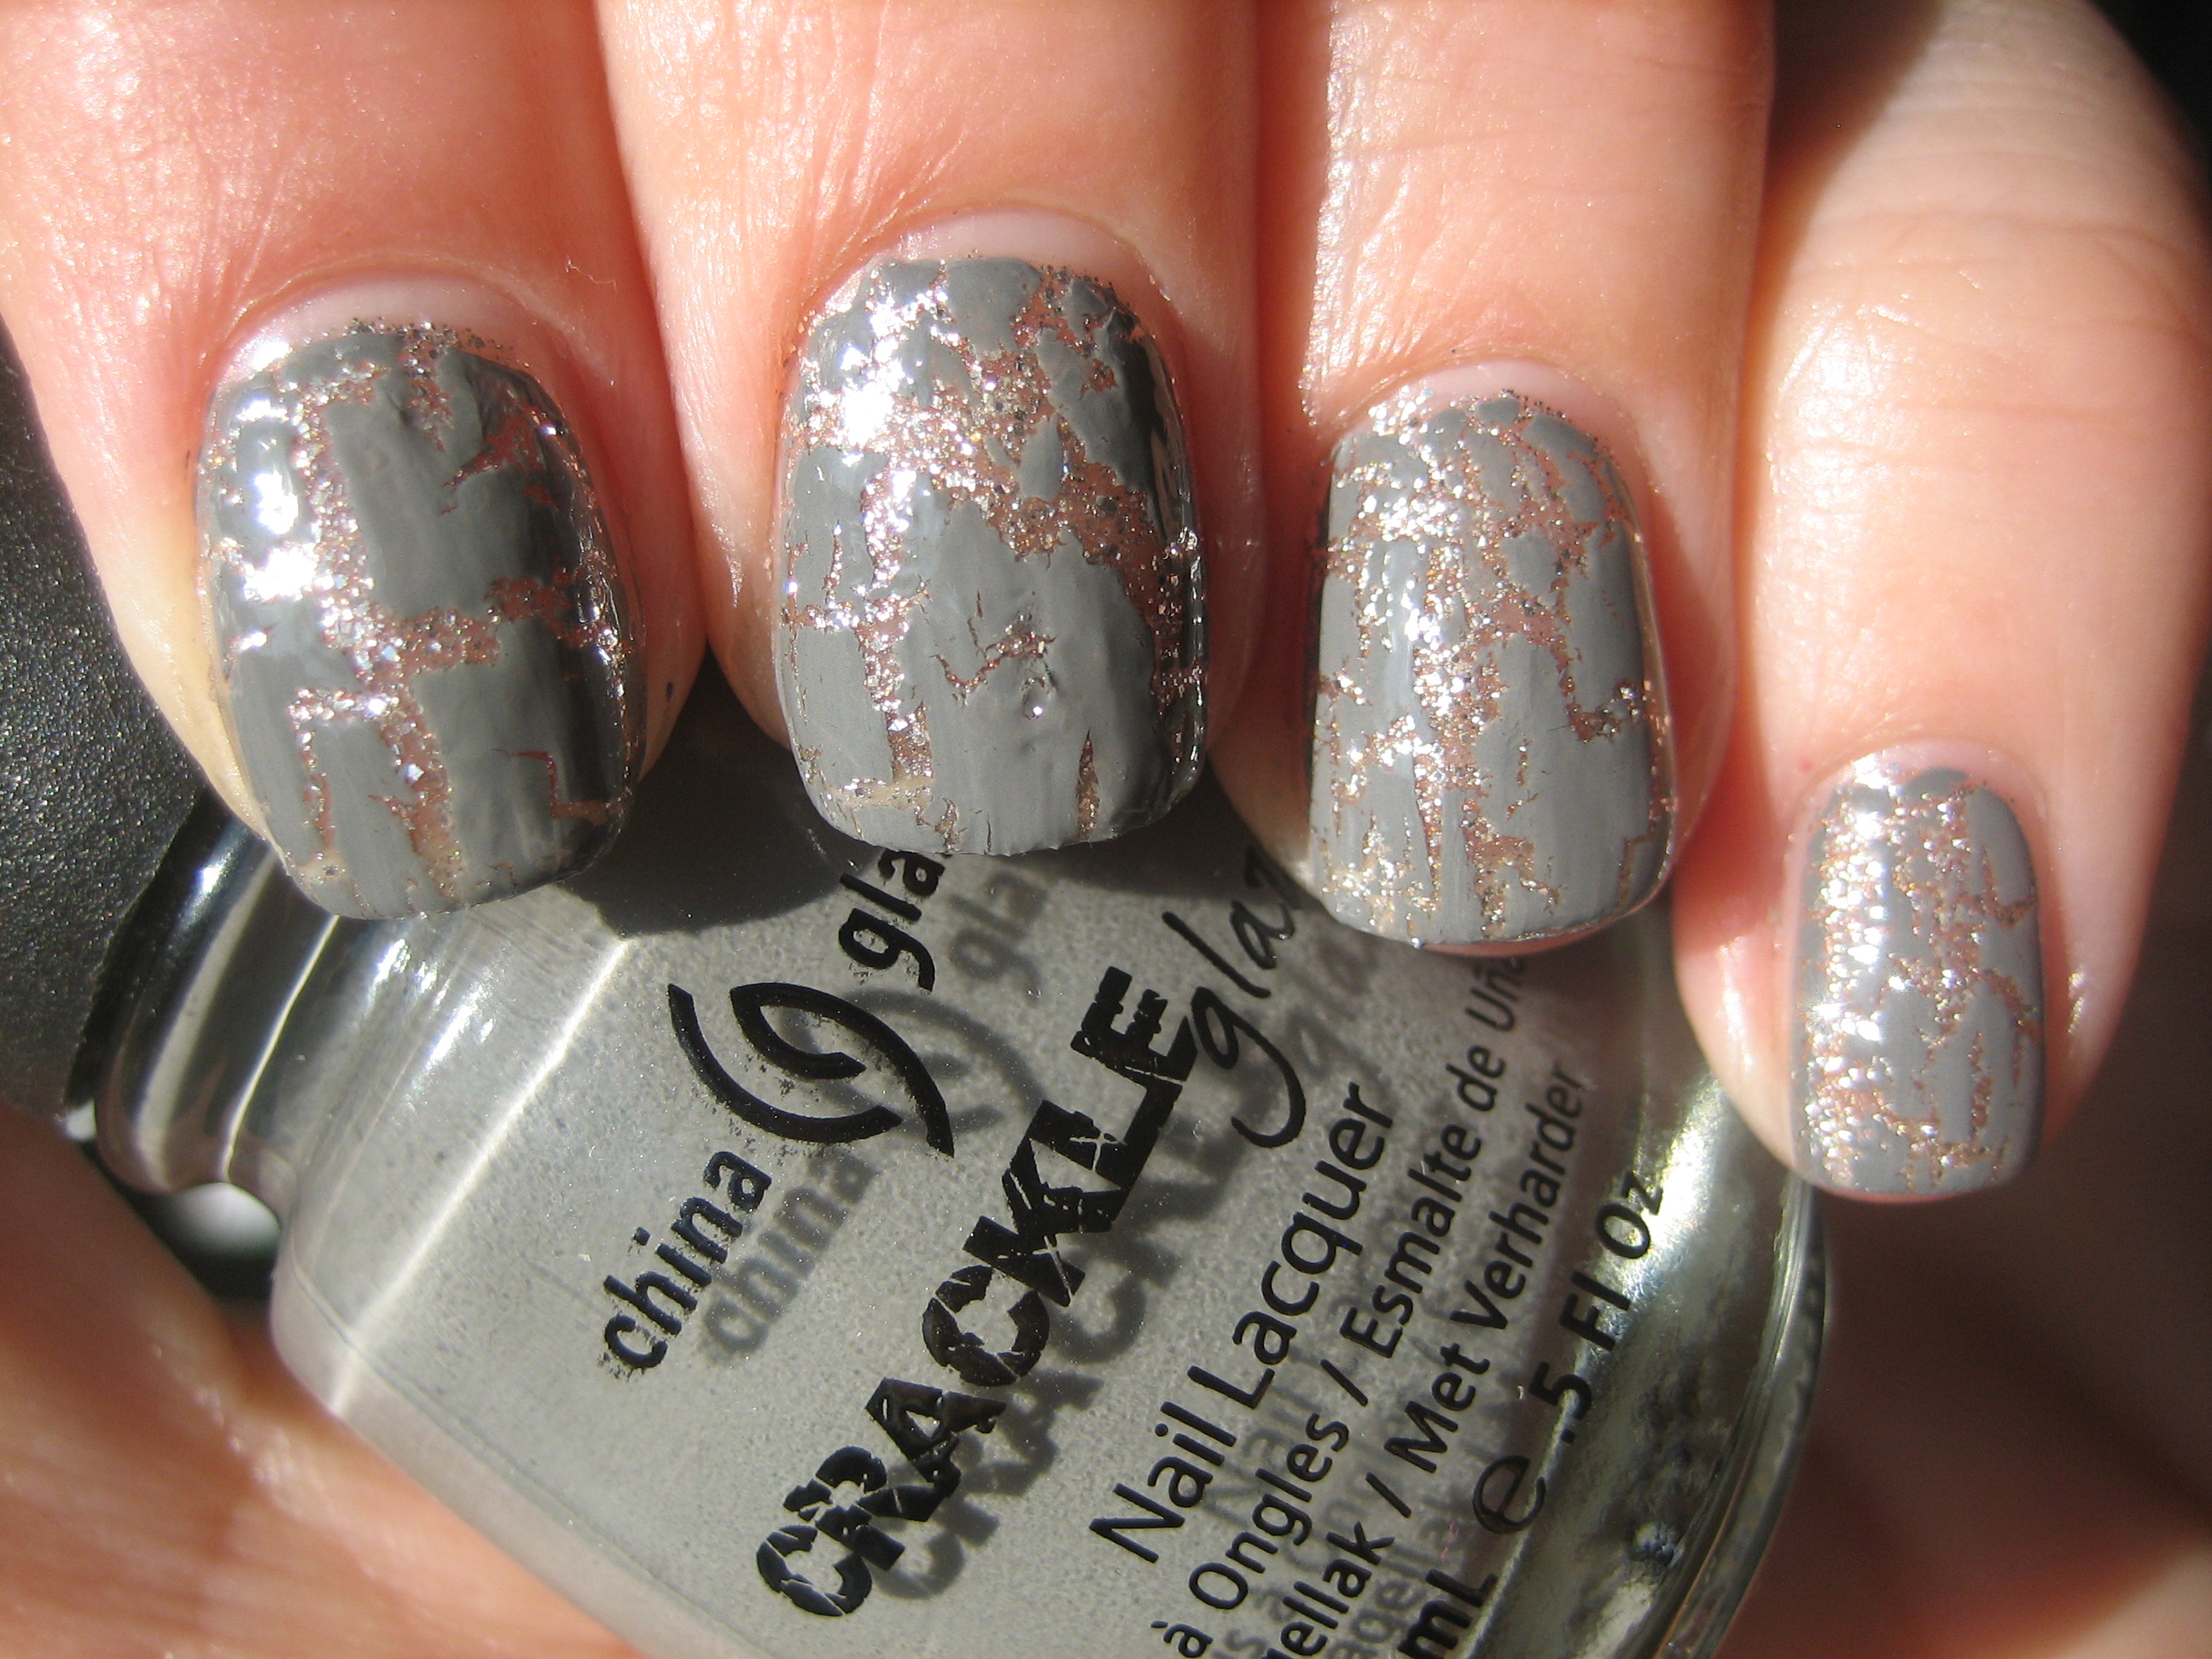
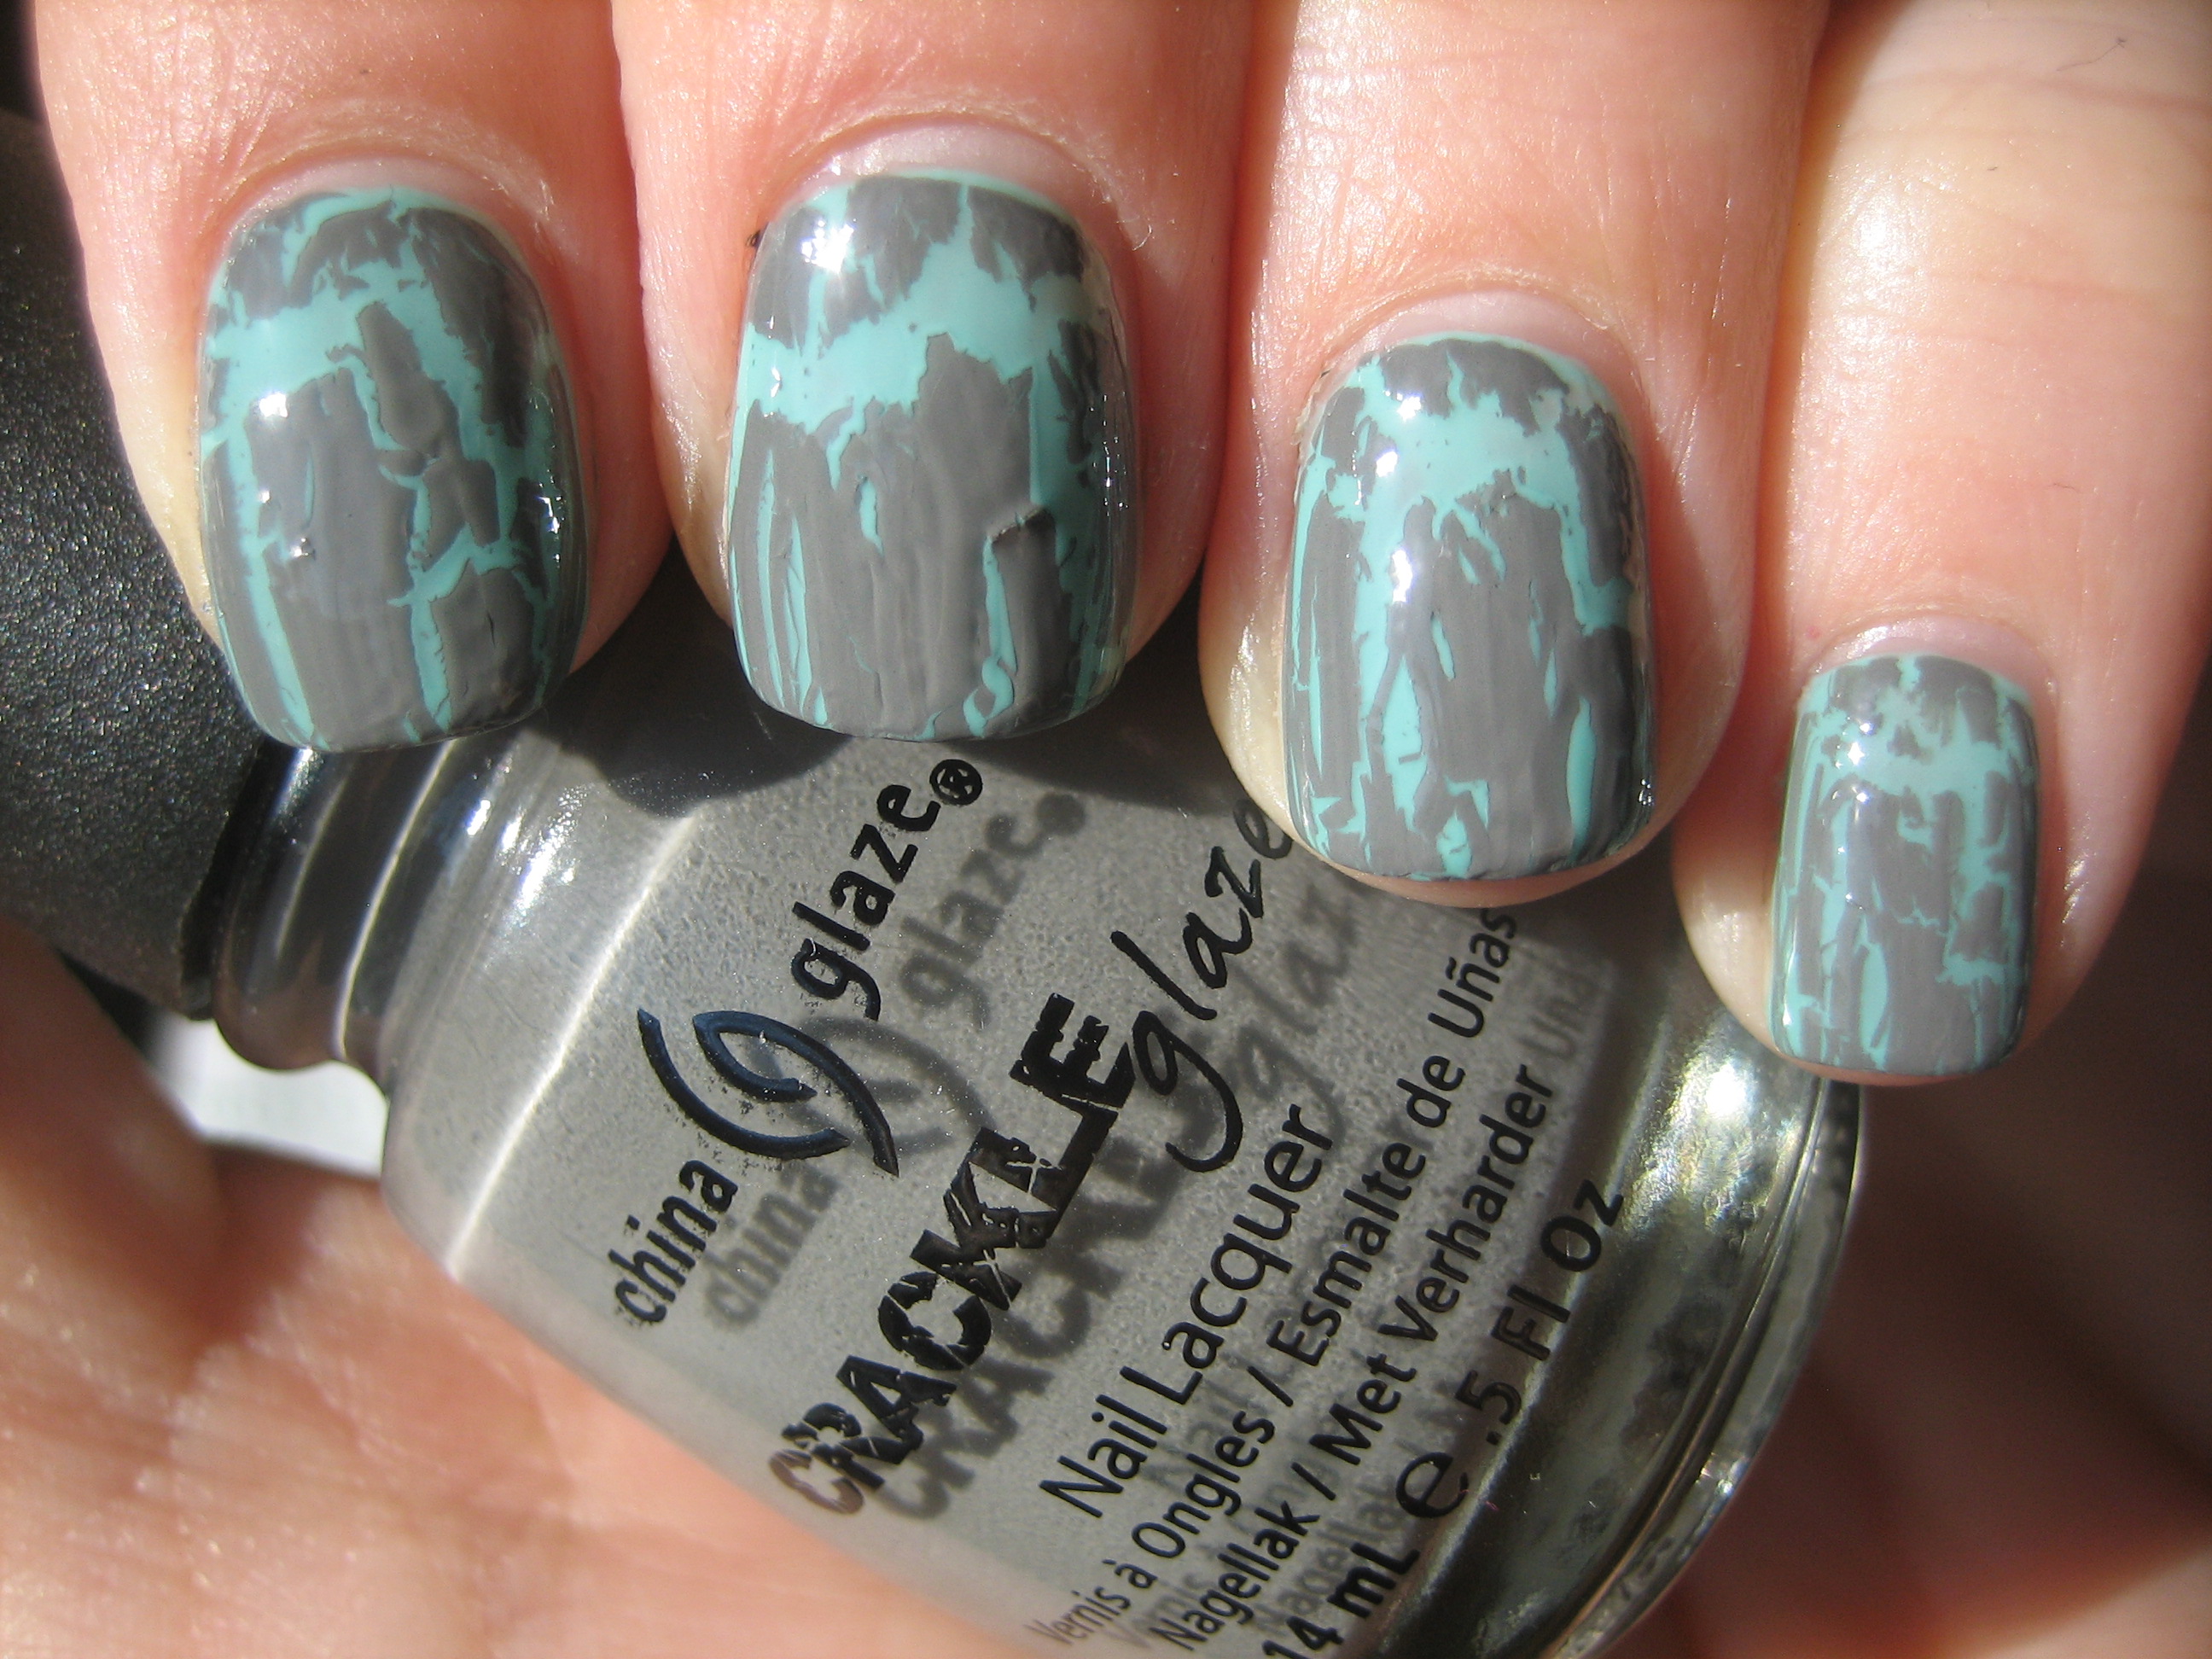
‘Cracked Concrete’ is easily the most versatile shade in the entire Crackle Glaze collection, as it is neither too neutral, too light or too dark. The layering combinations with this shade are endless and the formula was a good consistency.
For the subtle look, I applied three coats of CHANEL’s ‘Flamingo’, a shimmery peach tinted pink, as my base coat. I wanted a combination that was complimentary without being overwhelming, and I believe this works beautifully.
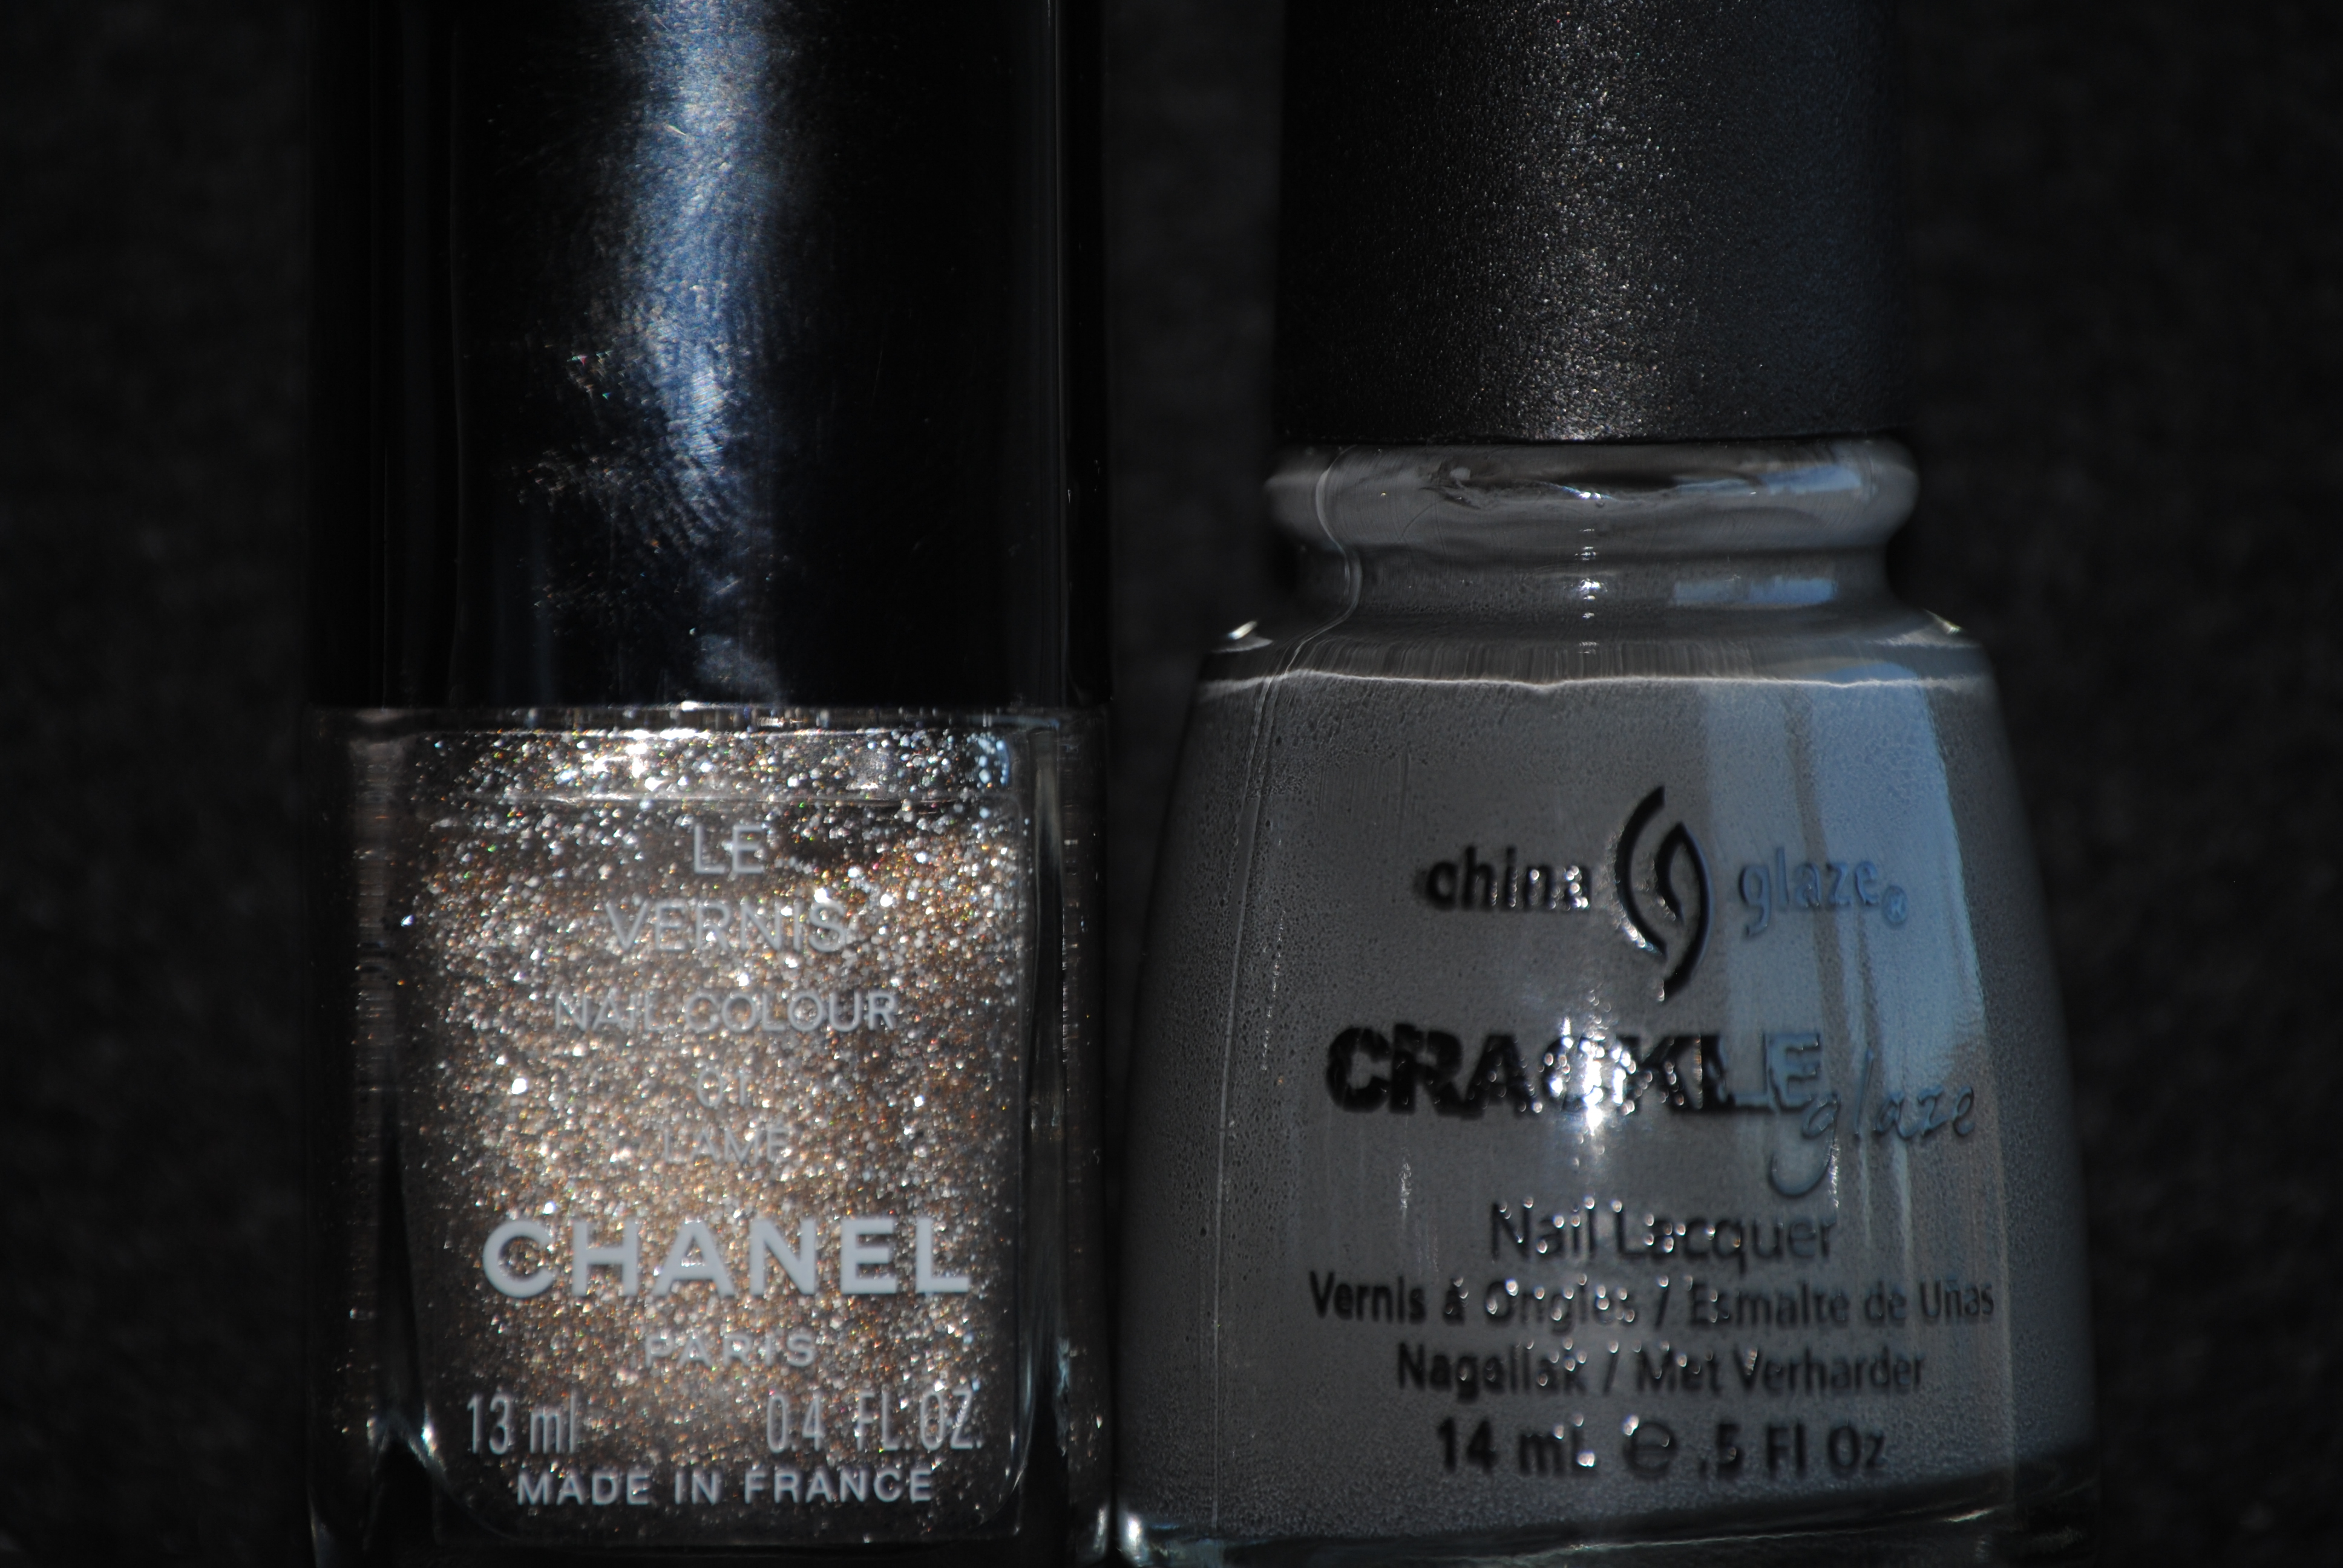
To achieve a tone-on-tone look with grey can be somewhat challenging, as you want enough differences to show without clashing. I solved this dilemma by applying three coats of CHANEL’s ‘Lamé’, a rather sheer grey tinted & profuse silver glitter. While there is enough tonal sameness, the glitter adds an interesting edge to tie this look together.
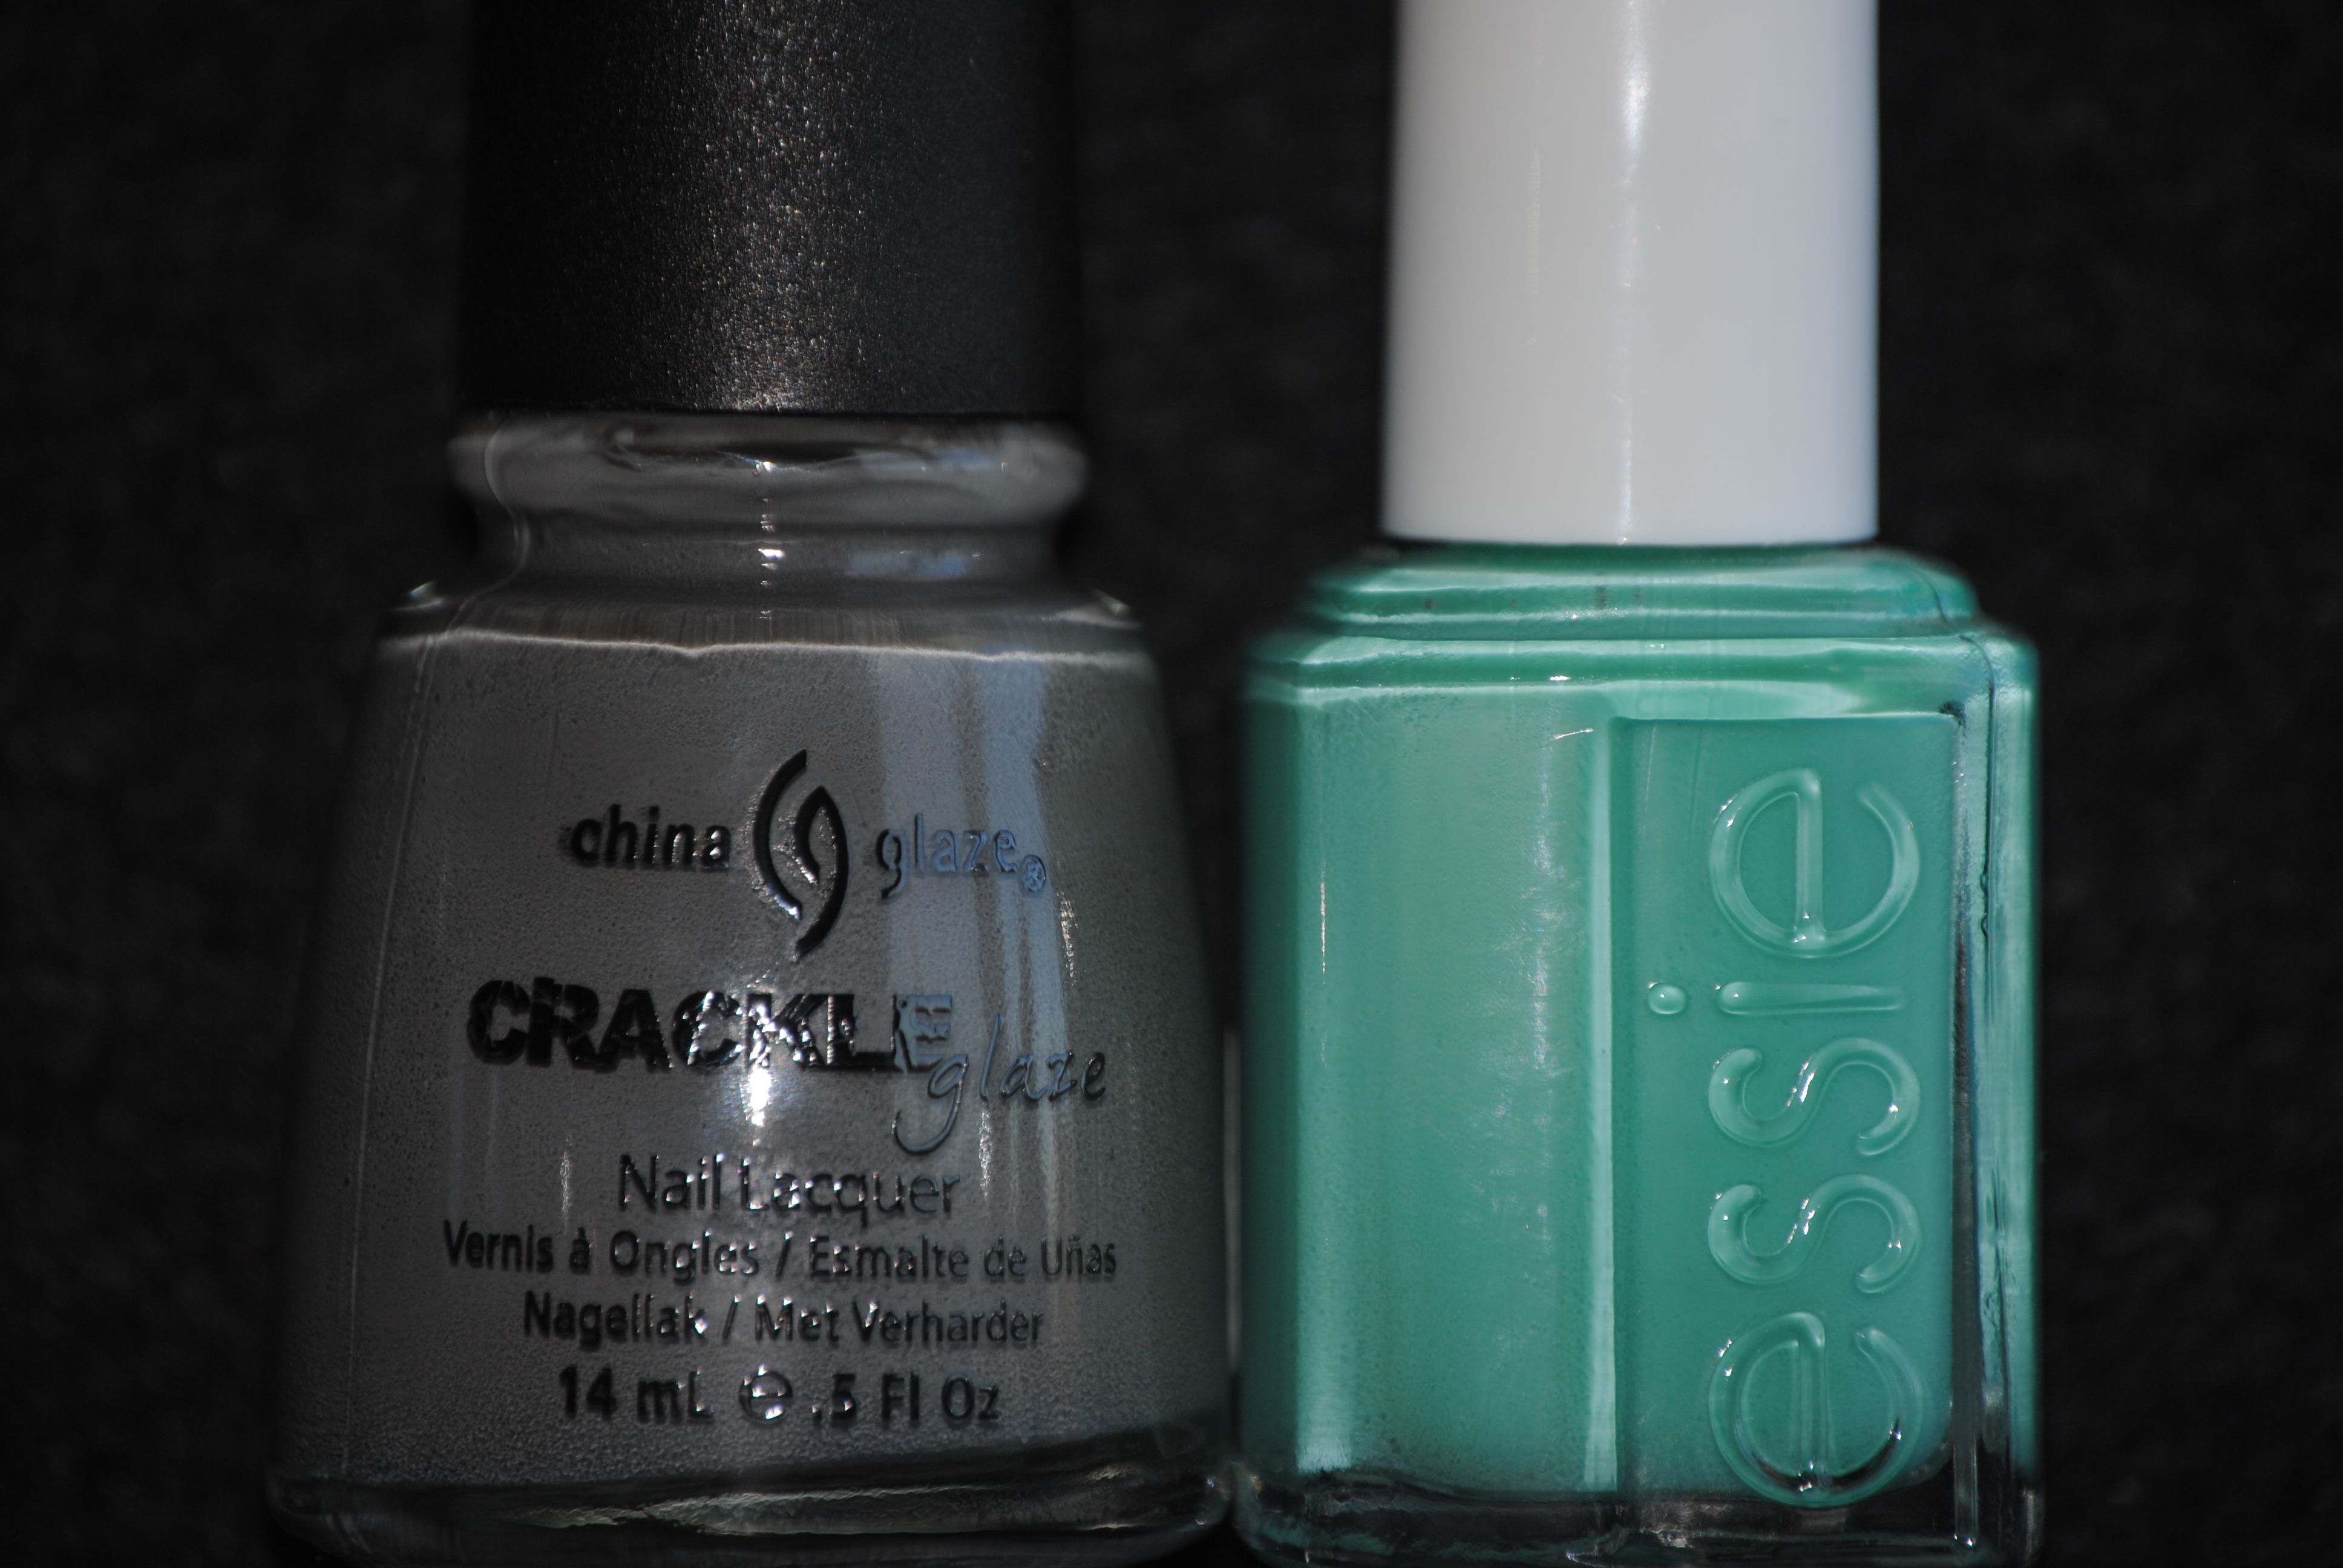
For the contrasting look, I still wanted to keep things sophisticated, and so I applied three coats of Essie’s ‘Turquoise and Caicos’ as my base shade. Once again, the sea inspired background hue serves to highlight the interesting patterns of the grey crackle.
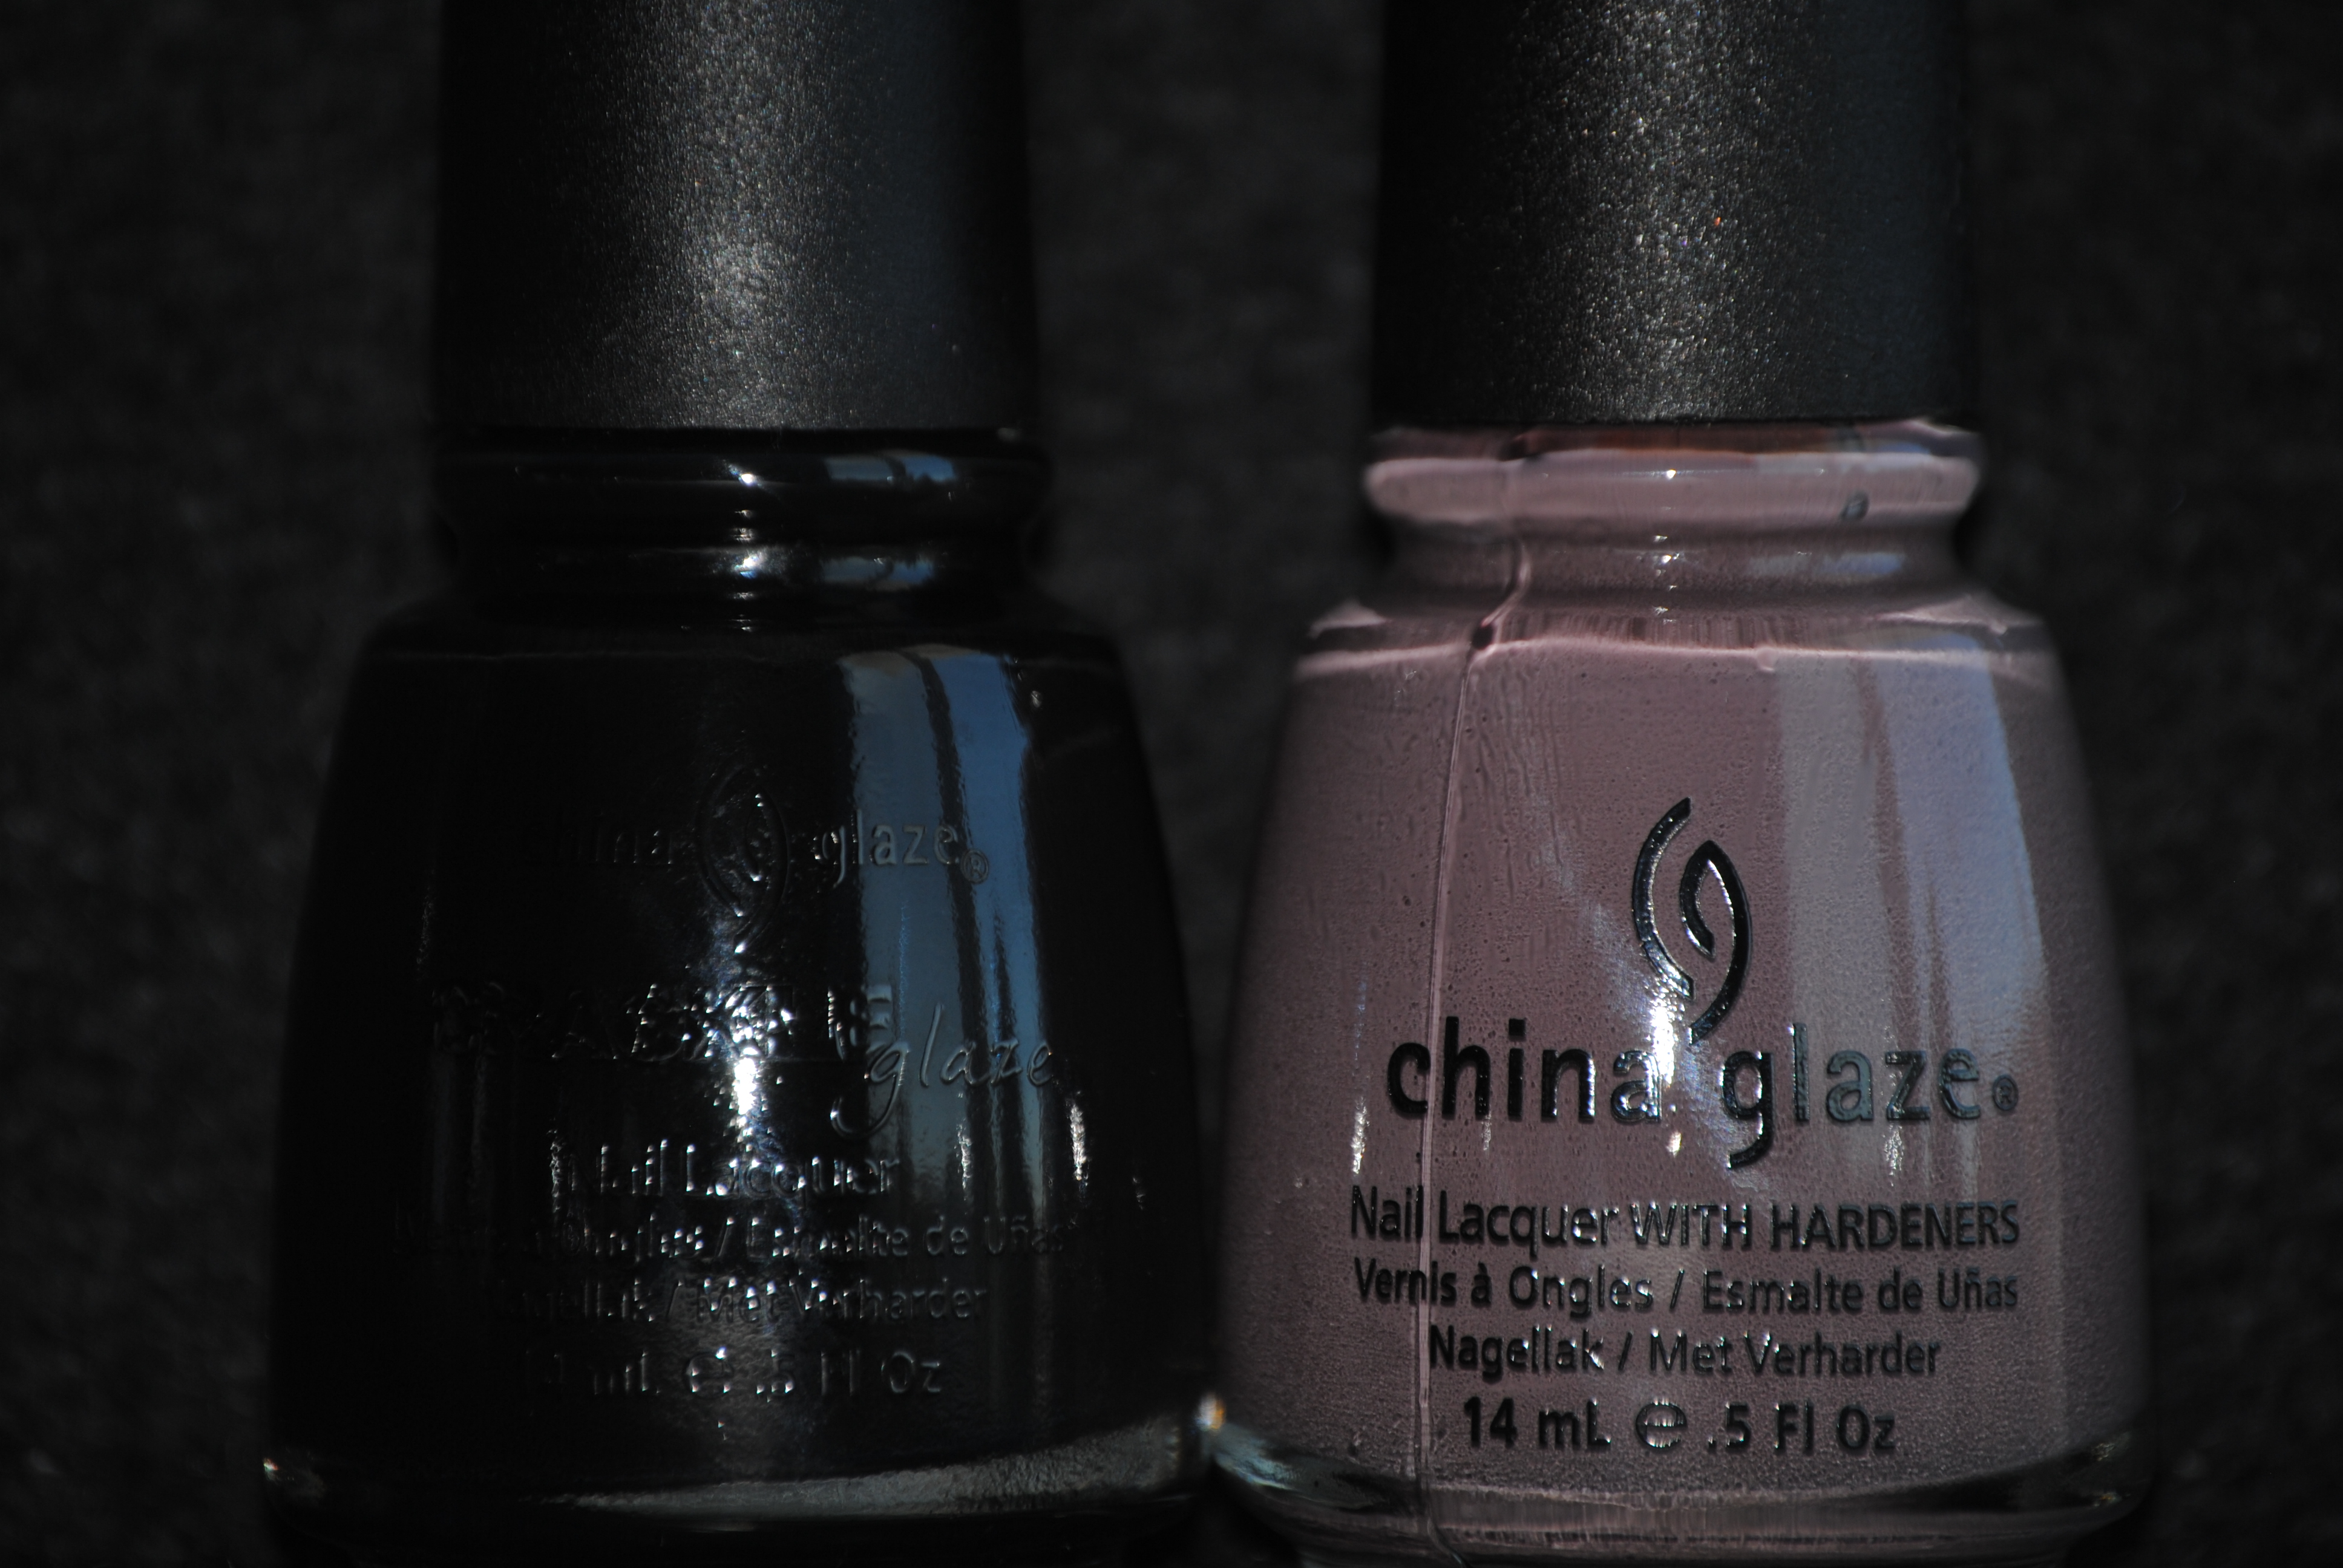
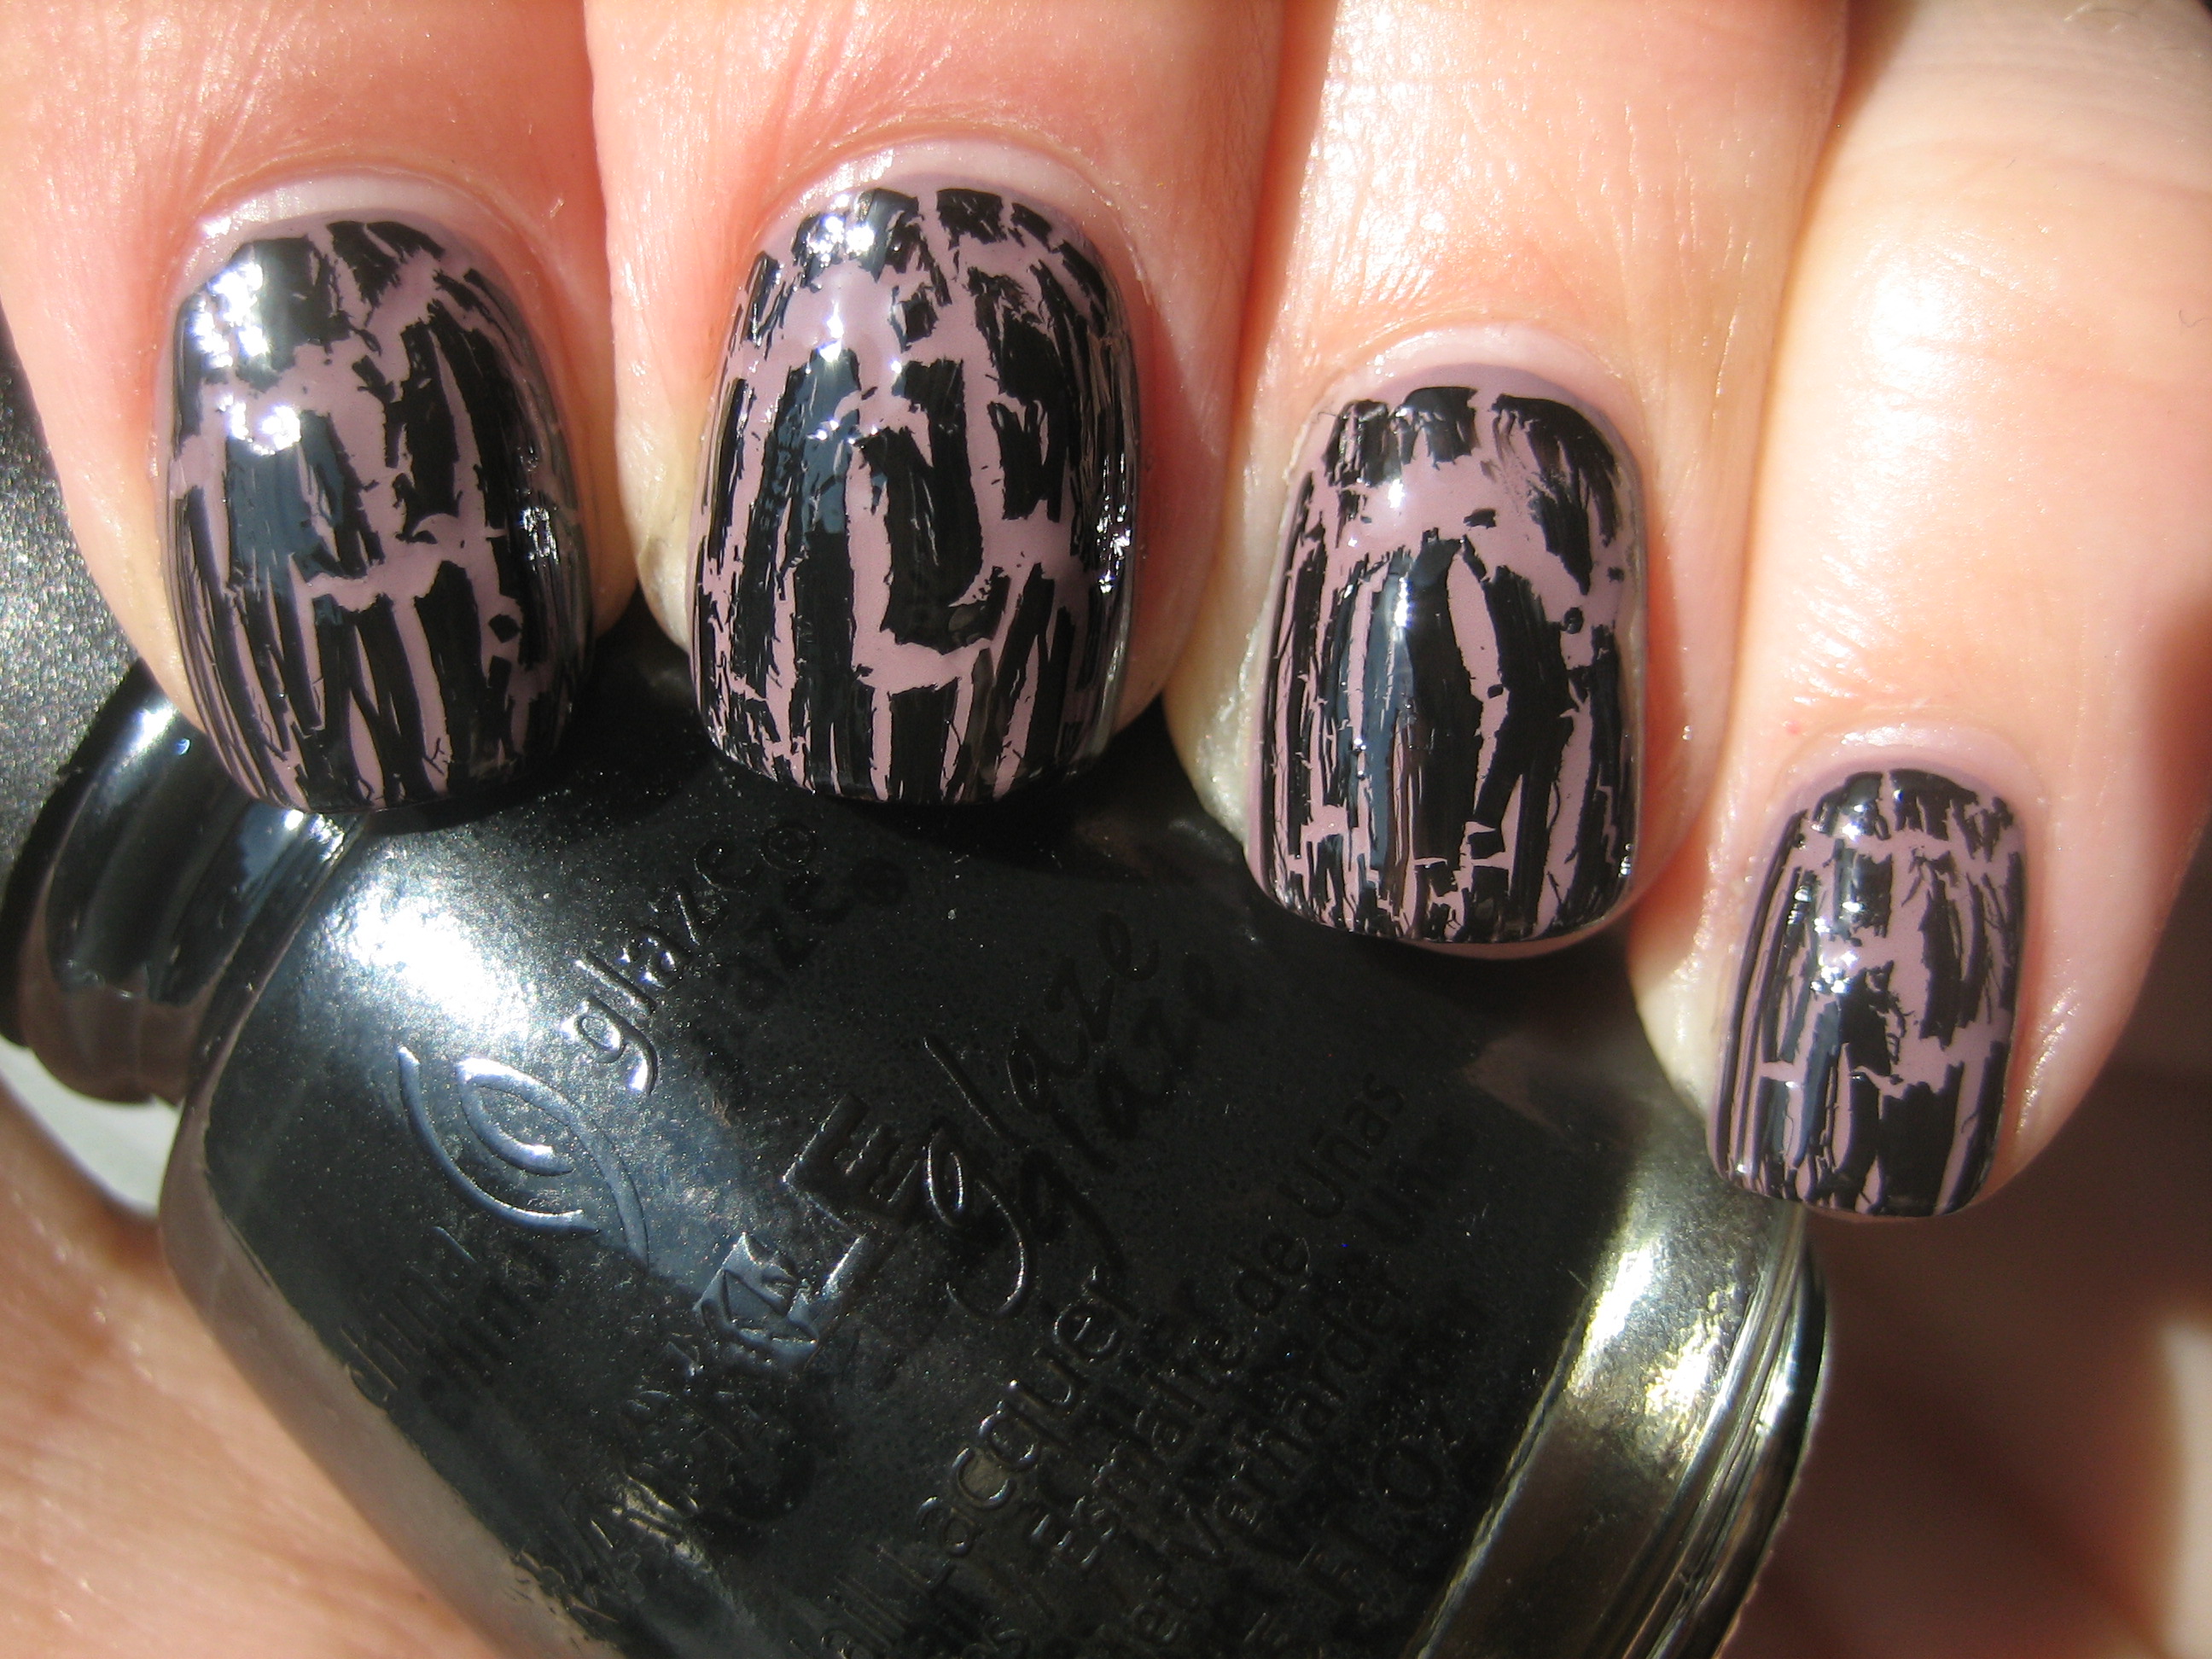
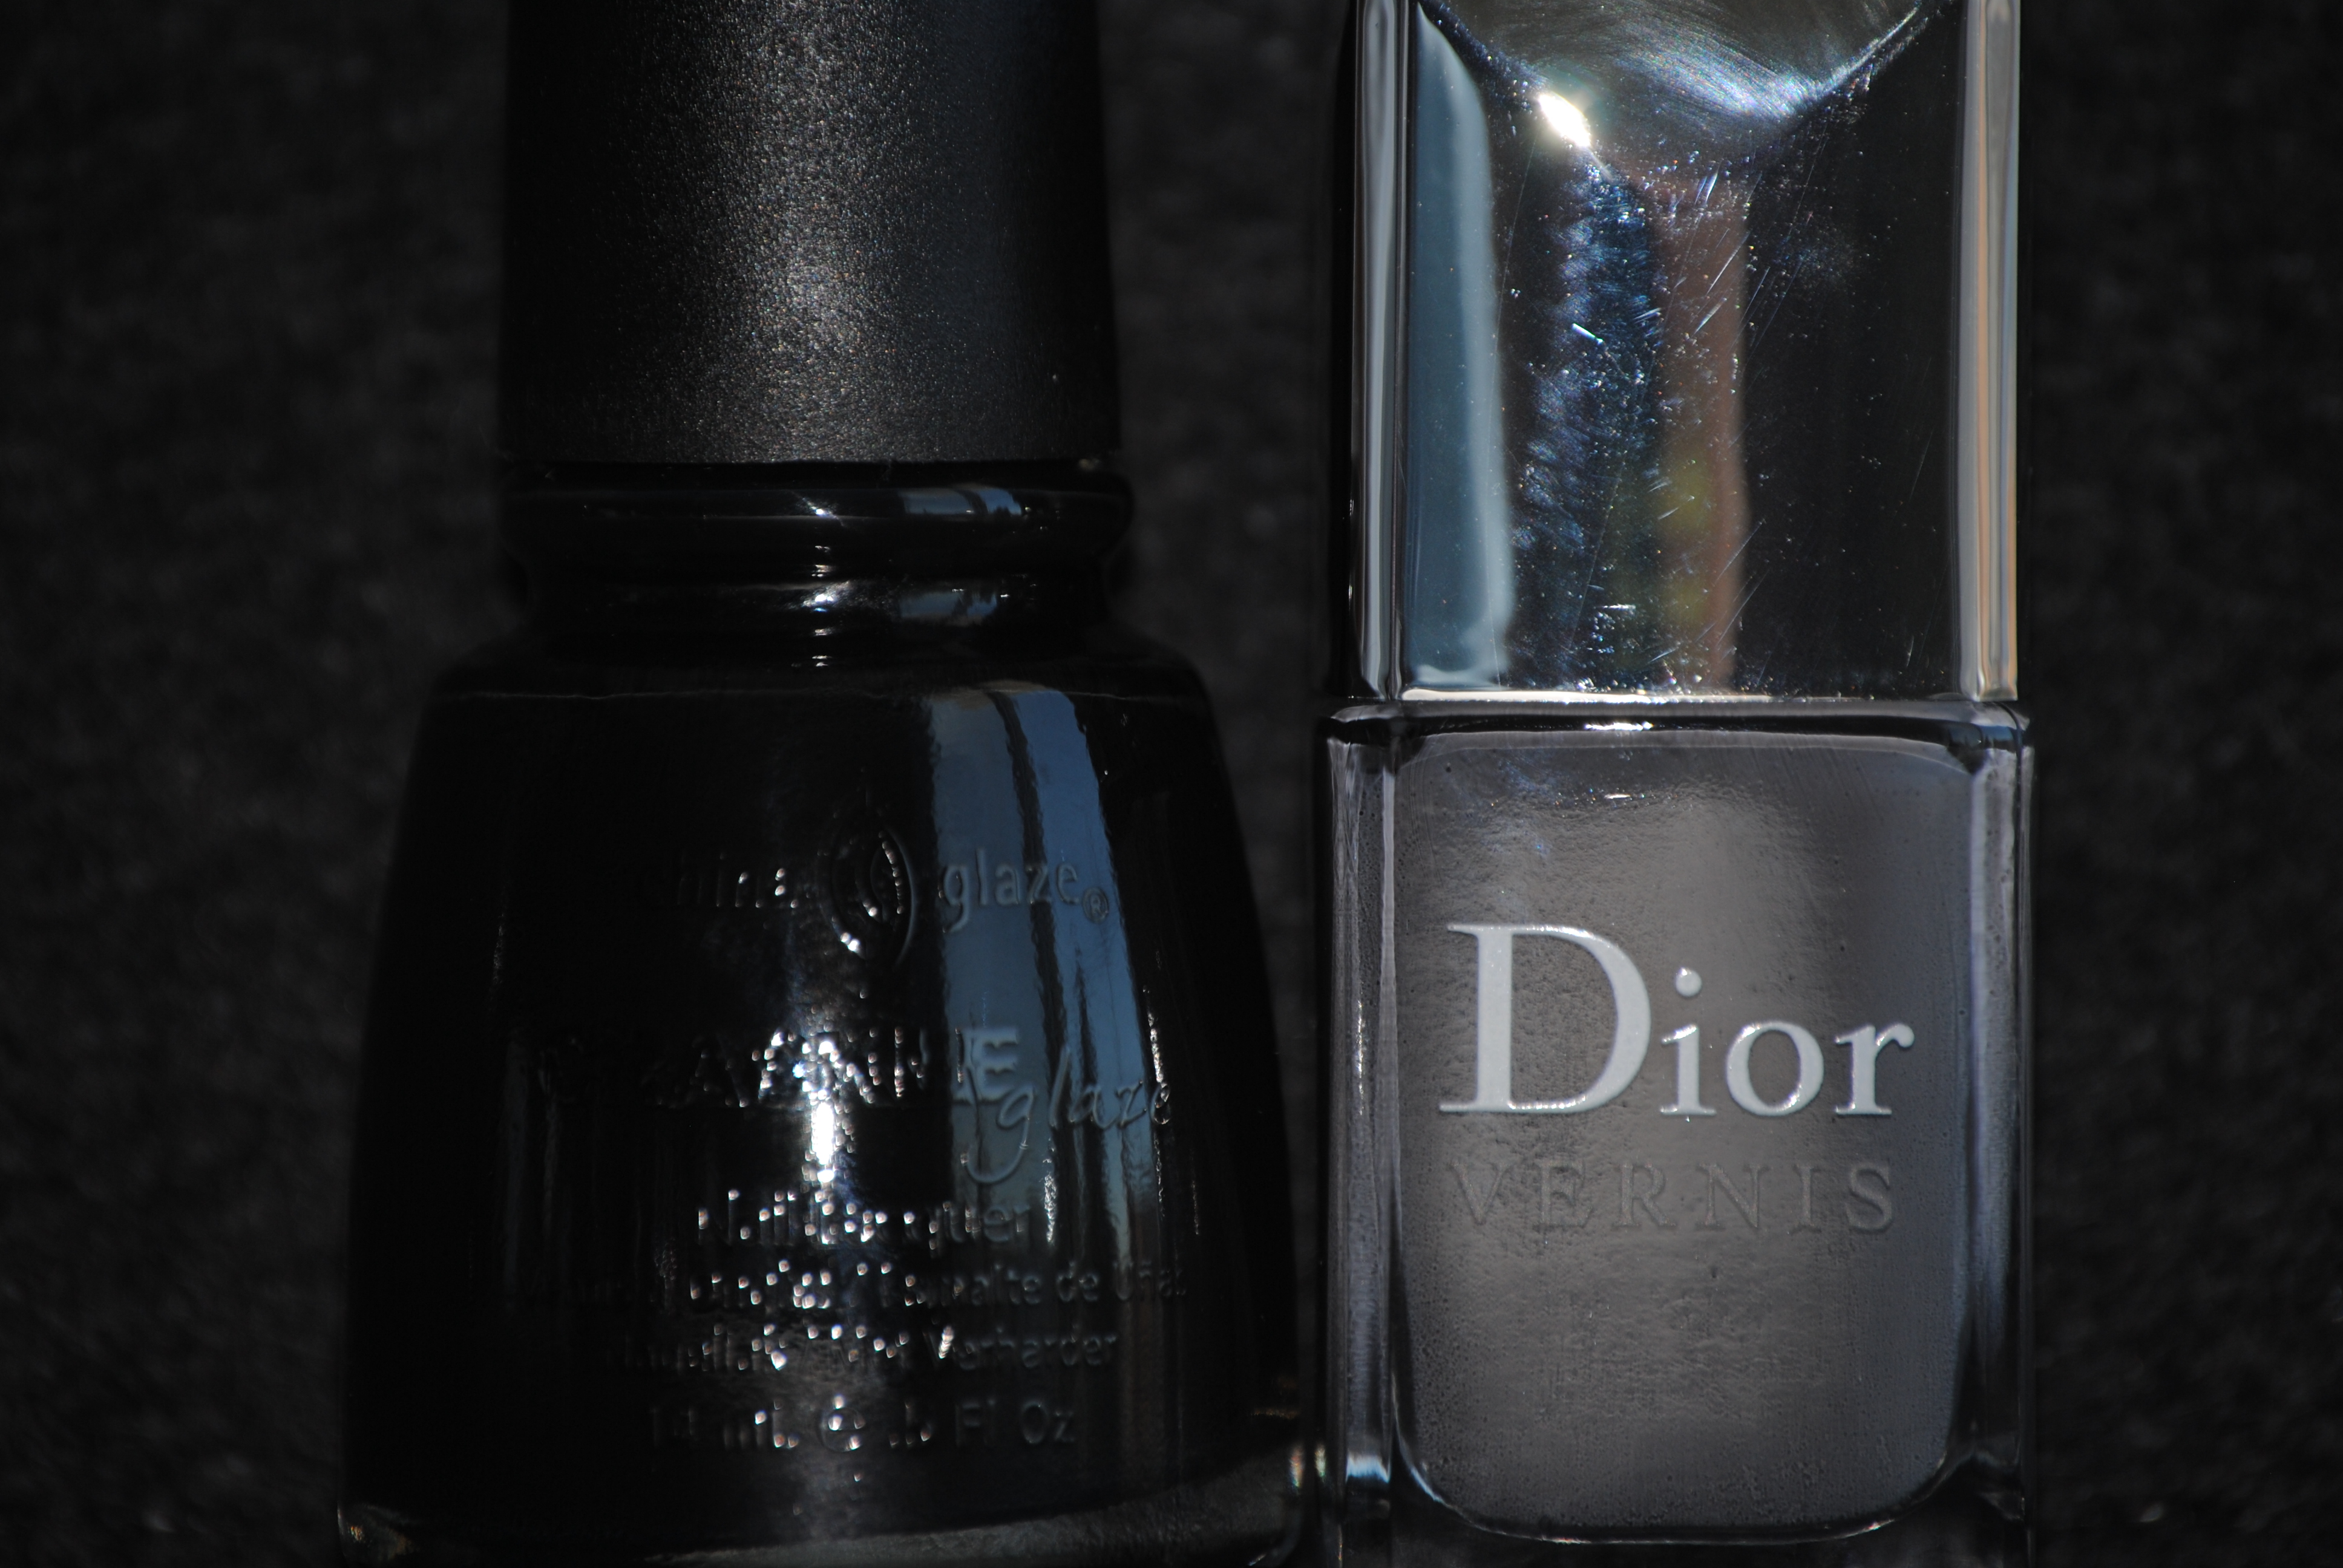
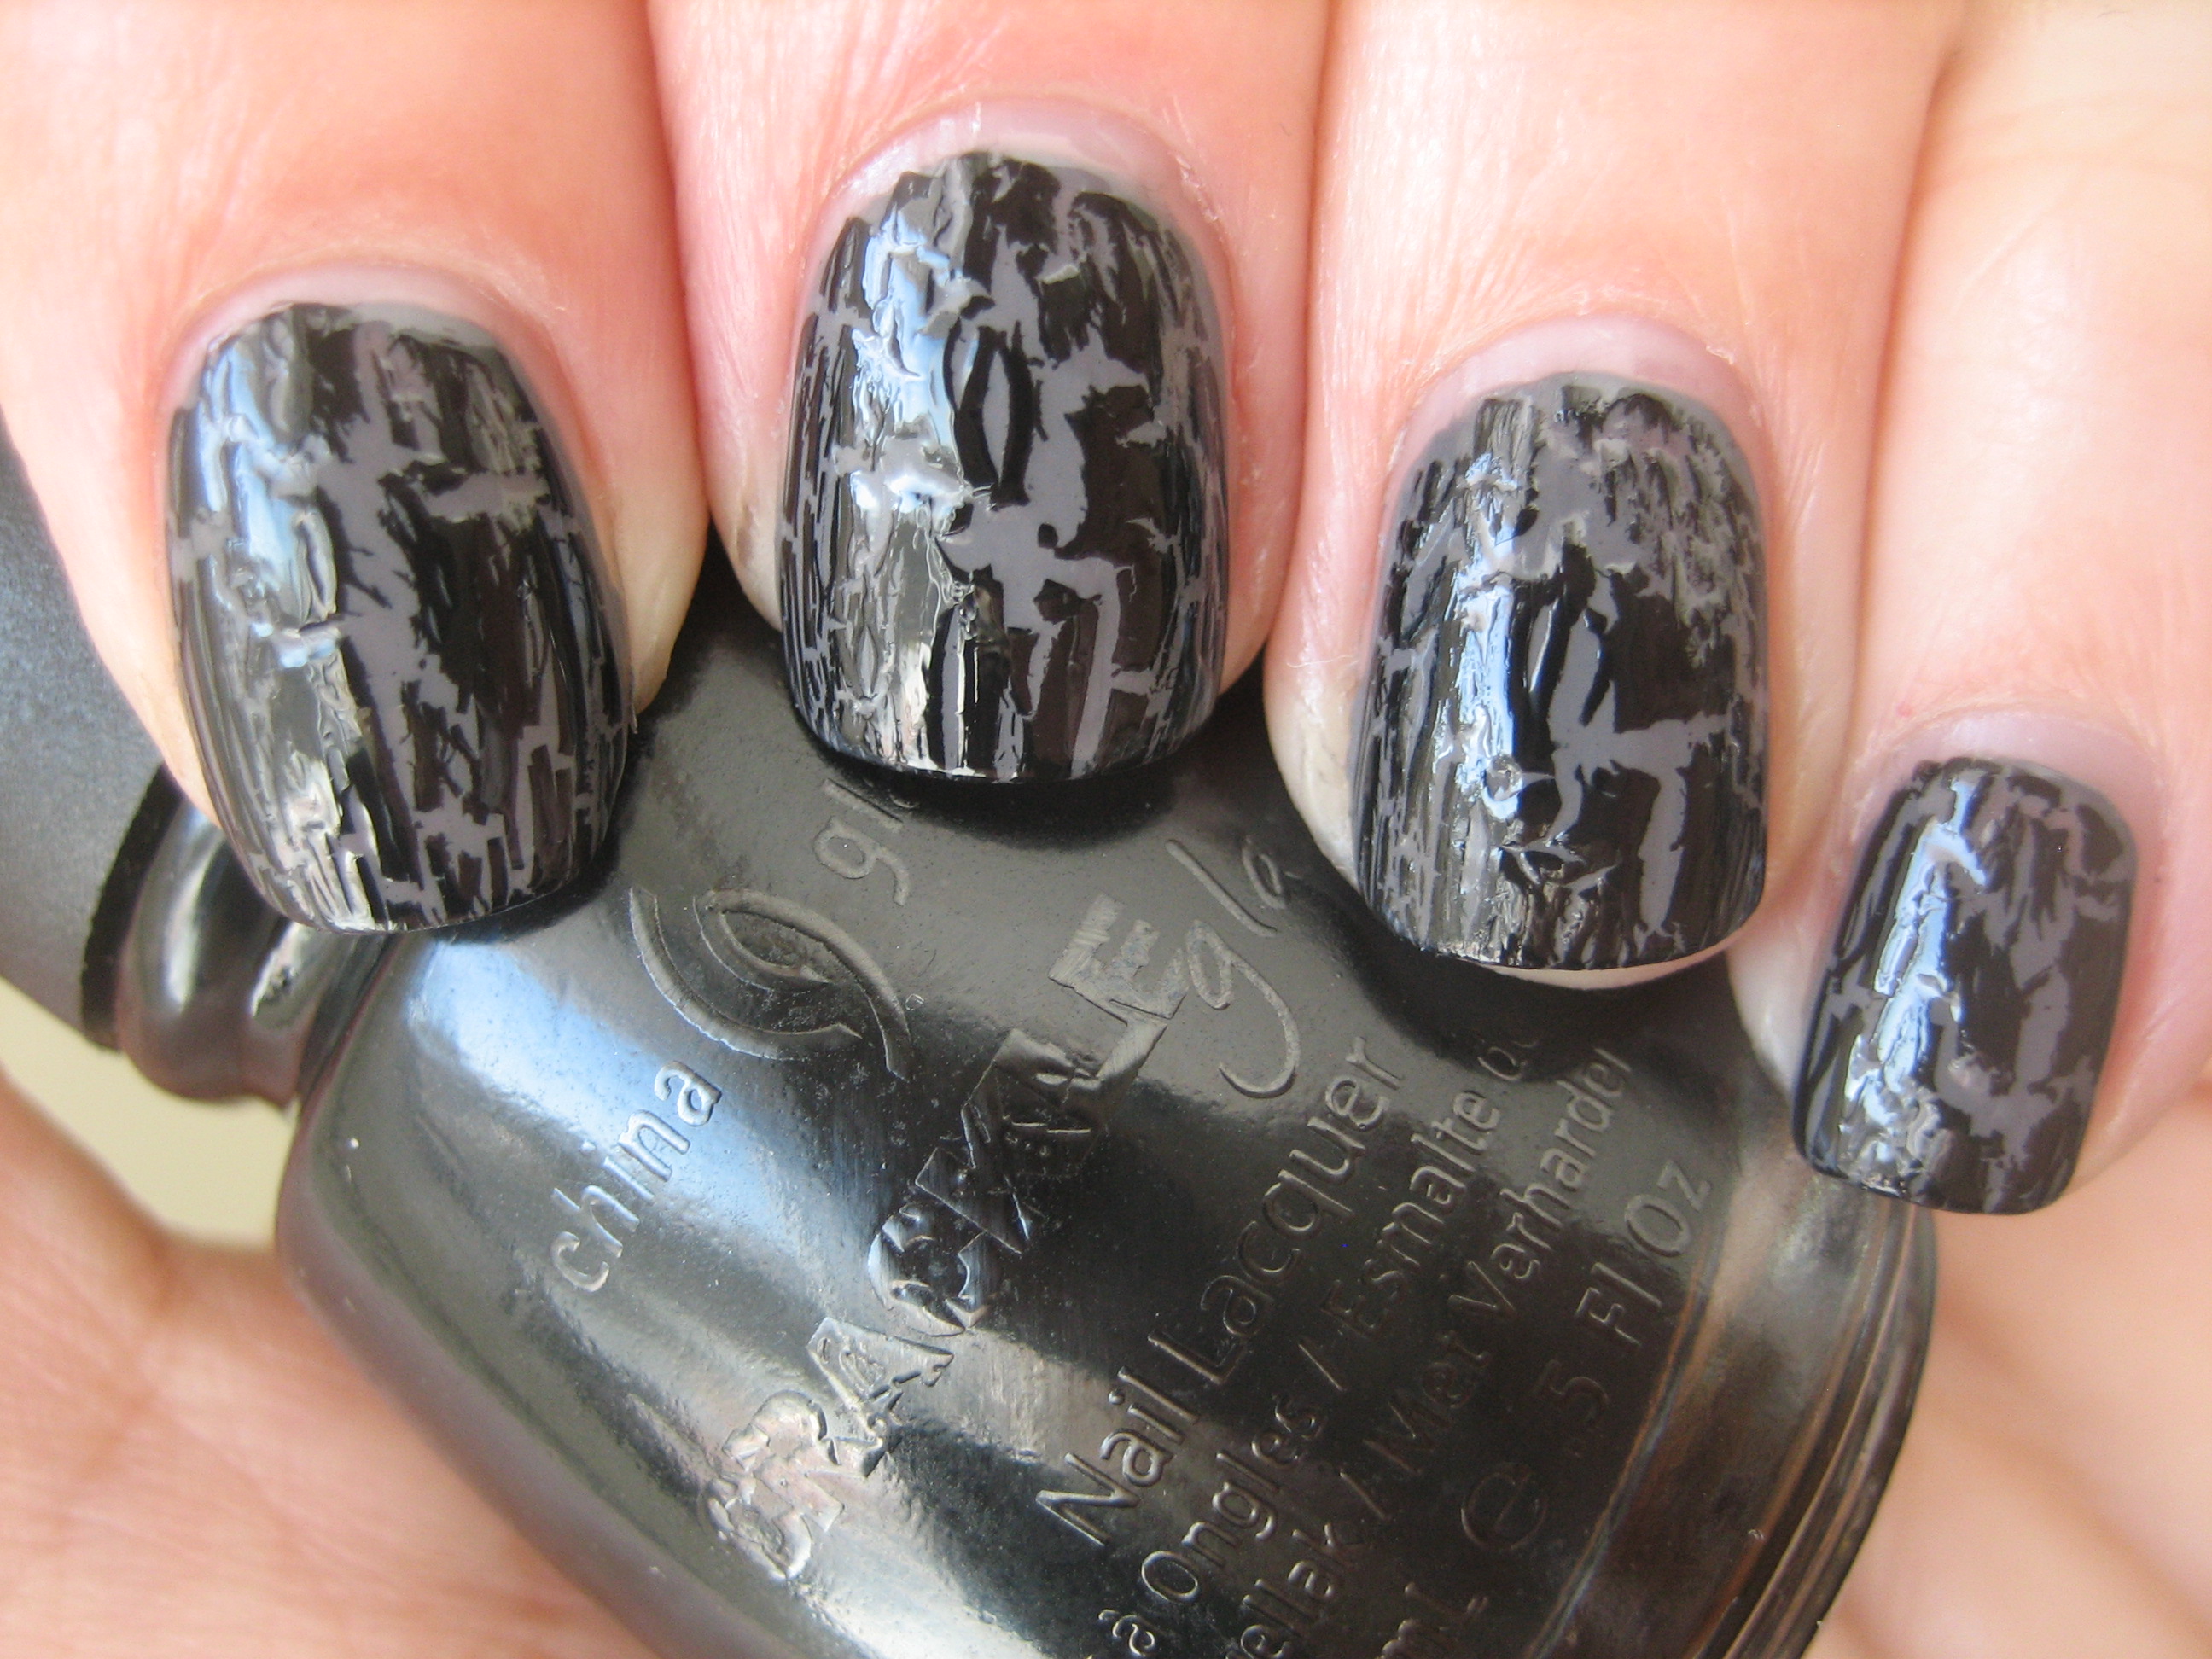
For those already familiar with OPI’s ‘Black Shatter’, the China Glaze version, ‘Black Mesh’ is quite similar, with the exception that I found this one to have somewhat more of a satin finish. The formula seemed a touch thinner than the other two, which I feel helps the polish spread faster, and the crackle effects seem more refined as a result.
To achieve the subtle look I was going for, I applied two coats of China Glaze’s ‘Below Deck’ (reviewed here), a muted plum, from their ‘Anchors Away’ collection, as my base shade. The dusty mauve hue serves as the perfect foil for the black crackle effect without standing out too much, yet still manages to be quite chic looking. I was surprised by how much I really loved this one!
How do you achieve a tone-on-tone look with black? Use grey! I applied two coats of Dior’s ‘Gris Montaigne’, a buttery sealskin grey (reviewed here), as my base shade. The depth of this hue complimented the black shards of the crackle polish and helped blend the two together in wonderful harmony.
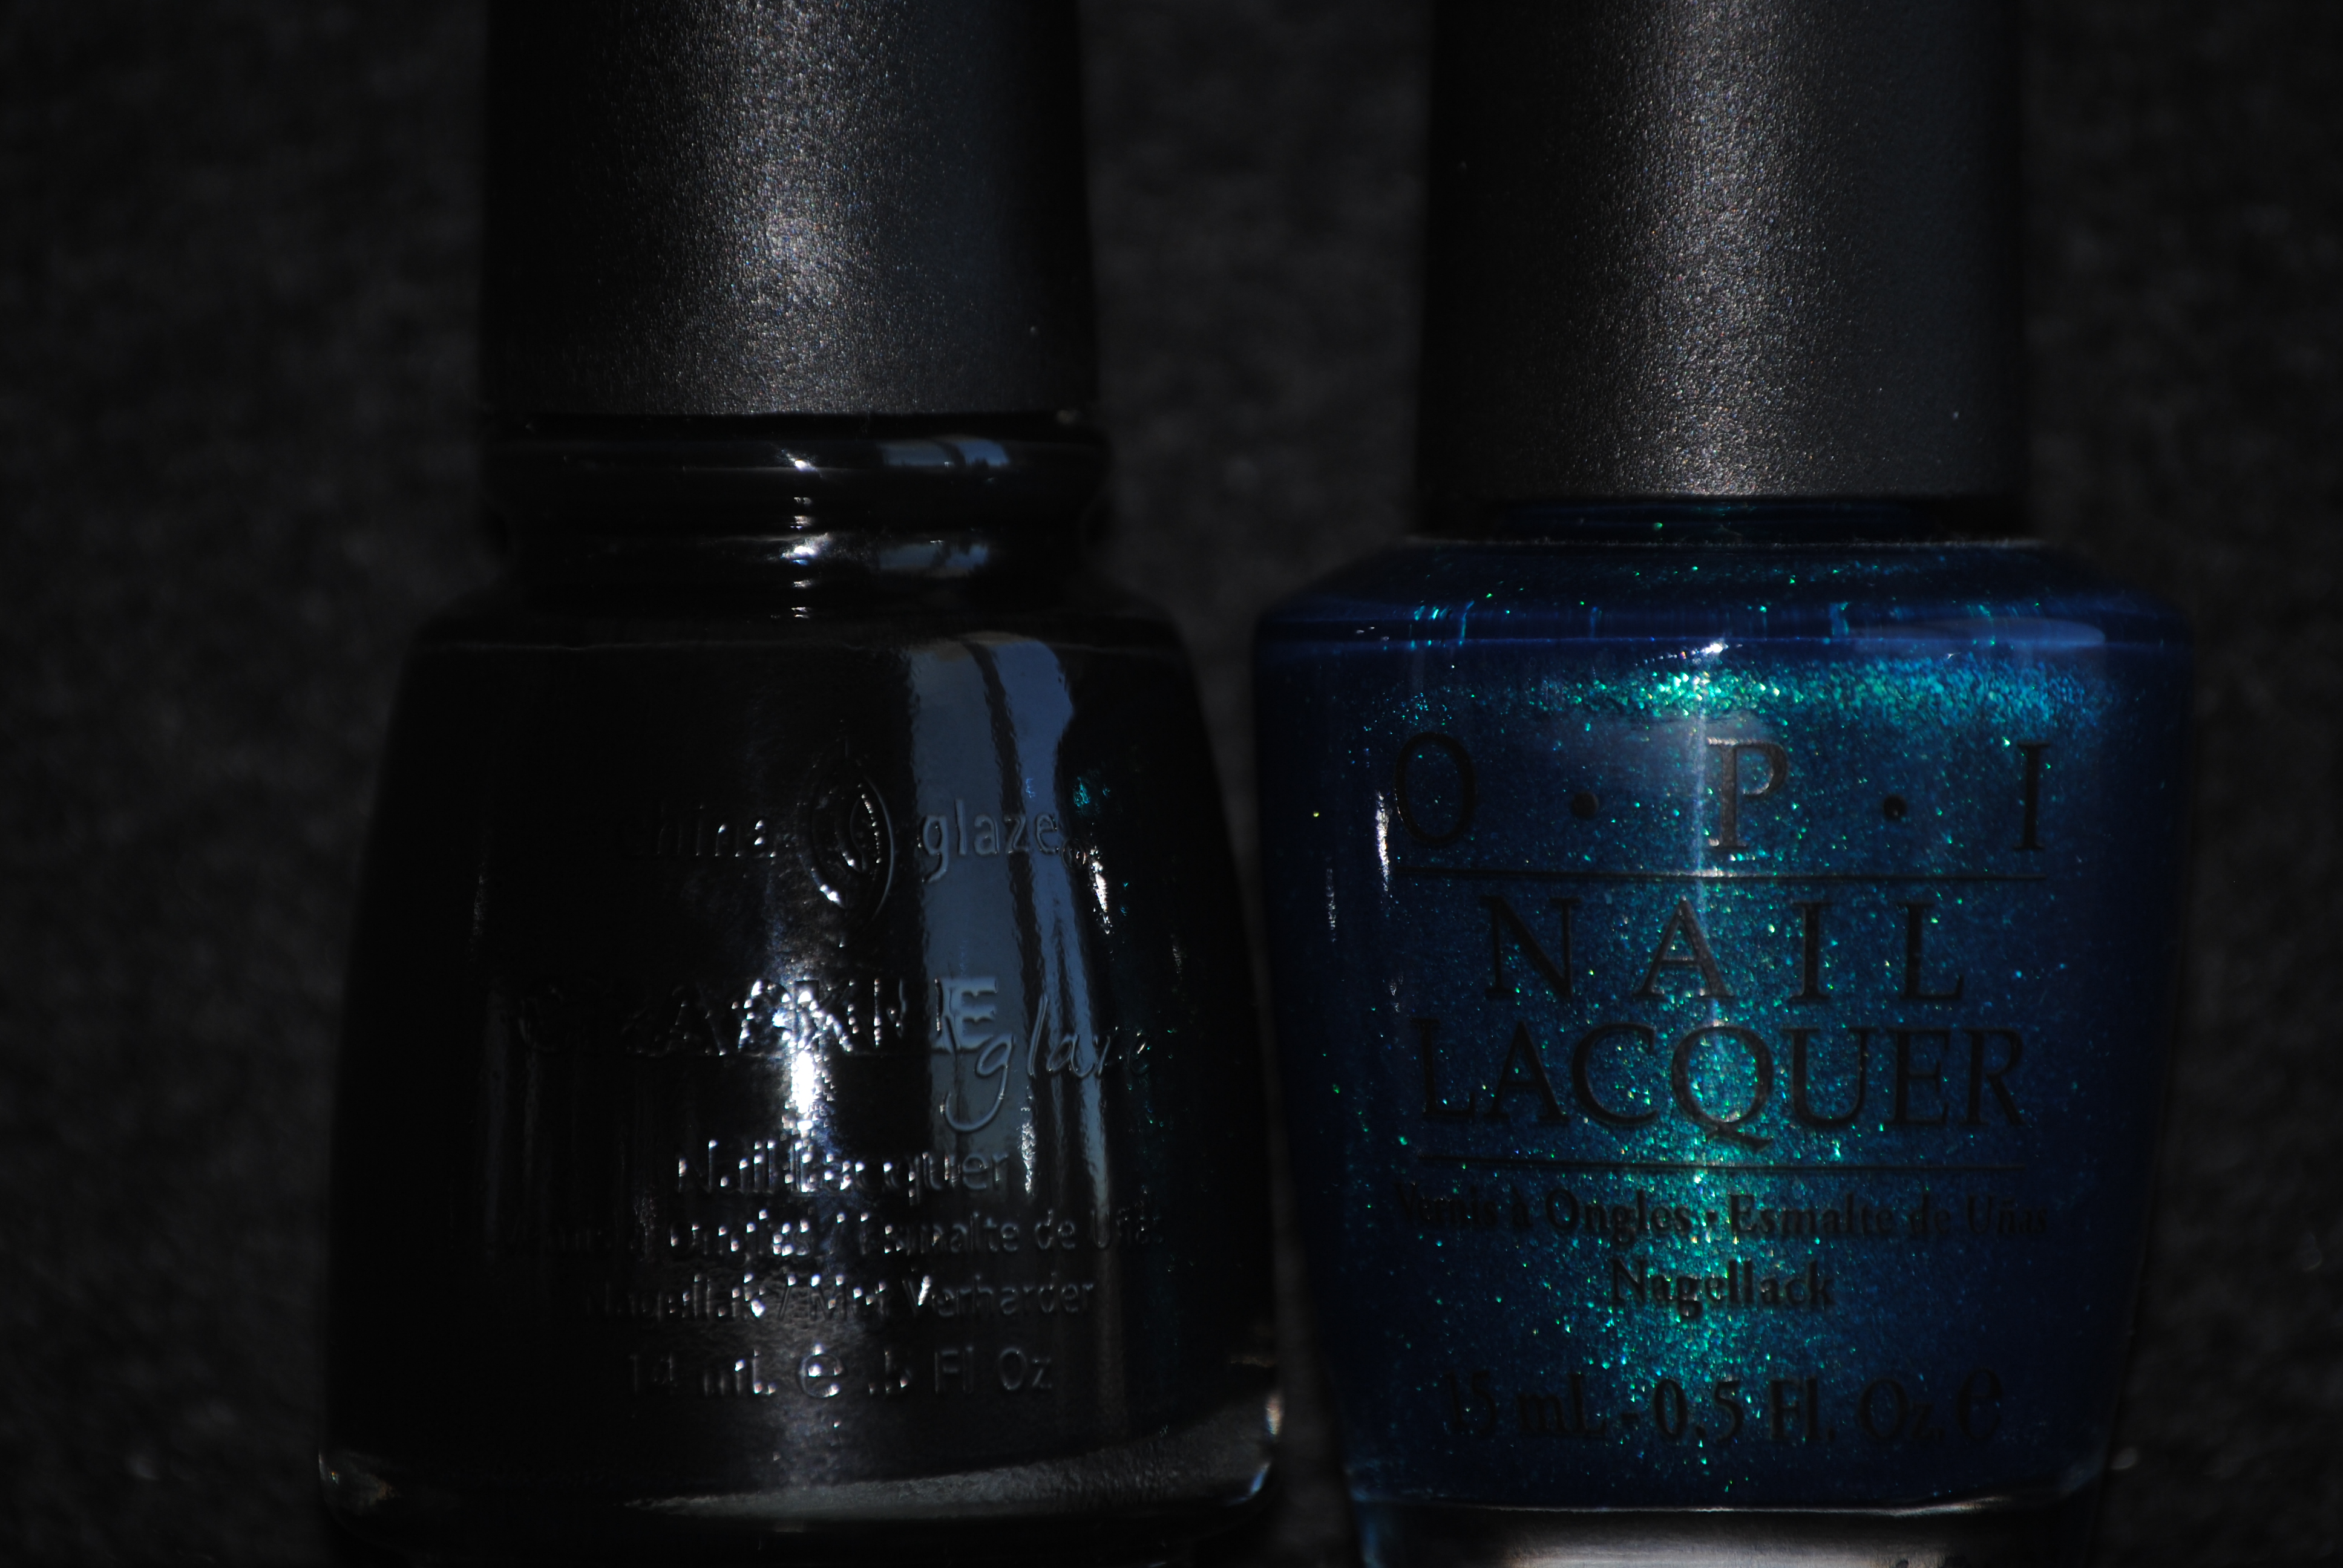
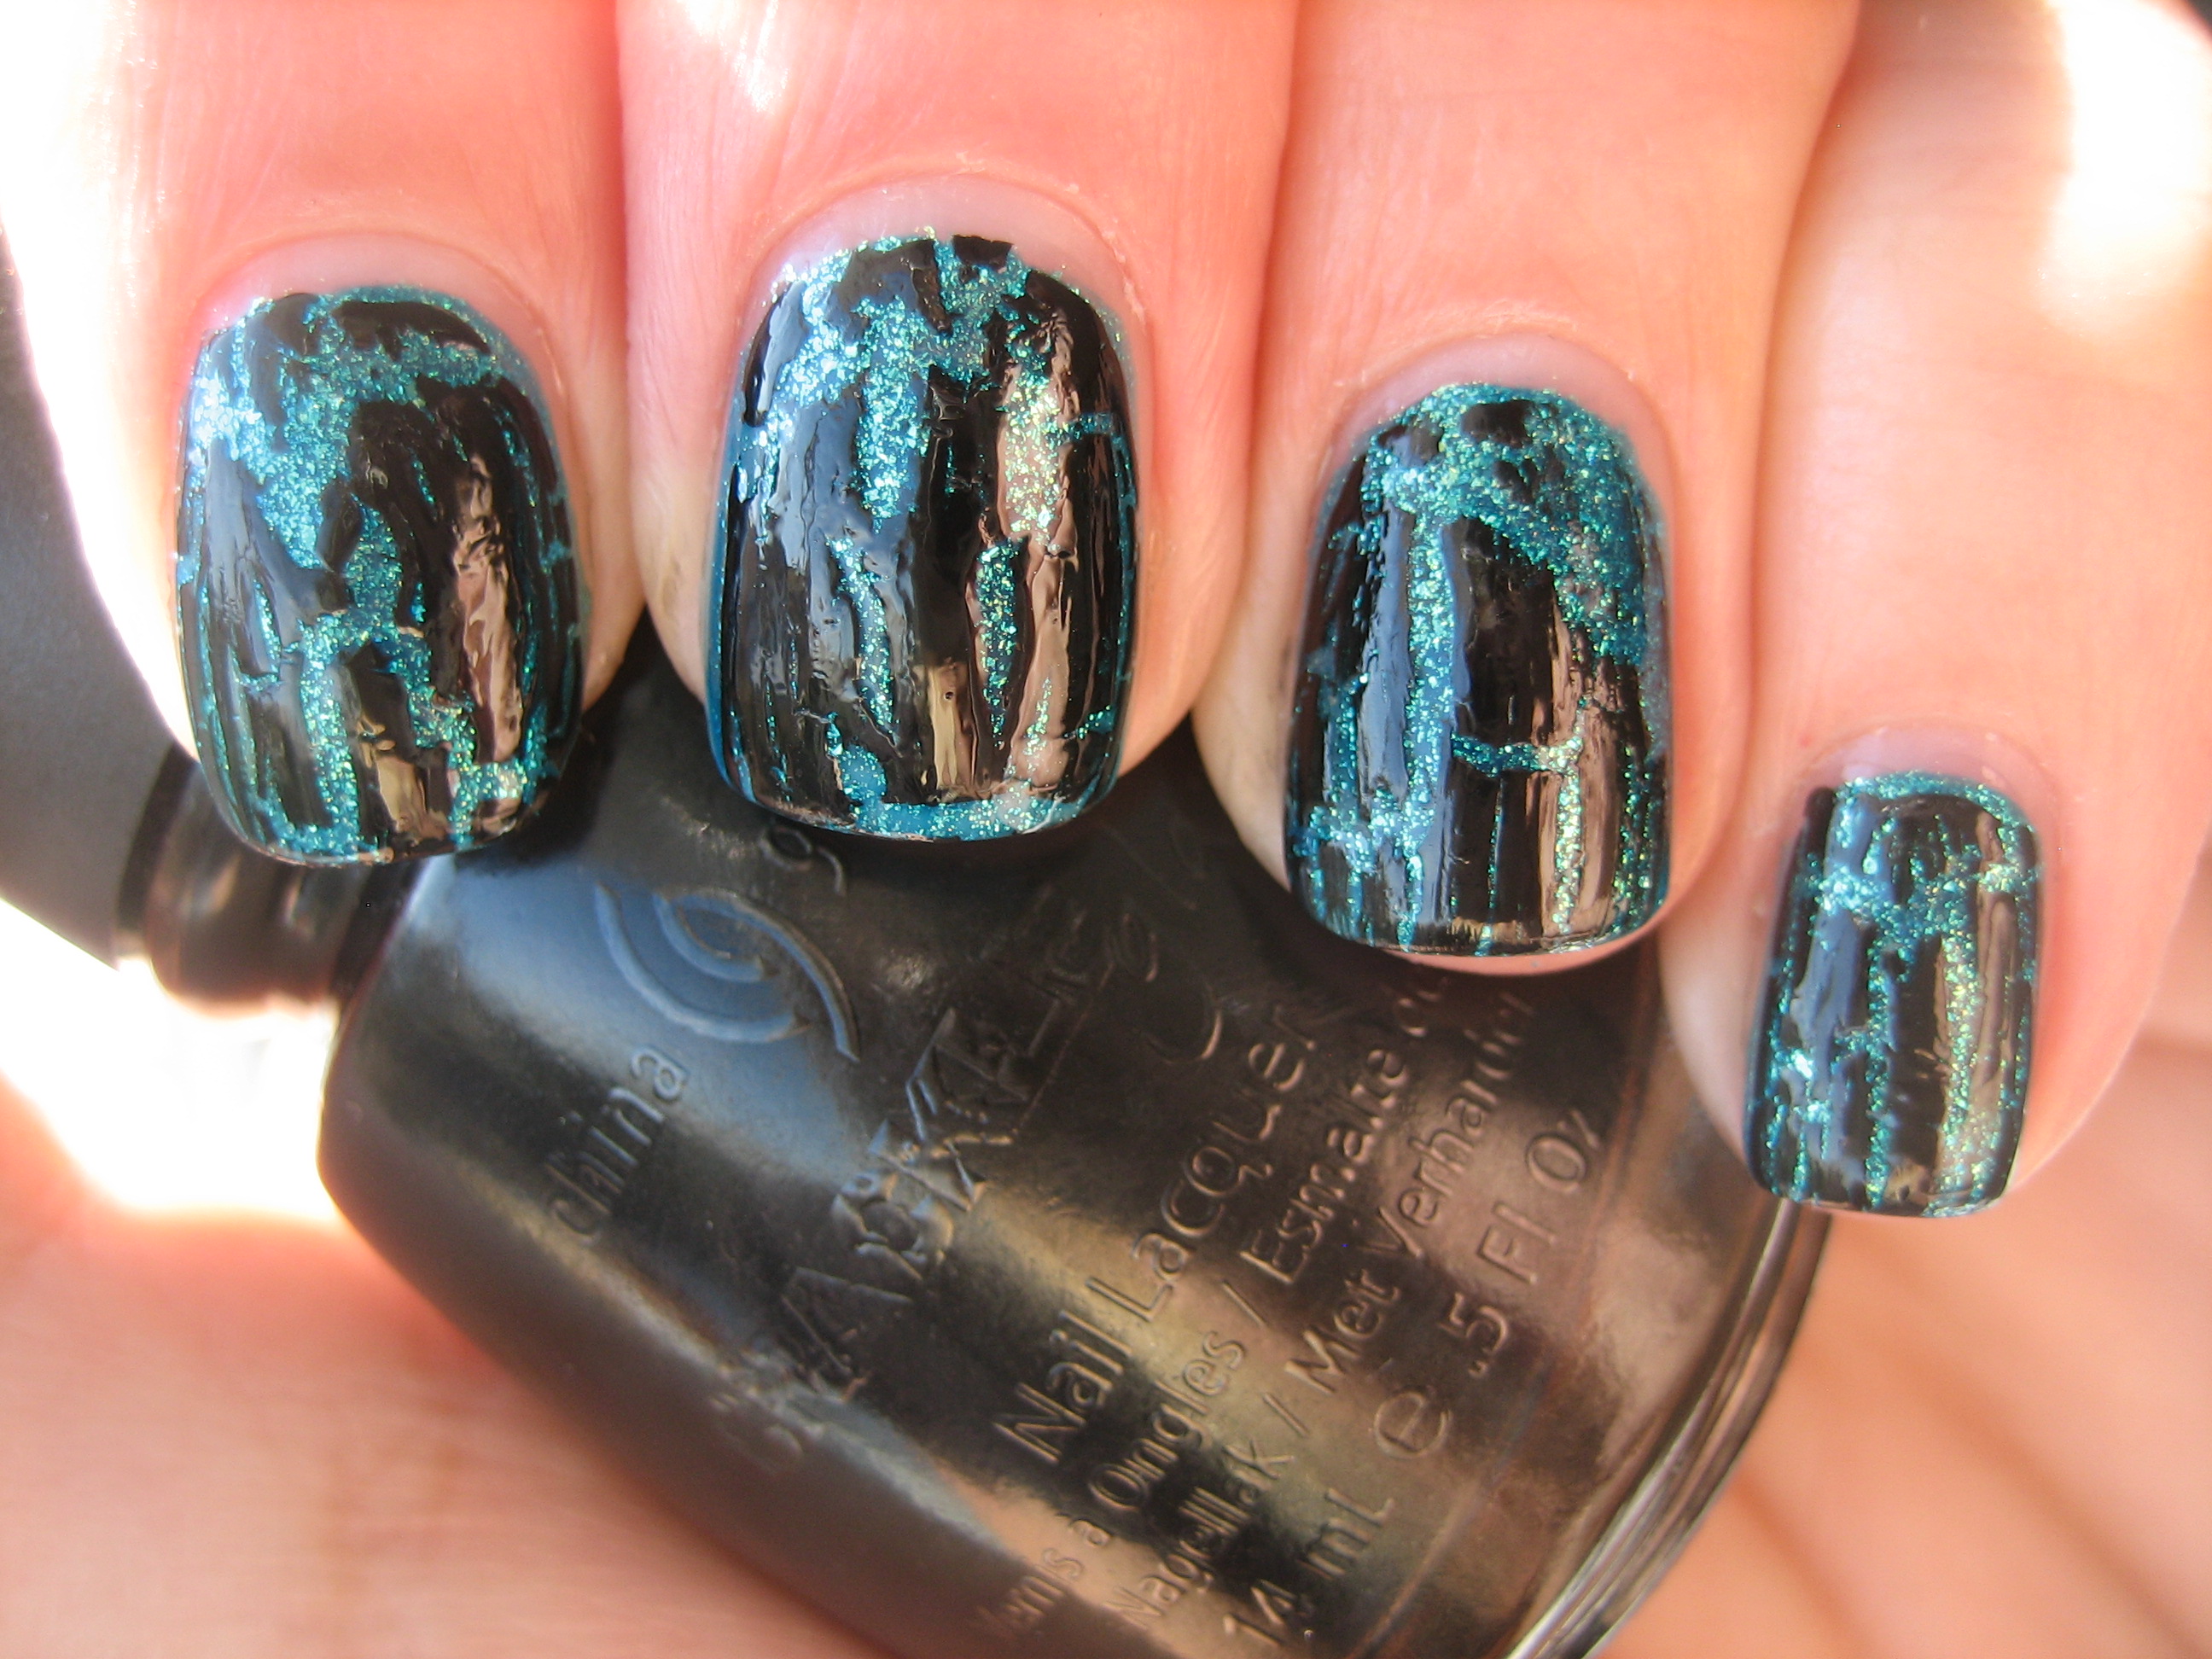
For my final contrasting look, I looked for something that would not be too familiar or garish, and so I applied three thin coats of OPI’s ‘Catch Me In Your Net’, an über-shimmery aqua blue, as my base shade. What the photos do not fully capture, is the scintillating glimmer peeking between the cracks, which only adds to the richness of both shades. This was a really mesmerizing combo!
Final thoughts: The first three of China Glaze’s Crackle Glazes are a smash hit! I am slowly coming around to this crackle fad, and that might be in part due to having played around a bit with these finishes. The company includes a wonderful little tag with each bottle, giving fairly clear instructions on how best to apply this finish, and it must be stressed that in order to achieve a great crackle effect, your base shade must be absolutely dry first. I really loved how each look came out and the biggest difficulty I had was in sifting through my stash to find appropriate matches…there are so many possibilities! Feel free to visit China Glaze’s website to see some other layering combinations. Stay tuned for my second part, where I will review the last three shades of this fabulous collection.
*Disclaimer: product samples were provided by the company/PR for my unbiased consideration






4 Responses to China Glaze ‘Crackle Glaze’ – part 1 (review & swatches)